Plant Repotting
Repotting plants is essential to maintaining the health and vigor of your indoor and outdoor potted plants.
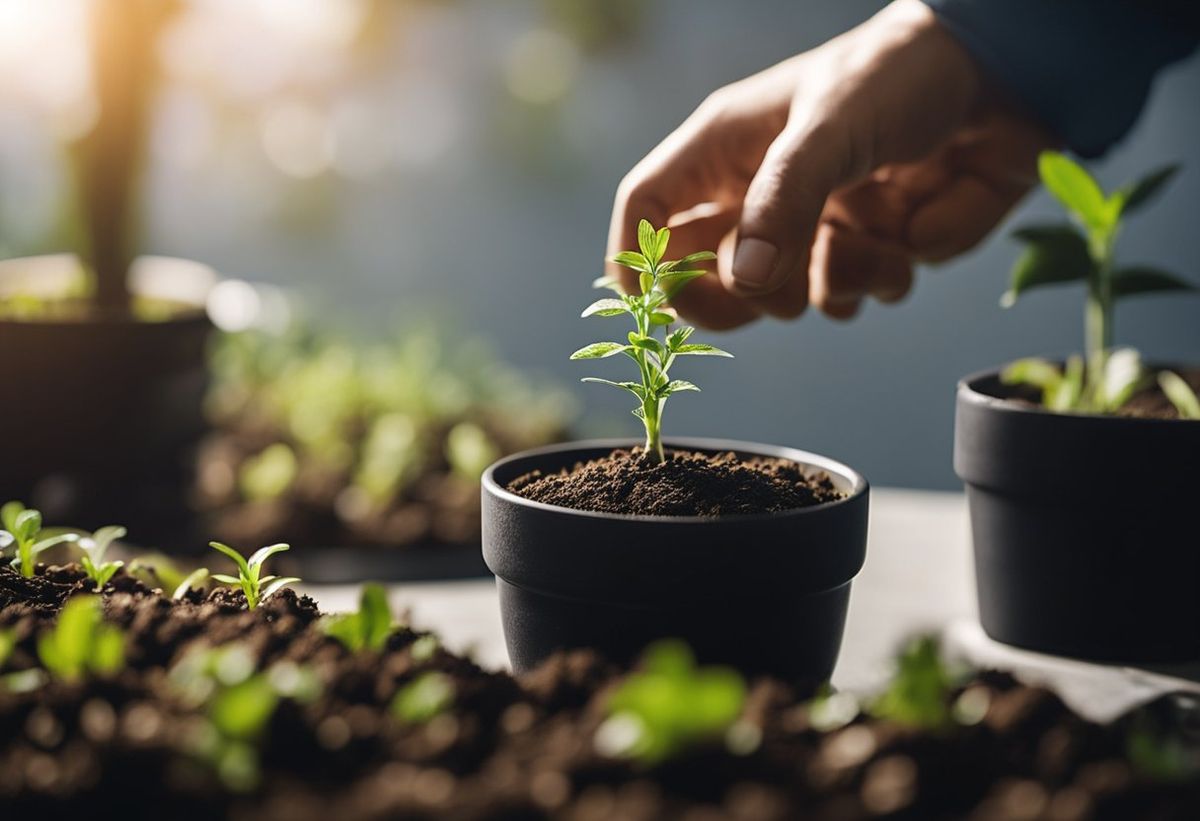
Table of Contents
Their roots need more space to spread out and access vital nutrients as they grow.
Understanding the importance of repotting and the steps involved can help ensure your plants continue to thrive.
The repotting process involves key steps, such as planning, selecting the proper tools, choosing the right pot and soil, analyzing and preparing the roots, and transplanting the plant.
Ensuring proper drainage, monitoring the size and growth, and providing post-repotting care are crucial for your plant's ongoing health and happiness.
Key Takeaways
- Comprehend the importance of repotting plants for their health and growth.
- Master the repotting process, including selecting pots and soil and analyzing roots.
- Learn how to properly monitor and care for plants after repotting.
Planning Repotting
When planning to repot your plants, consider the frequency at which they must be repotted.
Most plants typically require repotting every 12 to 18 months, although some fast-growing species may need it more often.
Choose the right time to repot, ideally during the plant's dormant or slow-growth period.
For many plants, the best time is early spring or fall, as this allows them to adjust to the new environment and focus on root development.
Remember to use a slightly larger pot (1-2 inches in diameter and depth) and fresh potting mix to ensure optimal growth.
Understanding the Importance of Repotting
Repotting is vital for your plants as it promotes healthy growth and ensures they receive essential nutrients.
Over time, the soil in a pot becomes depleted of nutrients, which can result in stunted growth and poor overall plant health.
By repotting your plants, you provide fresh soil packed with vital nutrients to support new growth.
Additionally, repotting allows you to evaluate the condition of the plant's roots and address any issues, such as root binding or rot, further ensuring the long-term well-being of your plants.
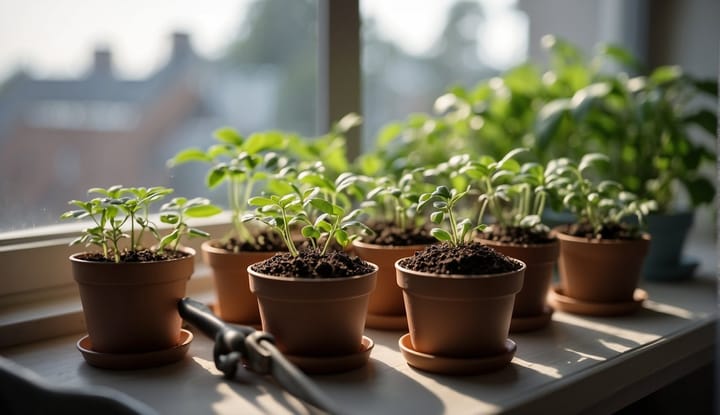
Tools Needed
To repot a plant, you will need a few essential tools.
First, you'll need a clean, sharp knife or scissors to help trim damaged or overgrown roots.
As for other tools, have a new pot (roughly 2 inches larger in diameter than the current one), some potting soil, and a watering can.
Optionally, you can gather a coffee filter, paper towel, or broken clay shards to help with drainage and prevent soil from escaping through the drainage hole.
Choosing the Right Pot
Select the appropriate pot for optimal growth and health when repotting your plants.
Consider choosing a pot one size larger than the previous one, ensuring ample room for root development.
The new pot should have drainage holes to prevent waterlogging and promote effective watering.
Material options for pots include plastic and clay, such as terra cotta.
Each has pros and cons; for instance, terra cotta pots can help regulate moisture levels but tend to be heavier and more fragile.
Don't forget to include a saucer beneath your pot to catch excess water, protecting your surfaces and maintaining proper drainage.
Selecting Proper Soil and Fillers
When repotting your plants, choosing the suitable soil and fillers that provide proper drainage and nutrients is essential.
A high-quality potting mix, often consisting of peat moss, vermiculite, perlite, and compost, is ideal for most houseplants.
In addition to potting soil, consider using fillers like perlite, charcoal, lava rocks, or bark to improve aeration and drainage.
These materials help maintain a healthy root environment, reduce the risk of root rot, and support proper nutrient absorption.

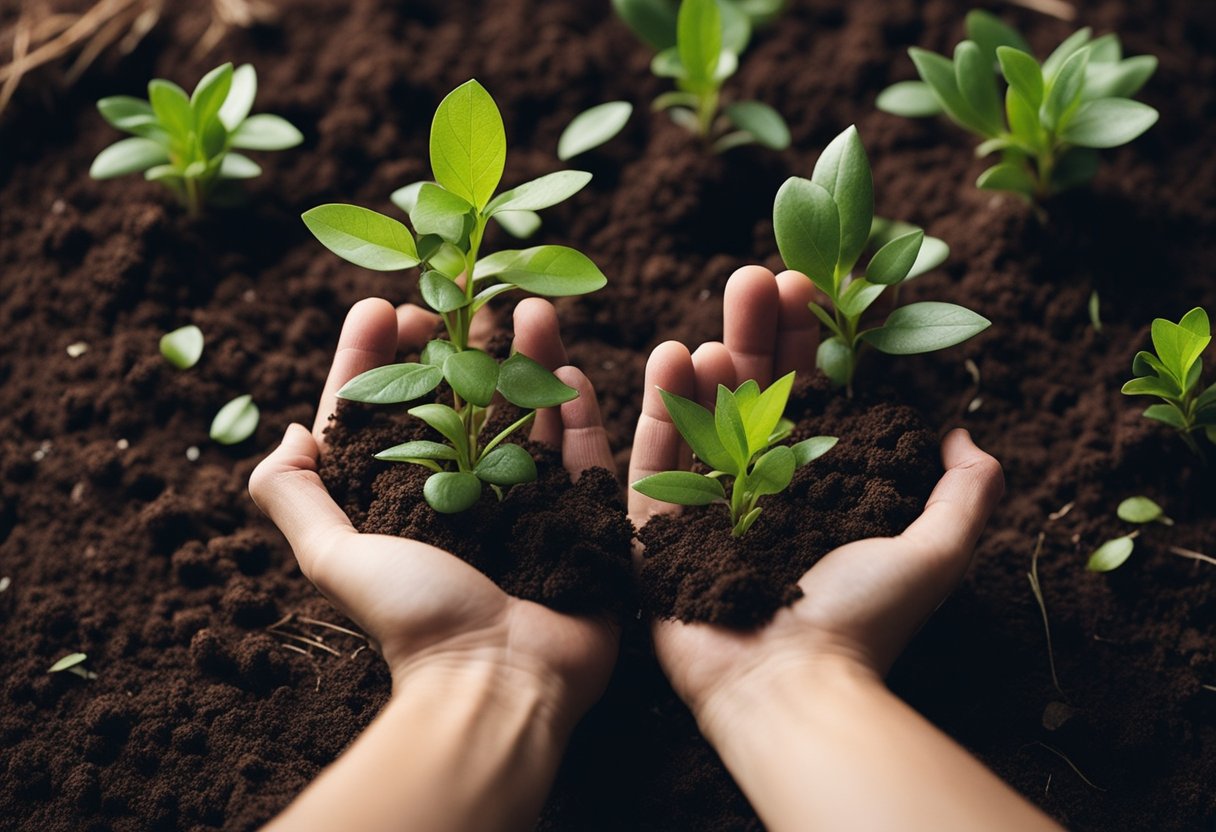
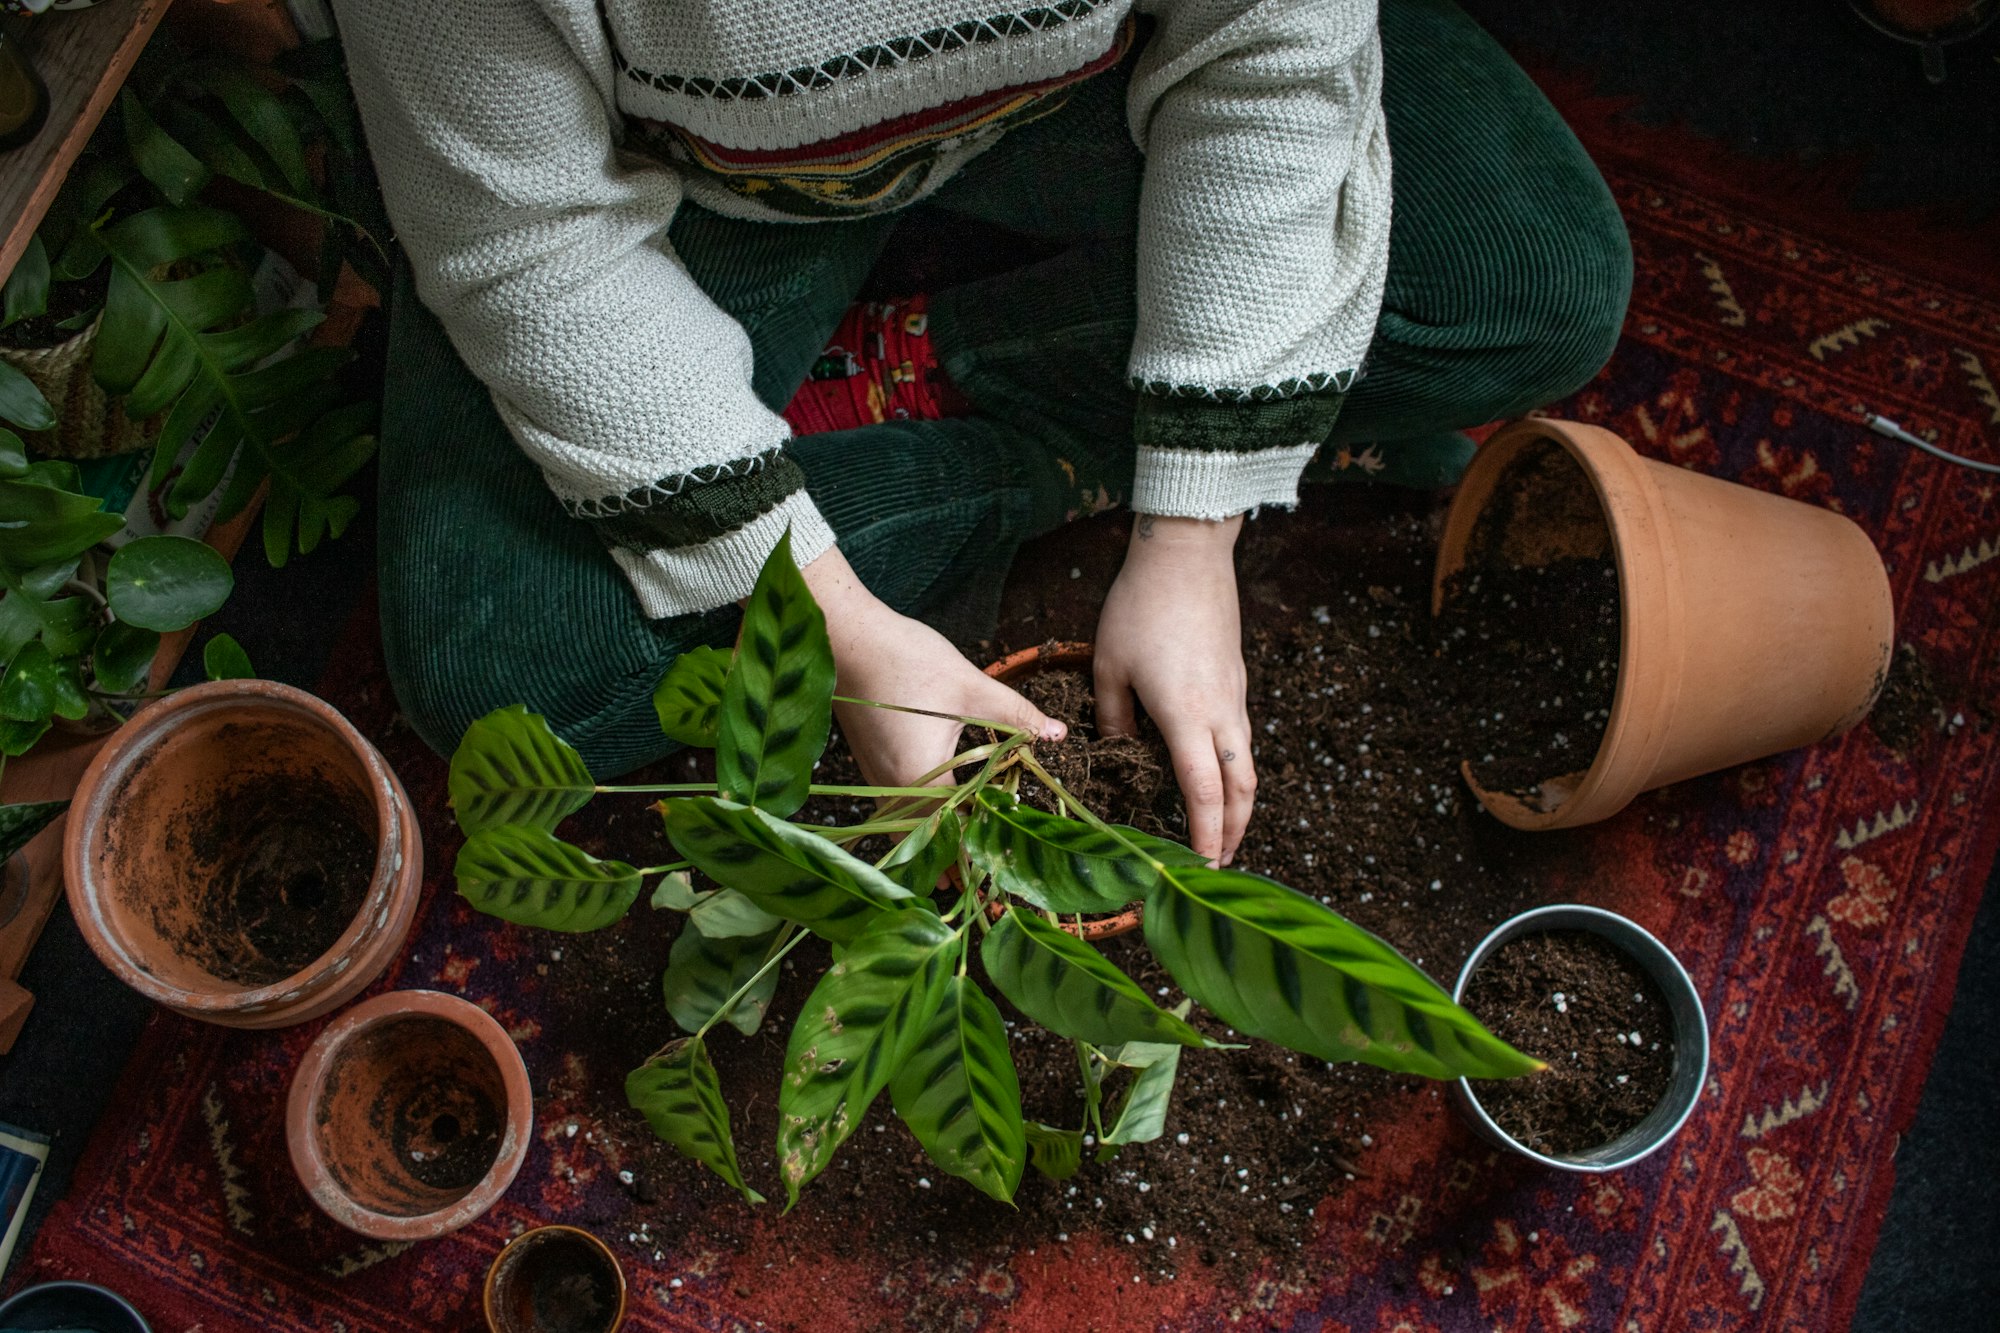
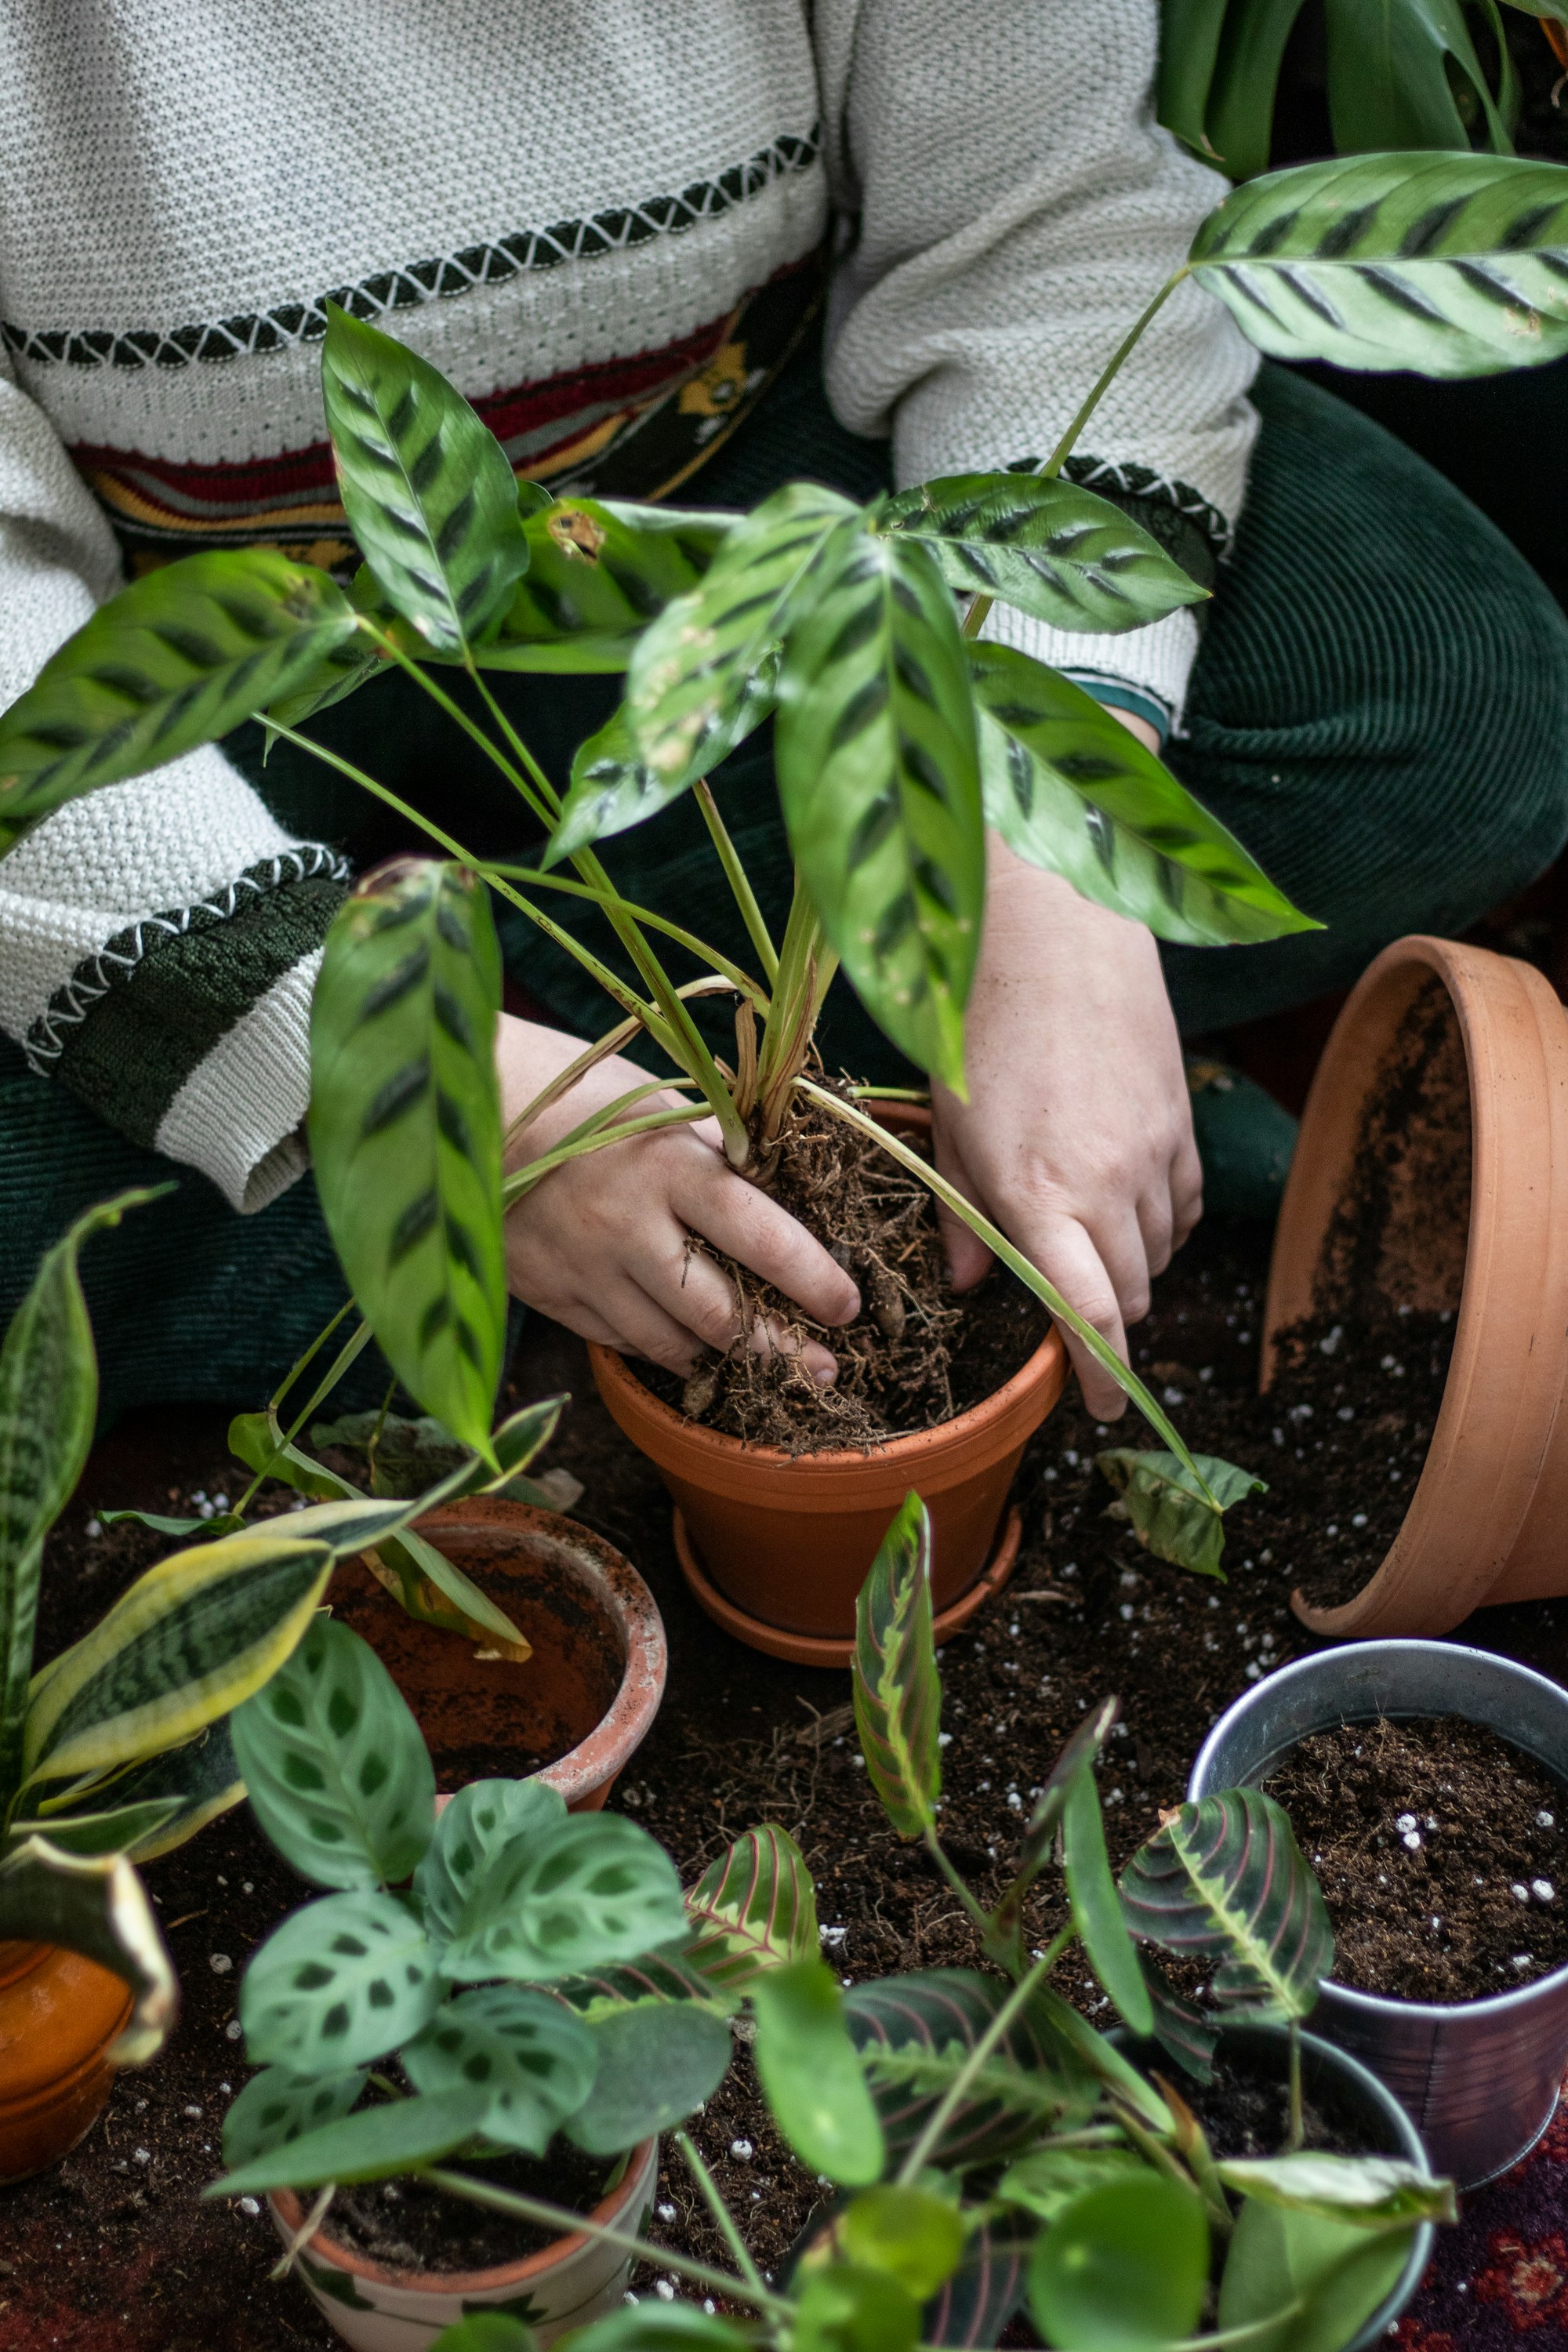
Analyzing and Preparing Roots
Before repotting a plant, it's essential to assess the health of its roots. Gently remove your plant from its current pot and examine the root ball, looking for signs of root rot or a root-bound plant.
Root rot commonly appears as dark, mushy roots, while a healthy root system will feature white or light-colored, firm roots.
To prepare the roots for repotting, gently loosen the root ball to release any compacted soil and untangle any entwined roots.
If you encounter dead or rotting roots, trim them away with clean, sharp scissors to promote healthy root growth in the new pot.
This step ensures a strong foundation for your plant's continued growth and well-being.
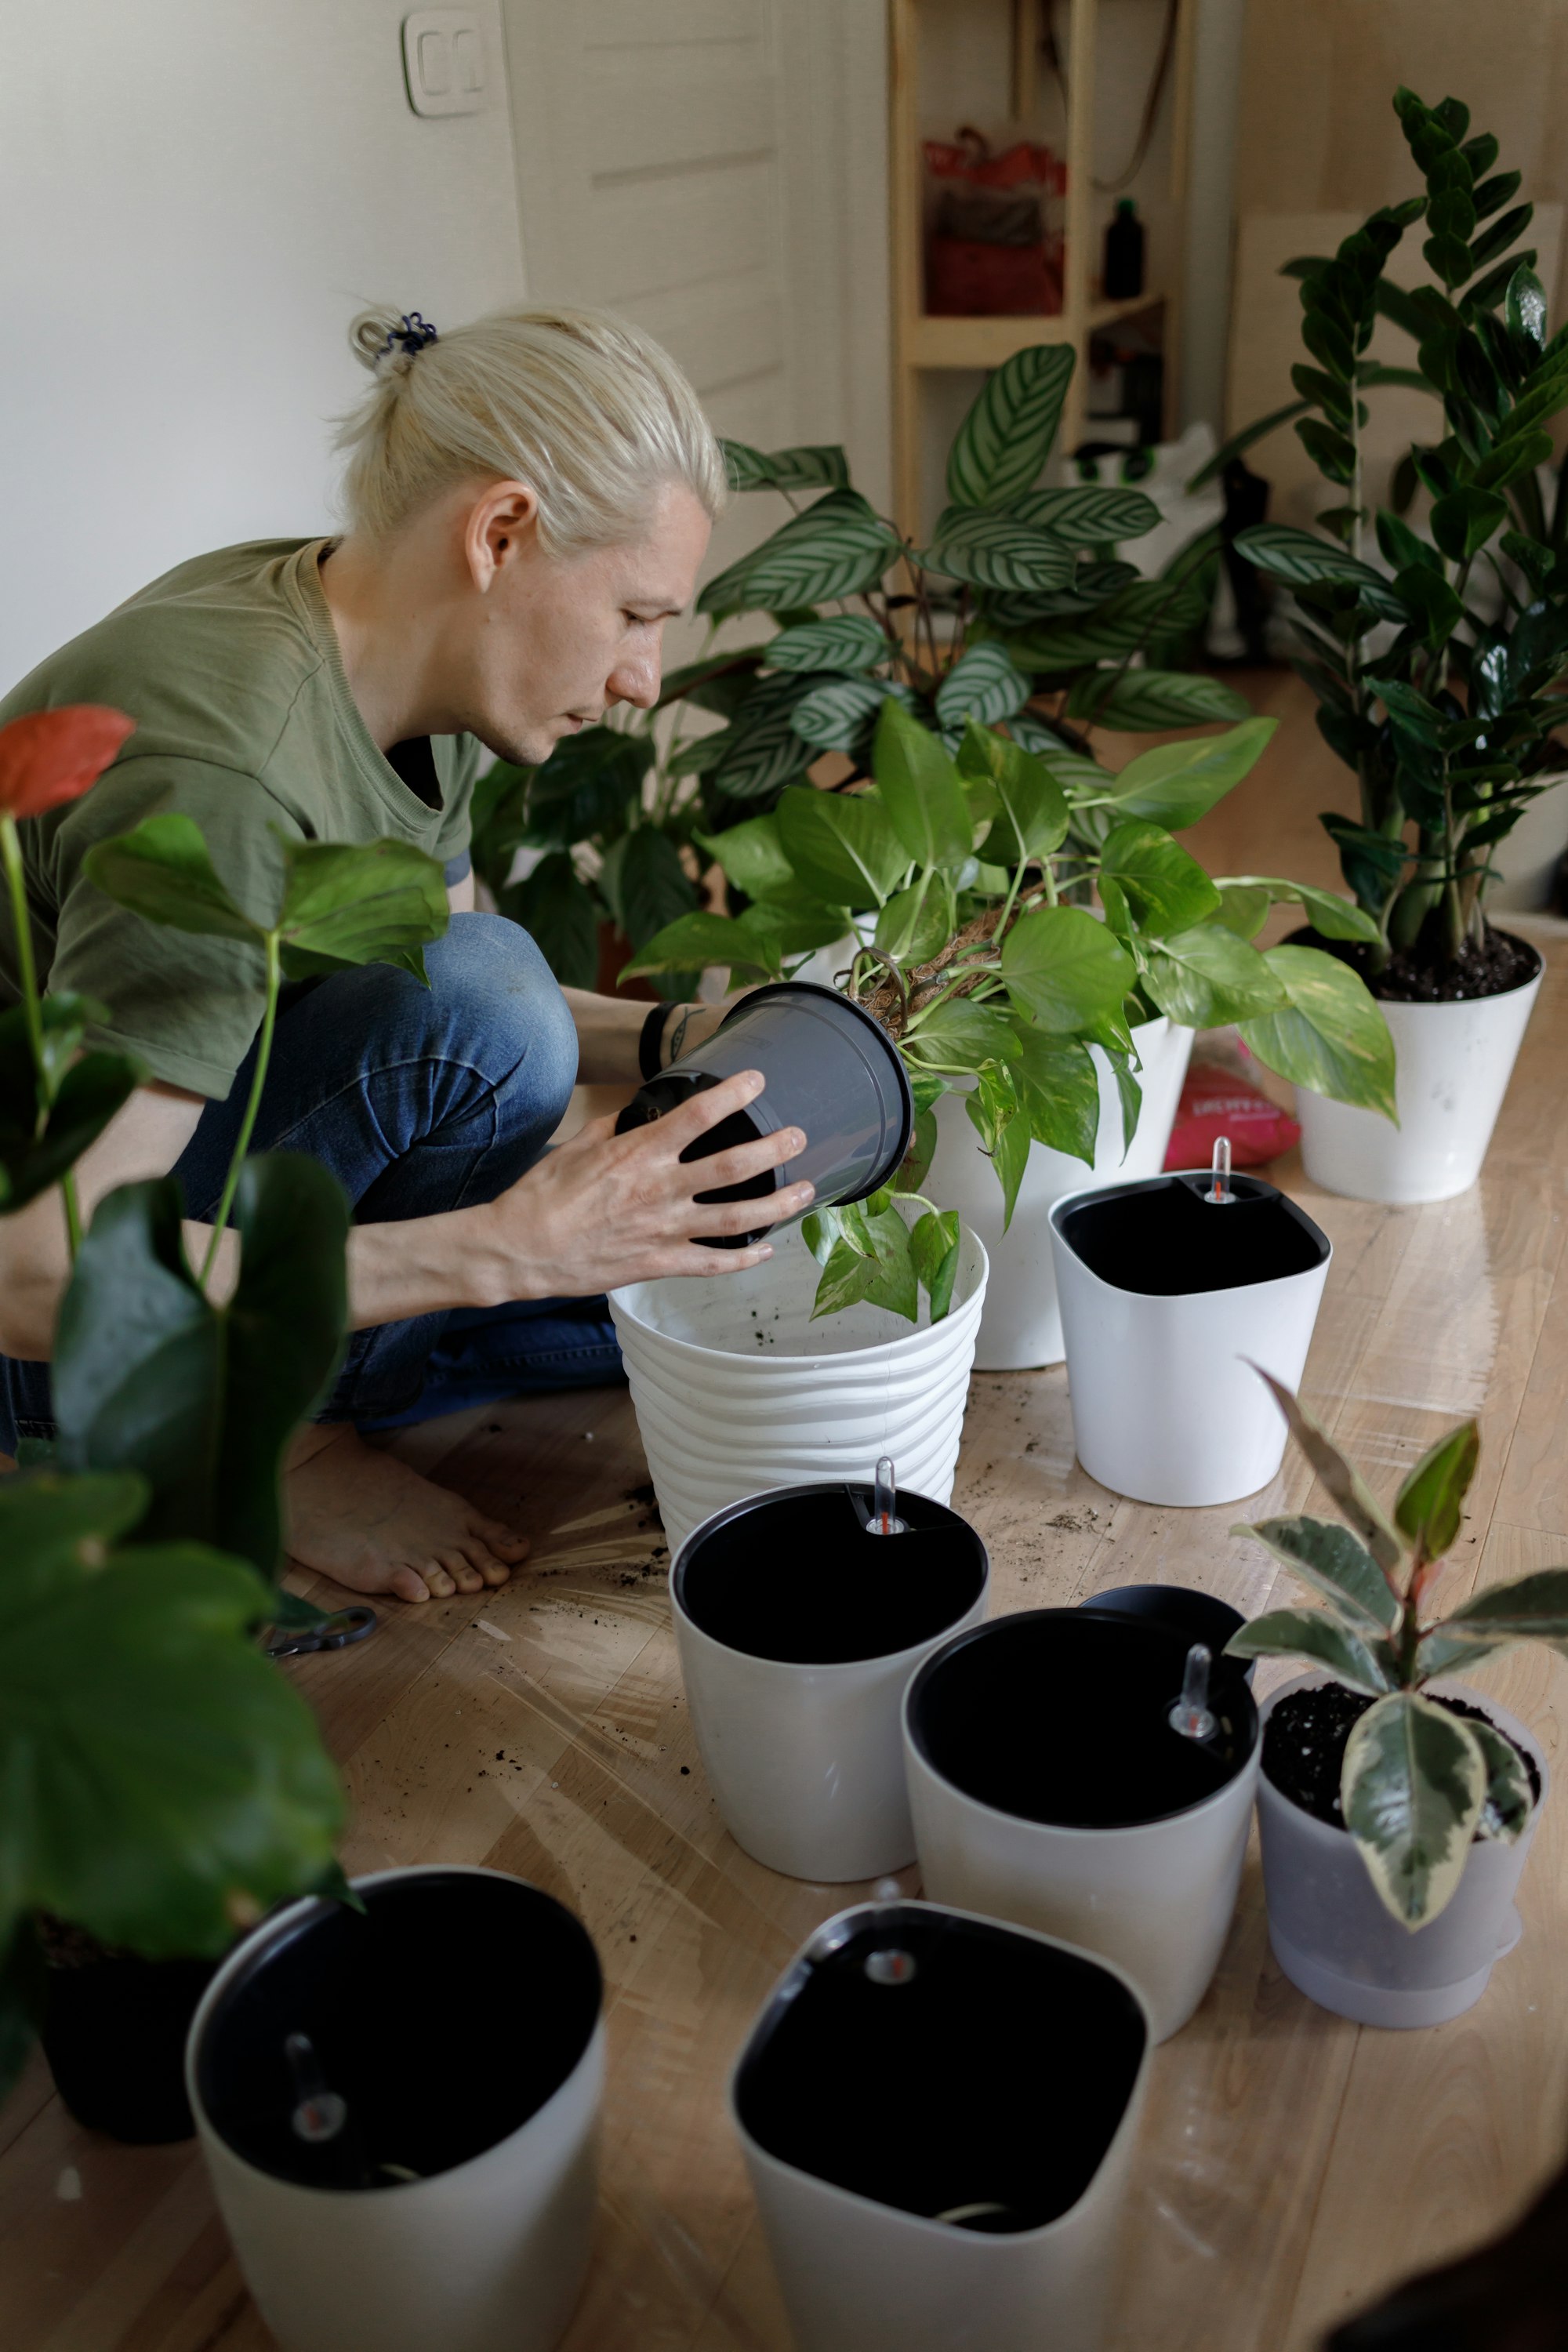
Transplanting Process
Begin repotting by preparing your new planter with a layer of fresh potting soil at the bottom.
This provides a cushion for your plant's roots and ensures enough space for growth.
Next, carefully remove the plant from its old planter by holding it by its leaves or stems and gently tapping the bottom until it slides out.
Place the plant in the center of the new pot, on top of the fresh potting soil. Then, add more potting soil around the plant until properly secured.
Be sure to water the plant slightly so the soil is moist, as this will facilitate a smoother transition during repotting.
Filling the Pot
First, ensure your new pot has a drainage hole at the bottom to prevent waterlogging.
To keep soil from escaping through the drainage hole, place a piece of screen or broken terracotta over it.
Next, fill the pot about 1/4 to 1/3 with fresh, well-draining potting soil suitable for your plant type.
This will give your plant's root system ample space to grow and thrive in its new home.
Ensuring Proper Drainage
Choose the suitable container: Select a pot with drainage holes to allow excess water to escape. Consider using porous terracotta pots, as their pores will leach out moisture, preventing root rot.
Create a drainage layer: Place a layer of gravel or broken pottery pieces at the bottom of the container before adding soil.
This will help stop dirt from flowing through the drainage holes and promote air pockets, giving your plant access to oxygen.
Size and Growth Monitoring
When repotting plants, regularly monitoring their size and growth is essential.
Observe the plant's overall health, including new growth, stunted growth, and any changes in its appearance.
This helps you assess when it's time for a repot, allowing the plant to thrive in a larger space with fresh nutrients.
To maintain optimal growth, periodically check your plant's roots for signs of overcrowding and consider their current pot size.
If roots start to circle the container or poke through the drainage holes, it's likely time to repot into a slightly larger container, giving your plant room to grow.
Post Repotting Care
After repotting your indoor plants, it's crucial to provide the appropriate care to help them adapt to their new environment.
Water the plant immediately after repotting to help the soil settle, but avoid overwatering. Keep an eye on moisture levels to ensure optimal plant care.
Pay attention to the foliage, as pruning might be necessary to maintain the plant's health.
Remove dead or yellow leaves to let your plants focus their energy on new growth.
Following these tips, you can nurture your repotted plants and enjoy their beauty for years.
Frequently Asked Questions
What is the best potting mix for repotting plants?
The ideal potting mix for repotting plants is well-draining and provides sufficient nutrients.
A mix containing equal peat moss, perlite, and high-quality garden soil is a good starting point.
How can I ensure proper drainage when repotting houseplants?
To create proper drainage, start by placing a layer of small rocks or broken pieces of pots at the bottom of the container.
Select a pot with drainage holes at the bottom, or add drainage holes if possible.
What is the process for repotting plants from a nursery?
When repotting a plant from a nursery, gently remove it from its original container and loosen the roots.
Carefully transfer it to the new pot filled with fresh potting mix, then firm the soil around the base and water thoroughly.
How do I repot plants in pots without drainage holes?
If your pot lacks drainage holes, add a layer of stones or activated charcoal at the bottom to absorb excess water.
Be mindful to water your plants sparingly, allowing the soil to dry slightly between waterings to prevent root rot.
When is the ideal time to repot indoor plants?
Most indoor plants' ideal time to repot is during their active growing season, typically in early spring.
This allows the plants to recover quickly and settle into their new environment, promoting healthy growth.
Should I disturb roots while repotting?
It's generally advisable to gently tease out the roots when repotting, especially if they are root-bound.
This helps to encourage growth in the new pot and allows the roots to access nutrients and water more efficiently.