Harden Off Seedlings
Hardening off seedlings is a crucial process for gardeners. It helps transition young plants from the controlled environment indoors to the variable conditions outdoors.
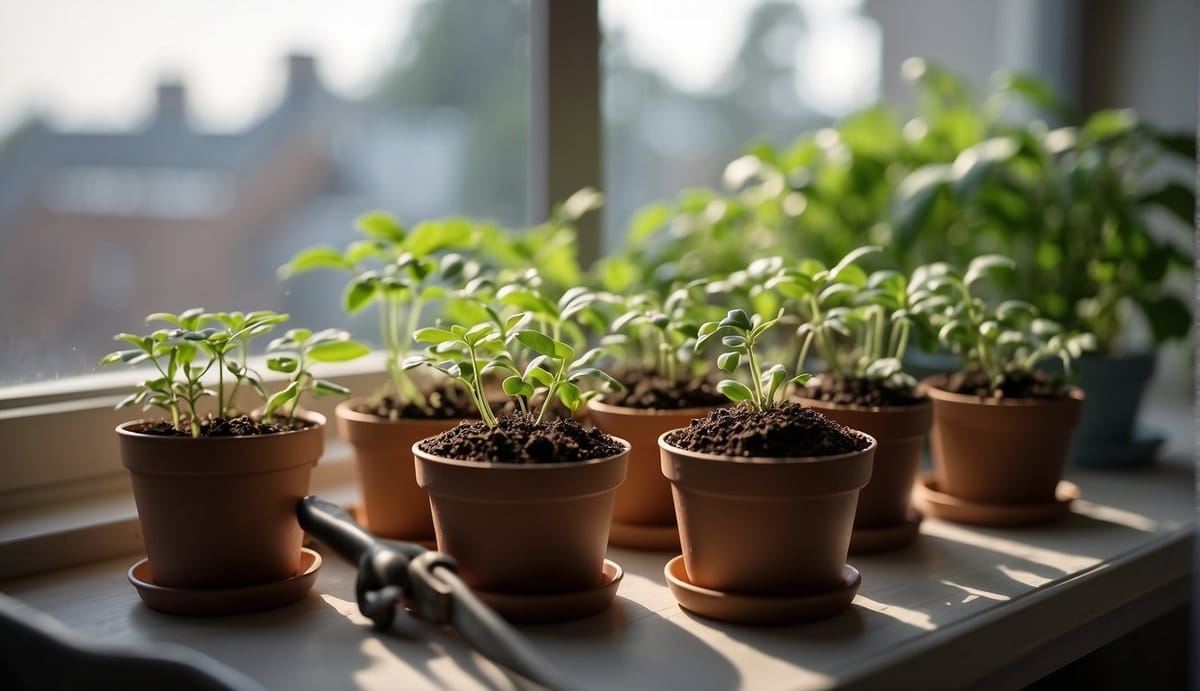
The practice involves gradually exposing seedlings to outdoor weather. This helps bolster their resilience before they're permanently planted outside.
Without this acclimation period, the delicate seedlings can experience shock from the abrupt change in temperature, wind, and sunlight. This often leads to stunted growth or even death.
The hardening off process can typically begin after the threat of frost has passed and when the seedlings have grown strong enough indoors.
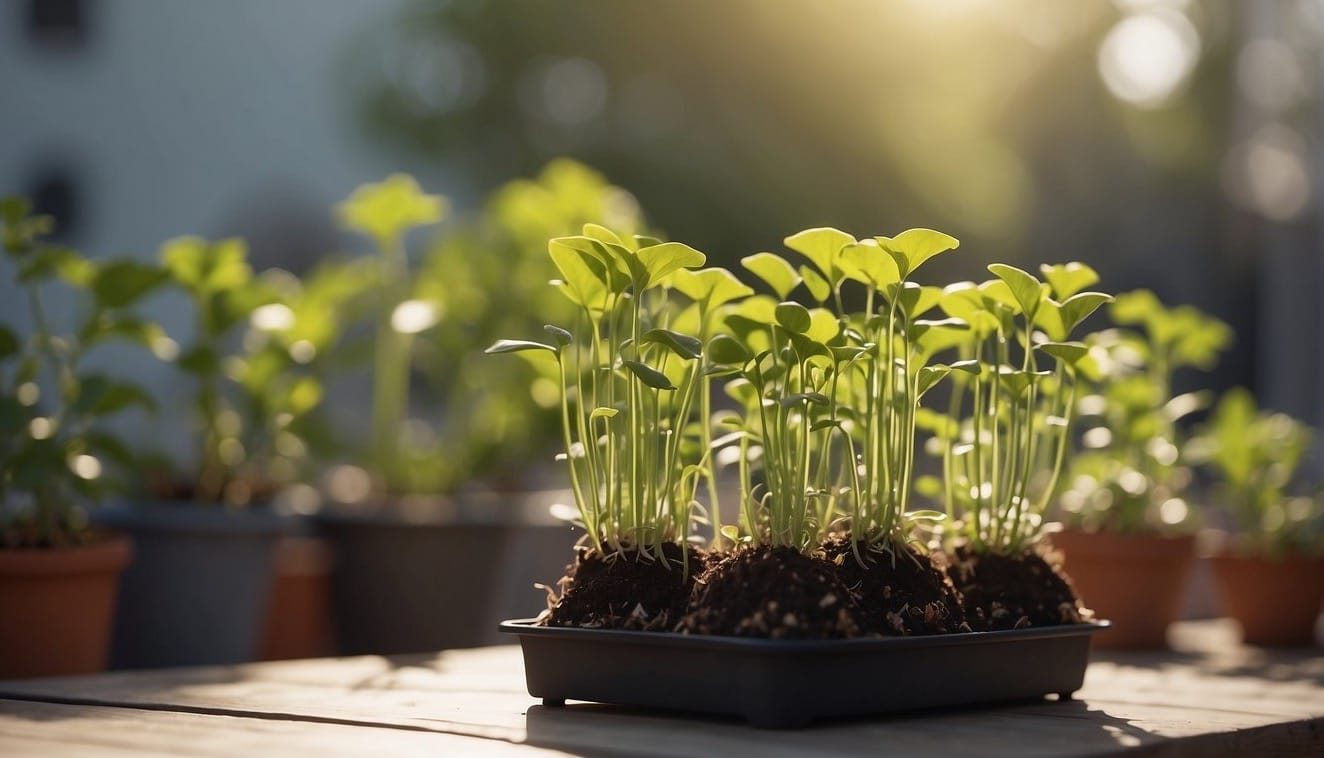
It's a step-by-step routine over the course of a week or more. With this method, you incrementally increase the time seedlings spend outdoors.
This methodical introduction helps the plants to adapt to their new environment by developing tougher foliage and stems. It also allows them to better withstand the stresses of full sunlight, night-time coolness, and less frequent watering.
Key Takeaways
- Gradual exposure to outdoor conditions is essential for preventing shock in seedlings.
- Begin hardening off after frost risk is minimal and seedlings are sturdy.
- Increase outdoor time over a week or more to acclimate plants effectively.
Understanding Hardening Off
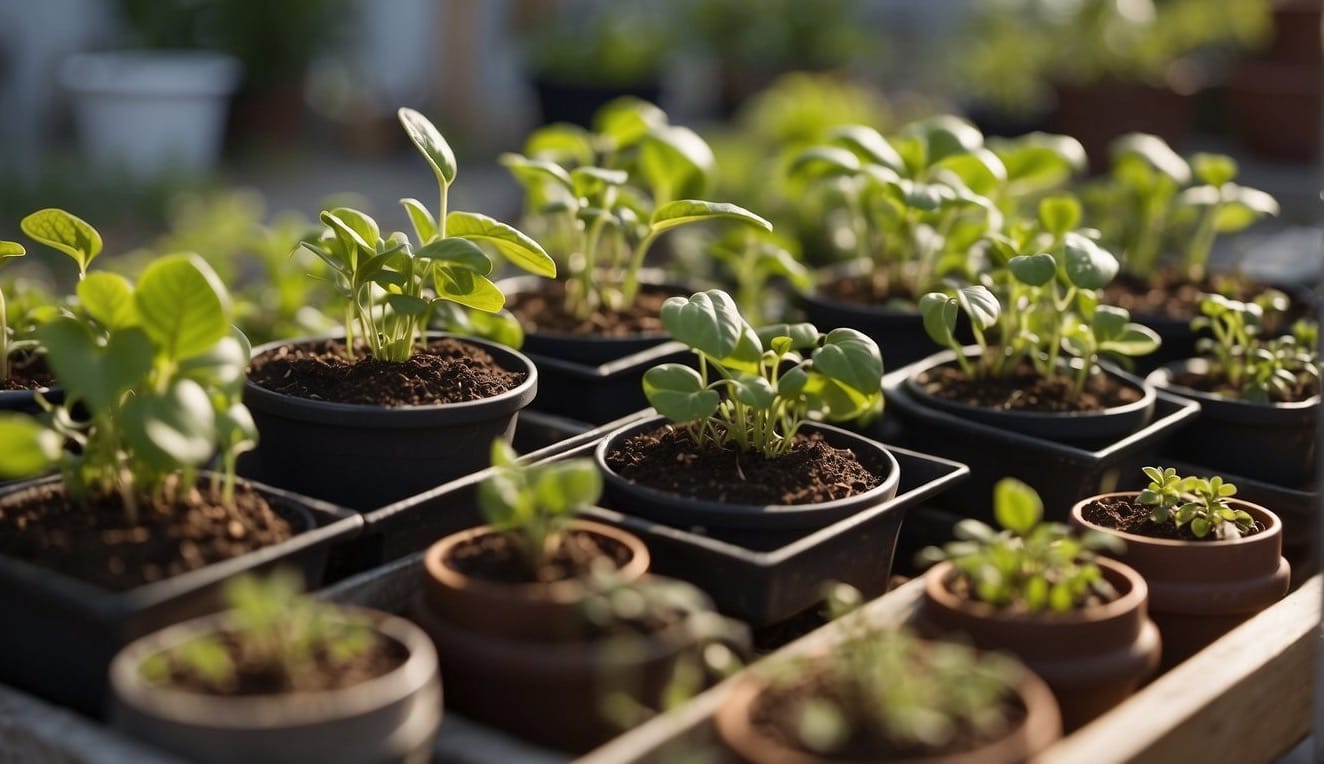
Hardening off is a critical transition period for seedlings, taking them from a protected environment to the outdoors, so let's break it down.
The Science of Hardening Off
Hardening off refers to the process of gradually acclimatizing indoor-grown seedlings to outdoor conditions. During this period, seedlings adapt to more intense sunlight, temperature fluctuations, and wind.
This gradual transition involves a series of steps where you expose your plants to the elements for increasing amounts of time over a week or more. By doing so, you induce a physiological adjustment that thickens cuticles and reduces leaf area. This enhances the plant's tolerance to harsher conditions.
Key Steps:
- Start with 2 to 3 hours of exposure to dappled or partial sunlight.
- Incrementally increase the duration of sun exposure by 1 to 2 hours daily.
- Introduce the plants to full sunlight for a part of the day by the third or fourth day.
- Monitor water needs carefully, ensuring the soil is moist but not waterlogged.
Benefits of Proper Hardening Off
By hardening off your seedlings properly, you reduce the risk of transplant shock, which can stunt growth or even kill plants. Well-hardened off seedlings show improved resilience to temperature changes, wind, and less controlled watering schedules.
This results in a stronger root system and overall plant health, leading to better growth outcomes once your seedlings are fully transplanted outdoors.
Advantages:
- Reduced stress on plants transitioning to varying outdoor conditions
- Decreased susceptibility to environmental threats
- Optimized growth and development post-transplant
When to Start Hardening Off Seedlings
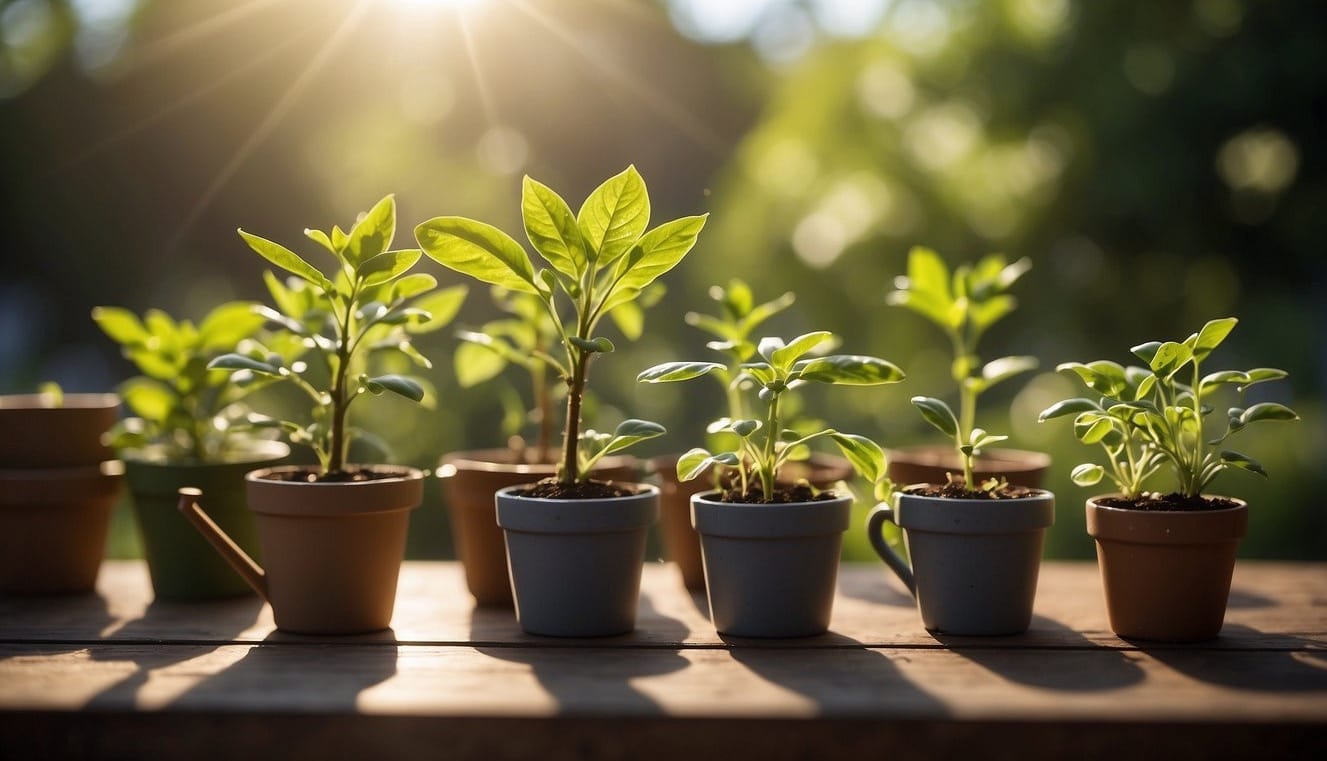
Proper timing is crucial for hardening off seedlings. Begin the process once your plants are mature enough and when outdoor conditions are advantageous for a gradual transition.
Tracking the Last Frost Date
Check the local last frost date, which is a pivotal benchmark for planting most seedlings. This date indicates when it is statistically safe from frost and typically marks the start of the planting season in your area.
- For cold-hardy plants: Prepare to harden off approximately two to four weeks before the last frost date.
- For frost-sensitive plants: Start hardening off after the last frost date has passed to avoid any risk of cold damage.
Recognizing Seedling Maturity
Seedling maturity is another critical factor for hardening off.
- Look for the seedlings to have their first set of true leaves and to stand a couple of inches tall.
- Ensure they are robust enough to handle the environmental stresses outside, including sunlight, temperature variations, and wind.
Monitor the nighttime temperatures to ensure they don’t dip too low, potentially damaging the young plants. A good rule of thumb is:
- For cool-season crops: Nighttime temperatures should consistently be above 40°F (5°C).
- For warm-season crops: They should be above 55°F (13°C).
Preparing for Hardening Off
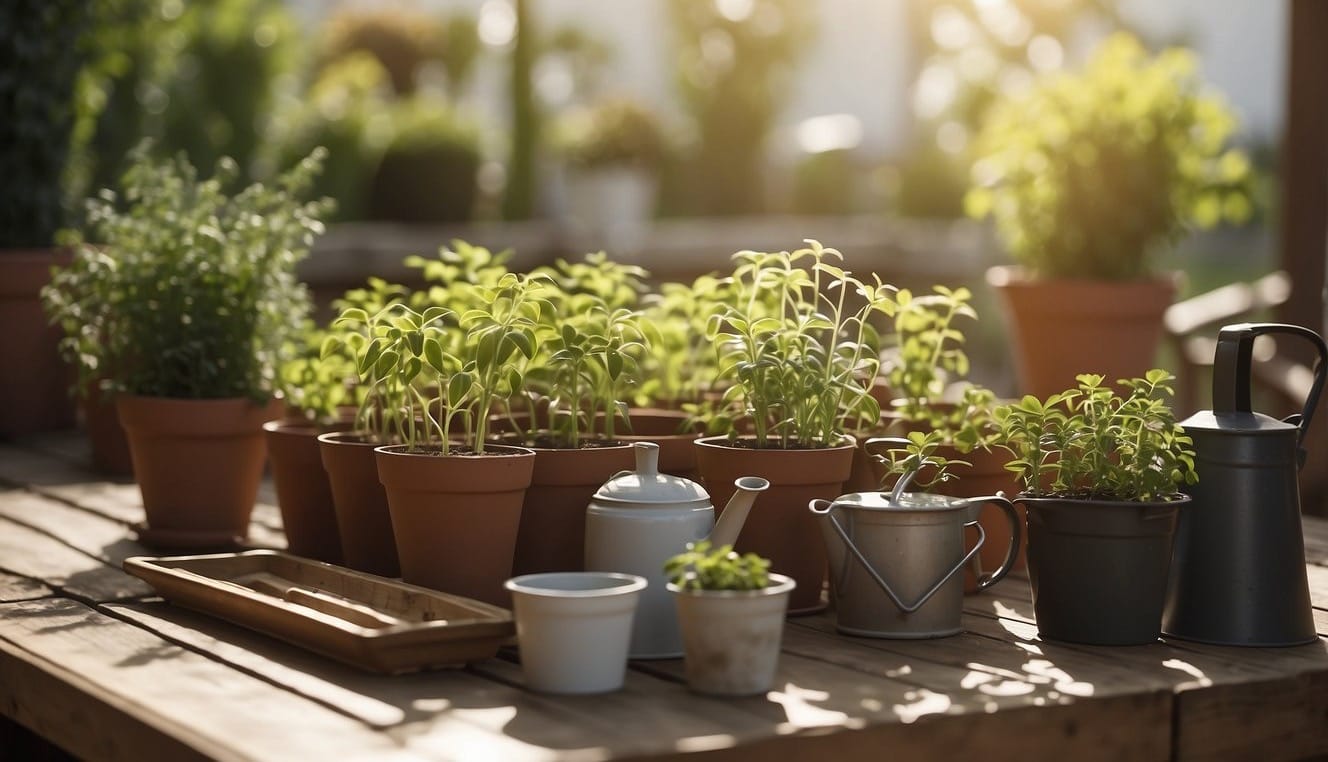
Before you begin the hardening off process, make sure your seedlings are healthy and the environment is conducive for their gradual transition to the outdoors. The success of this stage is crucial for developing resilience against the elements.
Seedling Inspection
Firstly, inspect your seedlings to verify they are ready for the hardening off process. Check for:
- Strong stem growth: Seedlings should have sturdy stems.
- True leaves: Look for the development of a couple of inches of true leaves, which are the second set of leaves after the initial sprout.
- Healthy roots: The roots should be well-formed but not pot-bound.
If your seedlings meet these criteria, they're prepared for the next phase.
Environmental Adjustments
Adjusting the seedlings' environment gradually is essential. Here's what to consider for this adjustment period:
- Light: Start by placing your seedlings in dappled or partial sunlight for a few hours each day to acclimate them.
- Watering habits: Maintain soil moisture but begin to reduce the frequency of watering slightly to encourage stronger root growth.
- Soil: The soil should be moist, but avoid waterlogged conditions which can stress the seedlings.
- Protection: Ensure the seedlings are in an area sheltered from strong winds or heavy rain during initial exposure.
By carefully managing these environmental factors, you are enhancing the seedlings' cuticle development, which is their protective layer, and preparing them for the more intense conditions they will face in the garden.
The Hardening Off Process
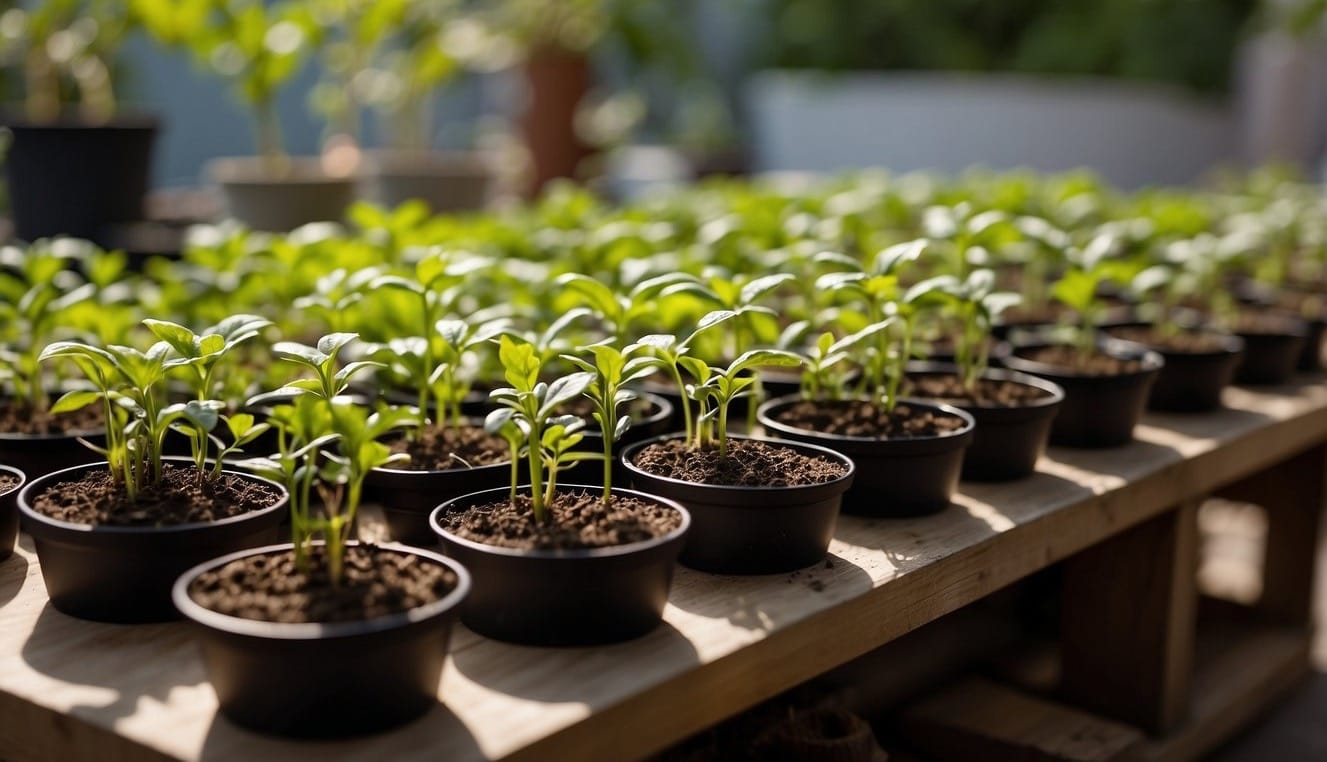
The hardening off process is a critical step you undertake to prepare your seedlings for the transition from a protected indoor environment to the varied conditions they'll face in your garden.
Initial Outdoor Exposure
Your seedlings' first encounter with the outside world should be in a sheltered environment with minimal stress factors. Start by placing them outdoors in a spot that provides full shade, such as beneath a large tree or on the north side of a structure, for two to three hours. During this phase, ensure they're protected from strong wind and harsh sun.
- Day 1: 2-3 hours in shade
- Ensure protection from wind and direct sun
Gradually Increasing Outdoor Time
After the initial exposure, incrementally increase their time outdoors by one to two hours daily, gradually exposing them to longer periods of direct sun. The progression might look like moving from partial shade to dappled sun before finally placing the seedlings in full sun.
- Days 2-7: Increase exposure by 1-2 hours each day
- Move from shade to partial sun, and then to full sun
Monitoring Weather Conditions
Keep a close eye on temperatures and unexpected changes in weather. Seedlings are especially delicate and can be damaged by extreme conditions.
Use a cold frame to shield the seedlings if temperatures dip, or move them back to a sheltered environment if severe weather threatens. Adjust the length of time spent outside according to the day's conditions.
- Monitor and safeguard against low/high temperatures and severe weather
- Adjust outdoor exposure and use cold frames as needed
Transition to the Full Outdoor Environment
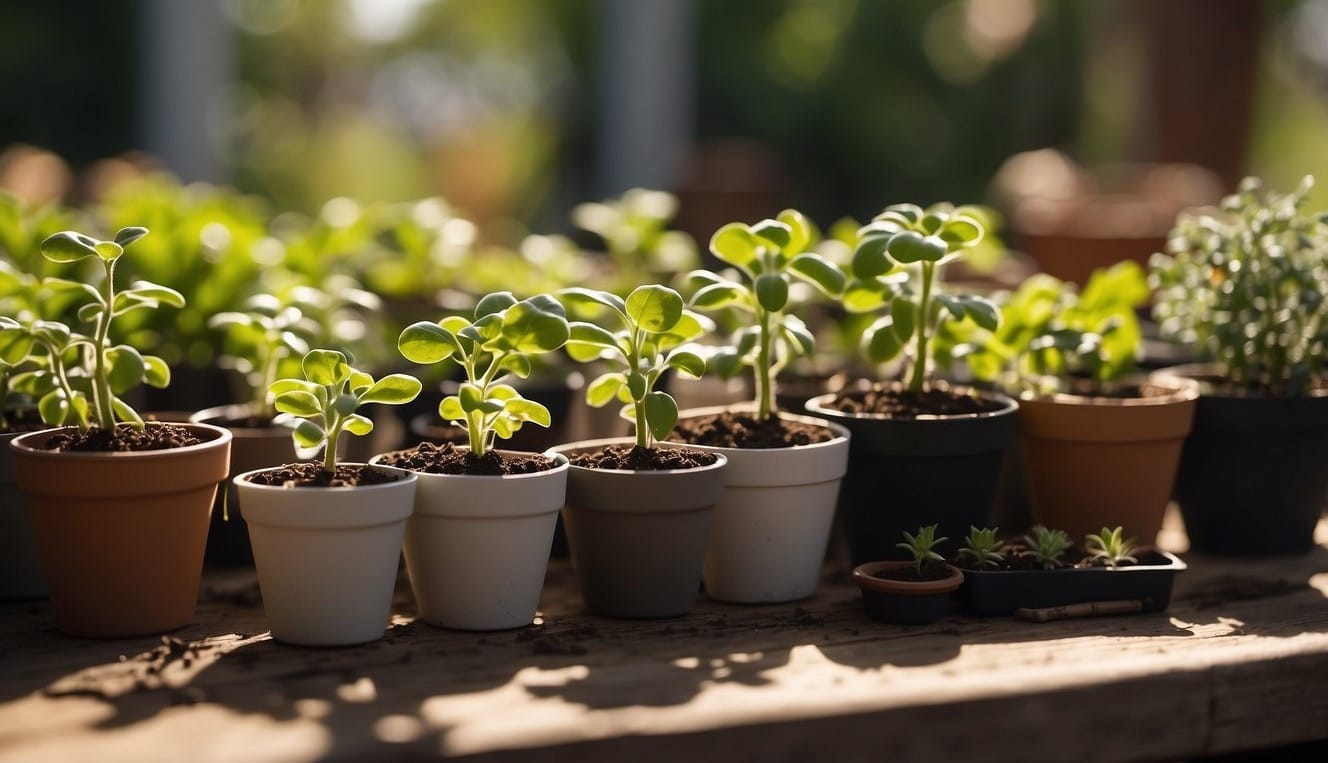
Moving your seedlings outdoors is a critical step in their growth. Success depends on gradual exposure to the elements and careful observation of weather conditions to prevent transplant shock.
Using Transitional Protection
When you introduce your seedlings to the outdoor environment, transitional protection is essential. Begin by placing your seedlings outside for a few hours each day, gradually increasing their exposure:
- Day 1-3: Position your seedlings in a sheltered, shady spot to avoid strong sun and wind.
- Time outside: 1-3 hours
- Day 4-7: Transition them to morning sun, providing afternoon shade to protect from intense heat.
- Increase outdoor time by 1 hour daily
Employ row covers to shield your young plants against harsh conditions such as strong winds or unexpected frosts.
These covers can be especially beneficial if the temperature drops suddenly or if you anticipate frost. Always secure the row cover so it won't blow away and check that it allows enough light penetration for growth.
Assessing Weather for Transplanting
Before you transplant, it’s vital to assess the weather:
- Overcast Days: These are ideal for transplanting as the cloud cover minimizes stress from intense sunlight.
- Frosts: Always be wary of forecasts predicting frosts.
- If a frost is imminent:
- Provide frost protection like cloches or row covers the night before.
- Postpone transplanting until the risk has passed.
Keep a close eye on the temperature and weather forecasts to plan your transplanting schedule.
Taking these steps ensures a smoother transition for your seedlings to thrive in their new outdoor home.
Post-Hardening Off Care
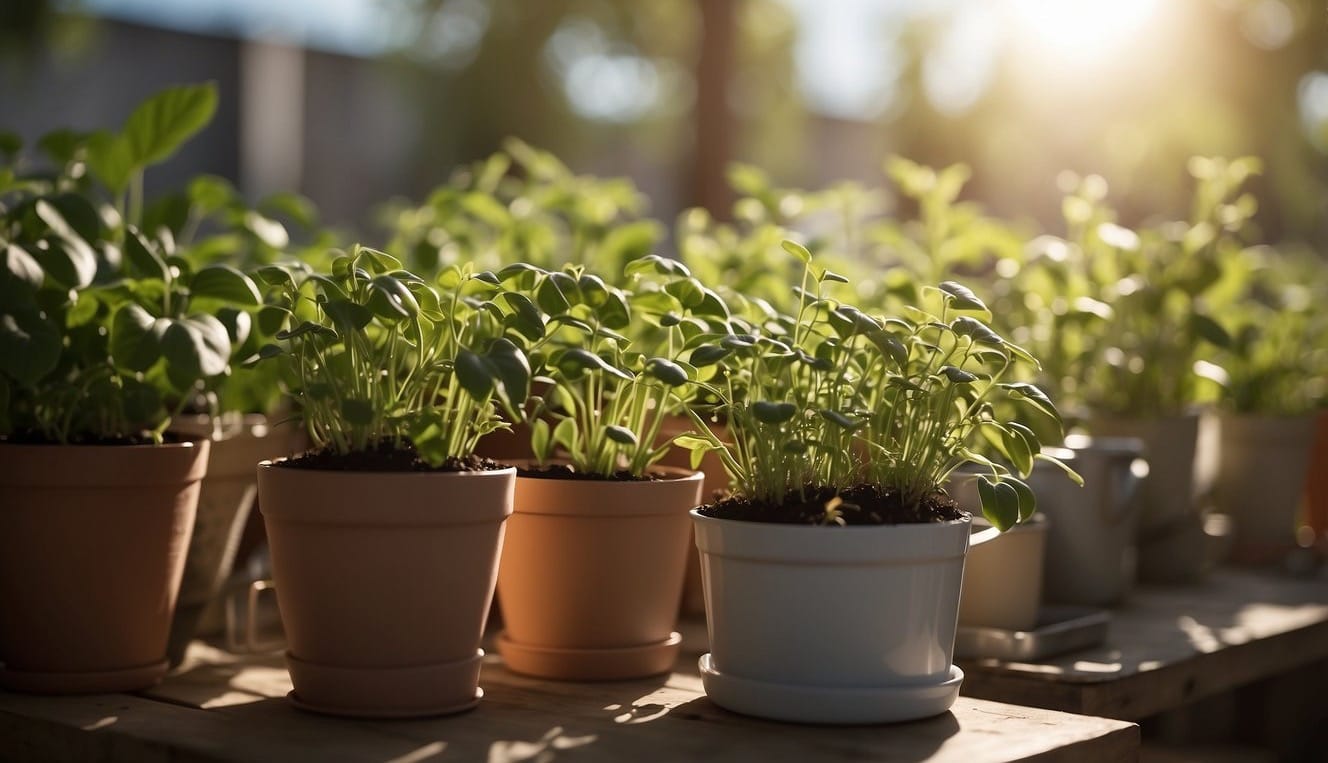
After carefully acclimating your seedlings to the outside environment, it's crucial to ensure their continued wellbeing through attentive post-transplant care.
Monitoring Post-Transplant Health
Upon transplanting, regularly inspect your seedlings for signs of stress such as wilting or discoloration, which might indicate transplant shock or other issues.
Healthy growth should be evident with new foliage and stems developing.
Keep an eye on the weather forecast as well; sudden changes can affect delicate, newly-transplanted seedlings.
Watering and Feeding
Maintaining proper soil moisture is essential for the development of seedlings post-transplant.
They should be watered thoroughly yet not so much as to cause waterlogged soil conditions.
- Soil moisture guide:
- Dry to the touch: time to water.
- Moist: avoid watering to prevent over-saturation.
Feed your seedlings with a balanced fertilizer to support healthy growth, but only apply as recommended to avoid over-fertilization.
Common Challenges and Solutions
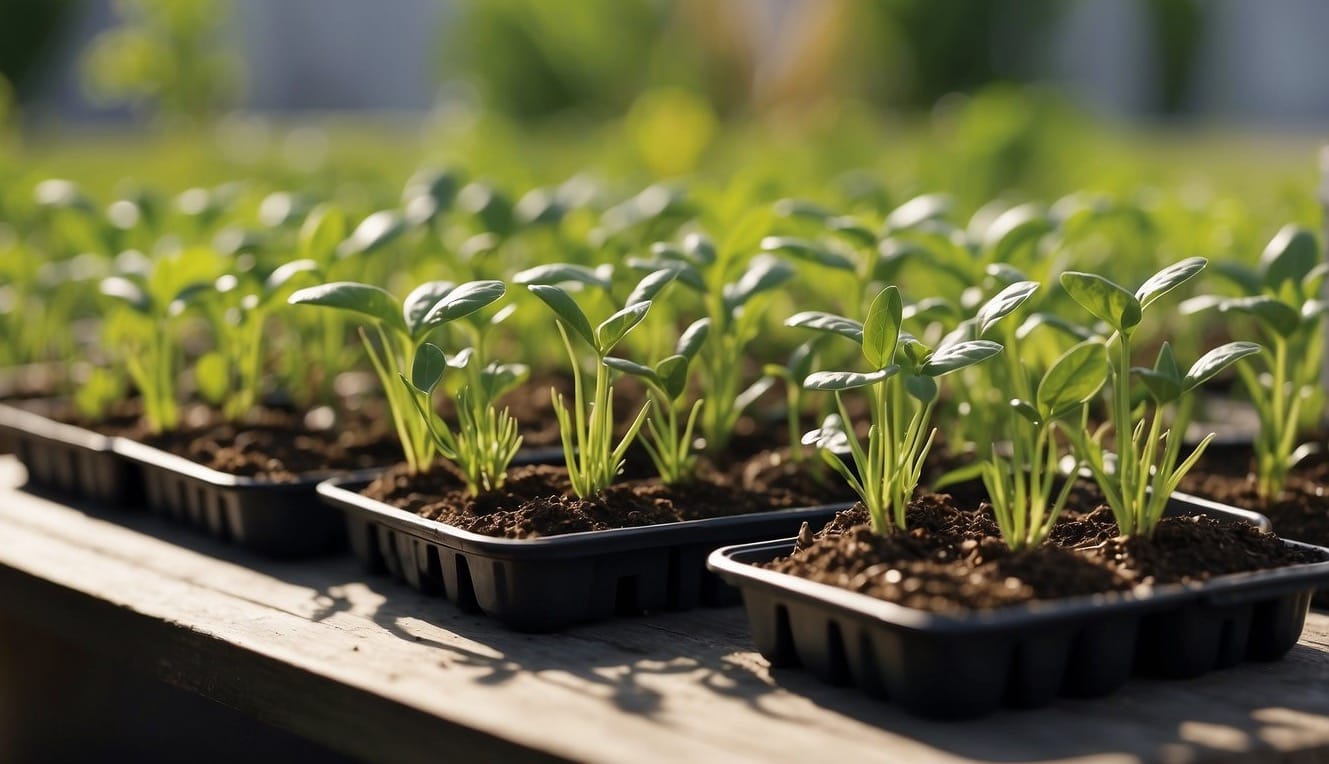
When hardening off seedlings, you're likely to encounter some hurdles, such as adverse weather conditions and typical seedling afflictions. Understanding how to address each challenge will ensure your plants transition successfully to the outdoor environment.
Dealing With Unpredictable Weather
Unpredictable weather can lead to damage from sudden temperature drops or intense sun.
- Solution for Cold: Use cloches or floating row covers to protect your seedlings from unanticipated cold snaps.
- Ensure covers are secured against the wind while allowing for adequate airflow.
- Solution for Heat: Gradually expose your seedlings to sunlight to prevent wilting or scorching. Start with shade and increase exposure daily.
Preventing Common Seedling Problems
Diseases and pests can be detrimental during the hardening off period.
- Solution for Diseases: Ensure good air circulation by spacing out seedlings, and water at the base to keep foliage dry, reducing the risk of fungal diseases.
- Solution for Pests: Inspect plants regularly and introduce natural predators or use organic insecticidal soaps if needed.
Moisture loss is another concern.
- Solution for Moisture: Keep the soil consistently moist but not waterlogged. Mulch can be used to retain soil moisture while seedlings acclimate to the new environment.
Tips for Specific Types of Plants
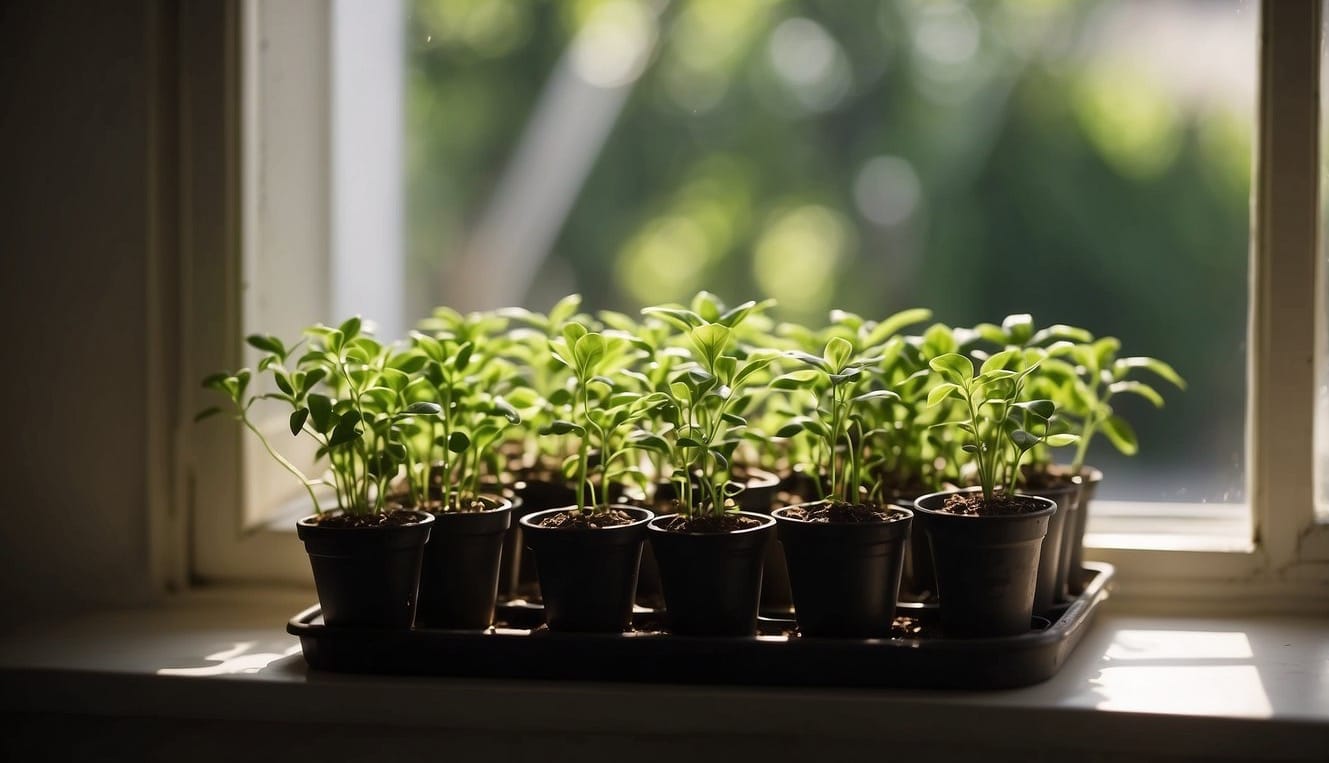
When it comes to hardening off seedlings, understanding the unique needs of specific plant types is crucial for a successful transition to the outdoor garden.
Hardening Off Tomatoes and Peppers
Tomatoes and peppers, as warm-season crops, are sensitive to temperature fluctuations.
Tomatoes:
- Begin the hardening-off process approximately 7-14 days before the expected last frost date.
- Initially, expose them to 2-3 hours of dappled sunlight and gradually increase to full sun over a week, avoiding temperatures below 50°F (10°C).
Peppers:
- Similar to tomatoes, start with 2-3 hours of light exposure.
- Ensure that nighttime temperatures are consistently above 55°F (13°C) before leaving them out overnight.
Caring for Cold-Hardy Varieties
Cold-hardy plants such as cabbage can tolerate cooler temperatures and can be transitioned outdoors sooner.
Cold-Hardy Plants:
- Begin hardening off 2-4 weeks before the last frost date.
- Expose to full sun gradually, starting with a few hours per day.
Cabbage:
- Withstand cooler temperatures, but still ensure they are acclimatized slowly to prevent shock.
- Gradual exposure to the elements is key, extending outdoor time over 7-14 days.
Frequently Asked Questions
Before you bring your seedlings out into the world, it's crucial to prepare them properly. The following FAQs will help you understand how to harden off your seedlings effectively.
What is the process for hardening off seedlings before transplanting?
Hardening off seedlings is a gradual acclimation process.
You start by exposing them to the outdoors for a couple of hours a day, increasing exposure time daily until they can withstand a full day of sunlight and outdoor conditions.
What are some common mistakes to avoid when hardening off plant seedlings?
Avoid rushing the process or skipping days, exposing seedlings to extreme temperatures suddenly, and not adjusting watering to meet their changing needs.
These can all lead to shock and potentially kill the seedlings.
How long should the hardening off process take for most seedlings?
The hardening off process generally takes 7 to 10 days. This allows your seedlings to slowly adapt to the outside conditions, from limited exposure on day one to full exposure in over a week.
Can the hardening off process be accelerated, and if so, how?
You can sometimes accelerate the process to 7 days if conditions are ideal – mild weather with overcast skies and moderate temperatures. Nevertheless, it is safer to allow a full 10 days.
Are there any risks to skipping the hardening off stage for seedlings?
Skipping hardening off can result in transplant shock, which can stunt growth or cause death.
The seedlings won't be prepared for sunlight, wind, or temperature changes, which can all cause severe damage to unacclimated plants.
What are the critical steps in the hardening off process for seedlings?
- Begin with two to three hours of exposure to dappled sun. Then, increase it slowly.
- Make sure seedlings are well-watered to prevent stress.
- Protect them from strong winds and harsh conditions initially.
- Gradually expose them to the conditions they will face in their permanent location.
