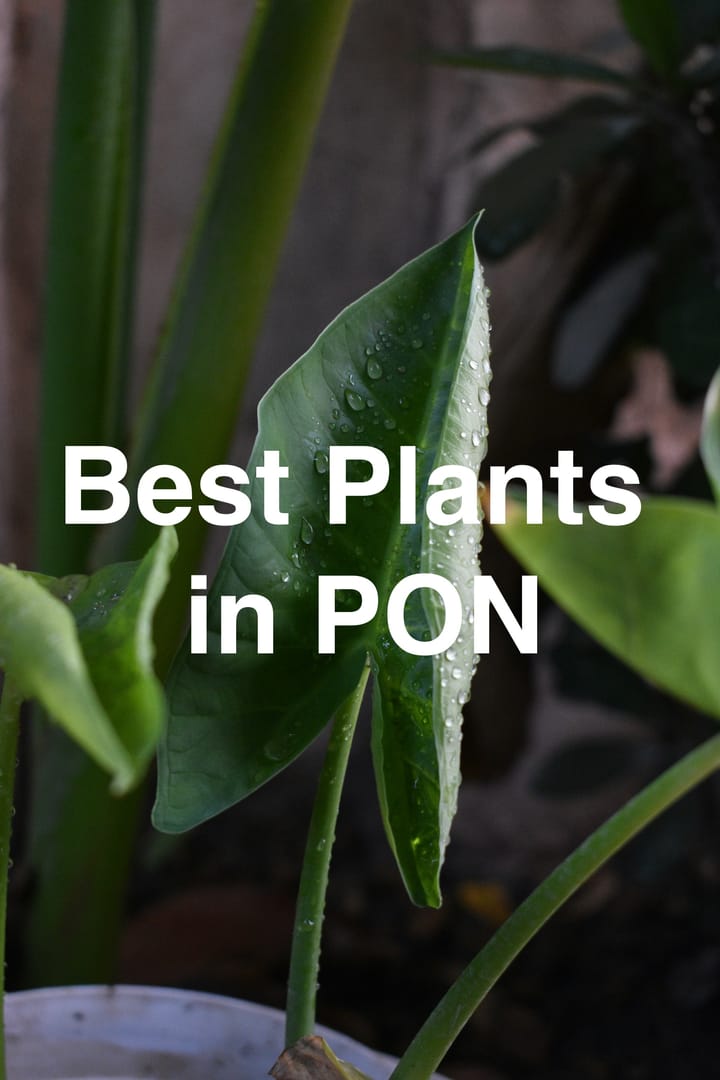
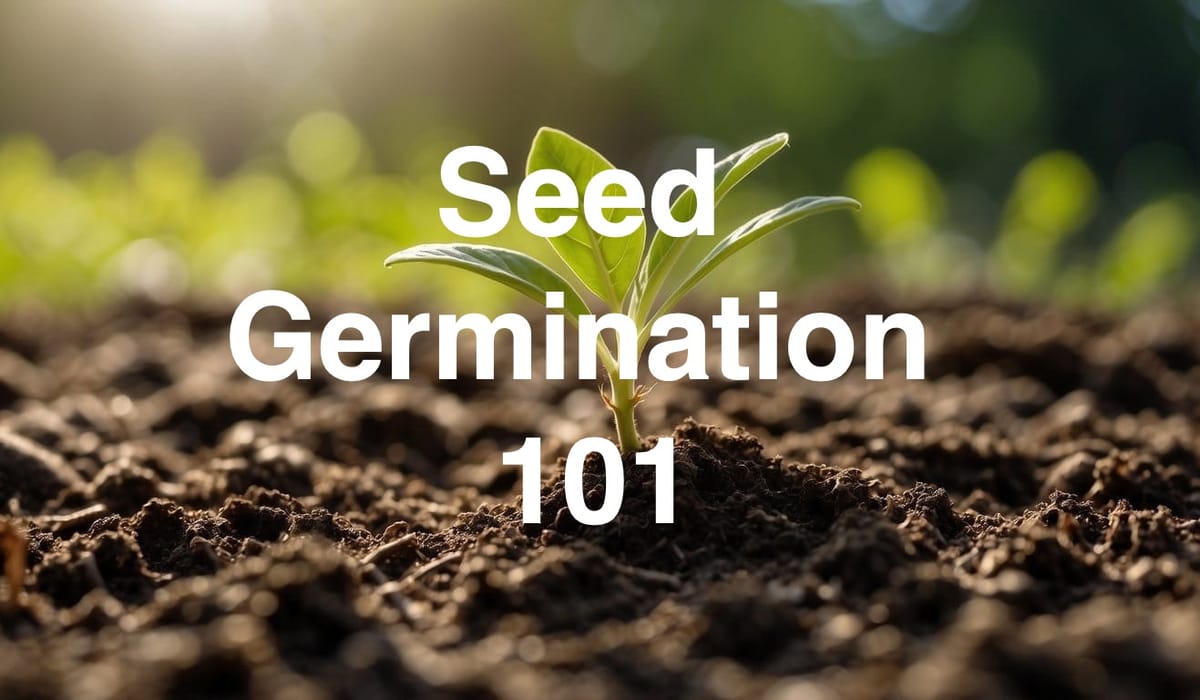
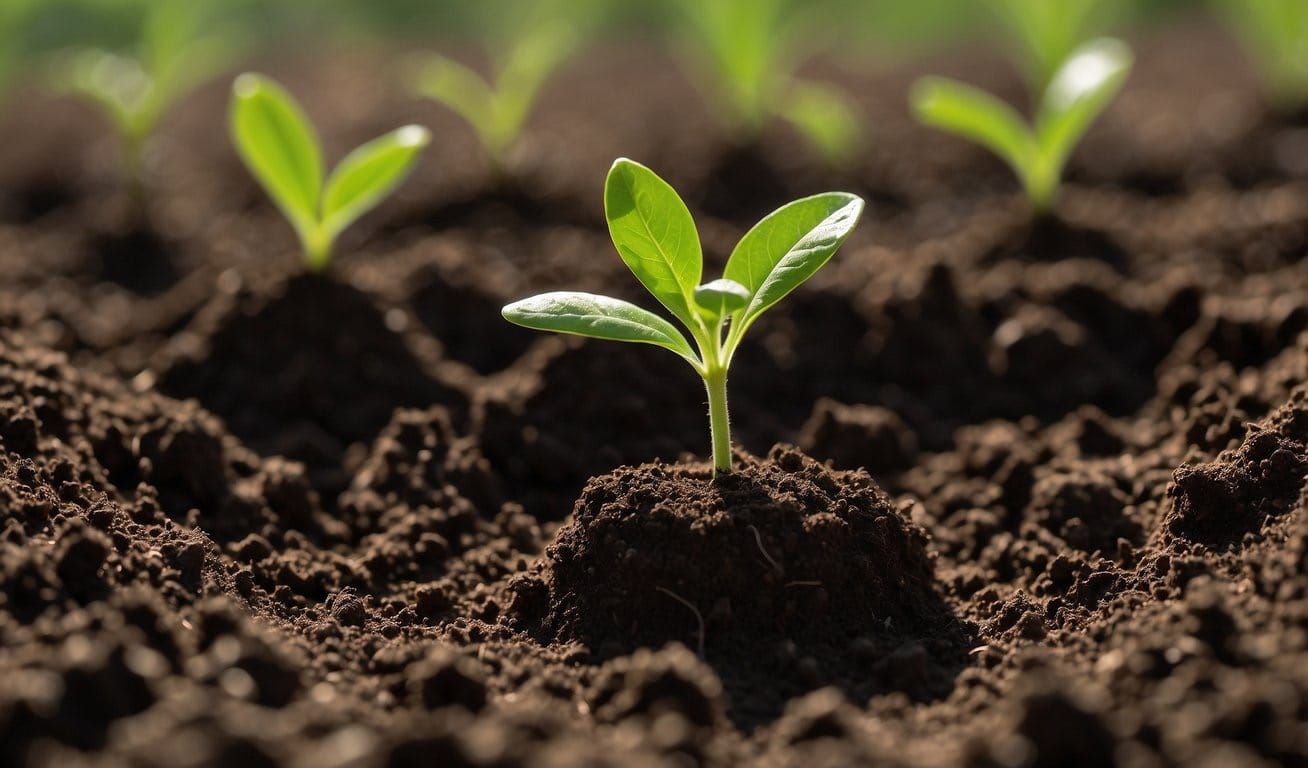
Seed Germination 101
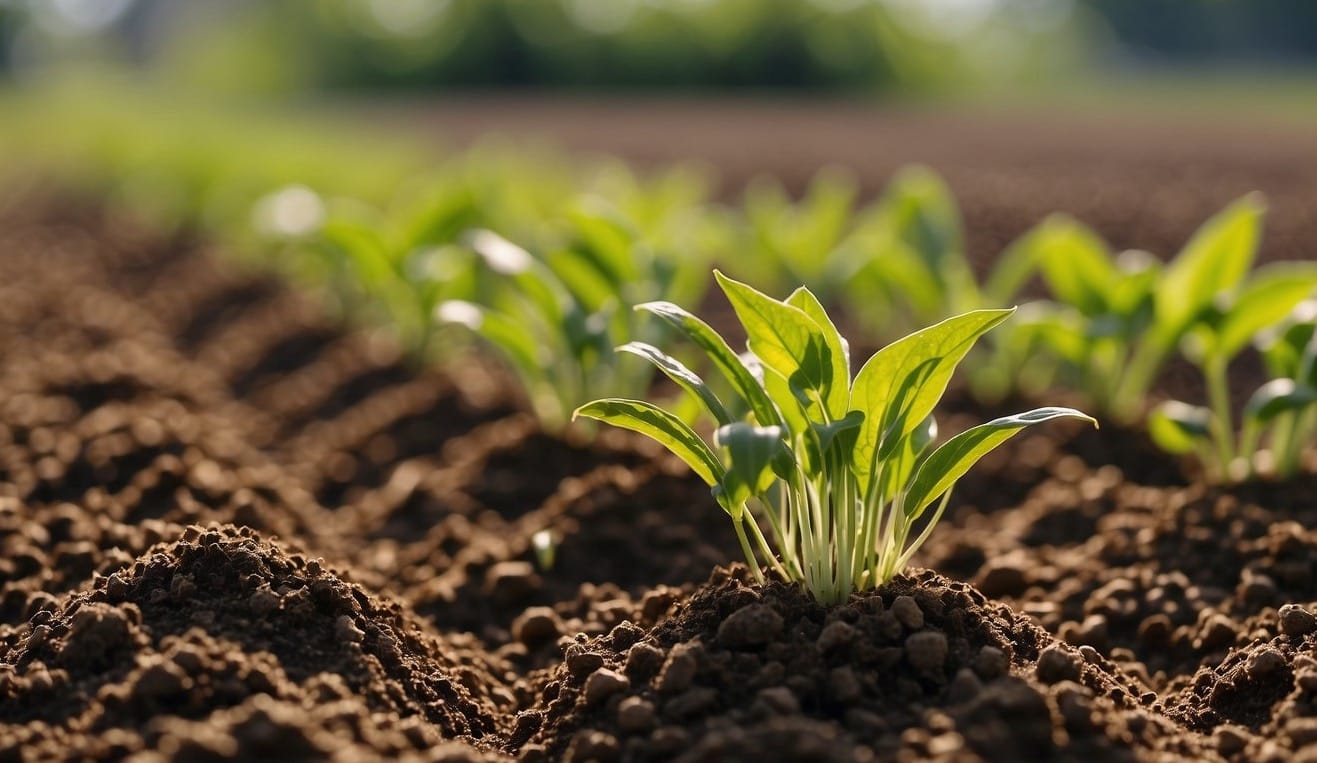
Seed germination is the process by which a seed begins its transformation into a plant. This vital part of a plant's life cycle kicks off when conditions are favorable.
Usually, these conditions are a combination of the right temperature, moisture levels, and other environmental factors.
As a gardener, understanding how germination works can help you create the ideal conditions for your seeds to thrive.
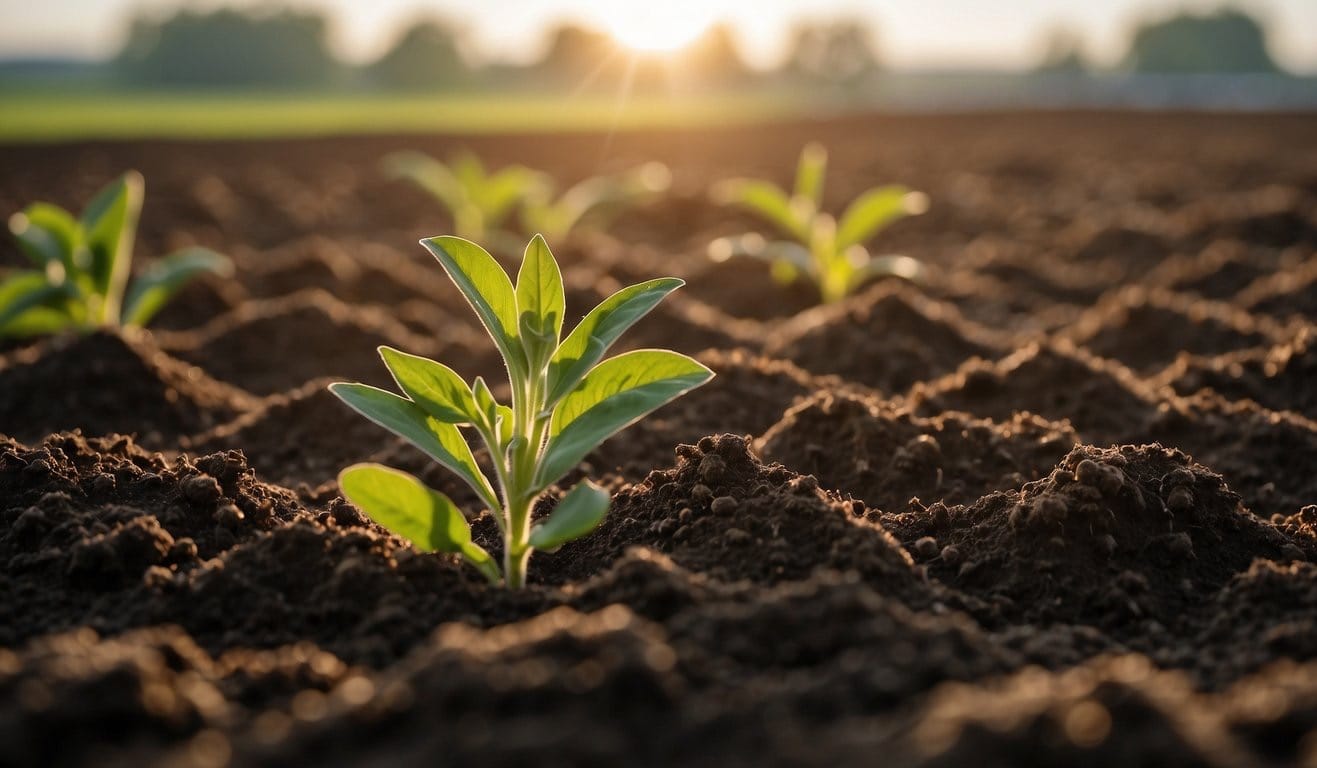
Before you can witness the magic of a tiny seed growing into a robust plant, there's some groundwork to be done.
It starts with selecting high-quality seeds and understanding their specific needs.
Whether you're planting vegetables, fruits, herbs, or flowers, each seed variety has unique germination requirements.
Preparing your planting materials, creating an optimal growing environment, and caring for your seedlings are all steps toward successful germination and a bountiful garden.
Key Takeaways
- Germination is the first stage of a plant's development, requiring suitable environmental conditions.
- Each seed has specific needs for successful germination, emphasizing the importance of tailored care.
- Proper preparation, consistent care, and addressing common germination challenges are crucial for cultivating healthy plants.
Understanding Germination
Germination is the process by which a seed emerges from its dormant state to form a new plant. This critical phase in a plant's life cycle is influenced by several key factors.
The Germination Process
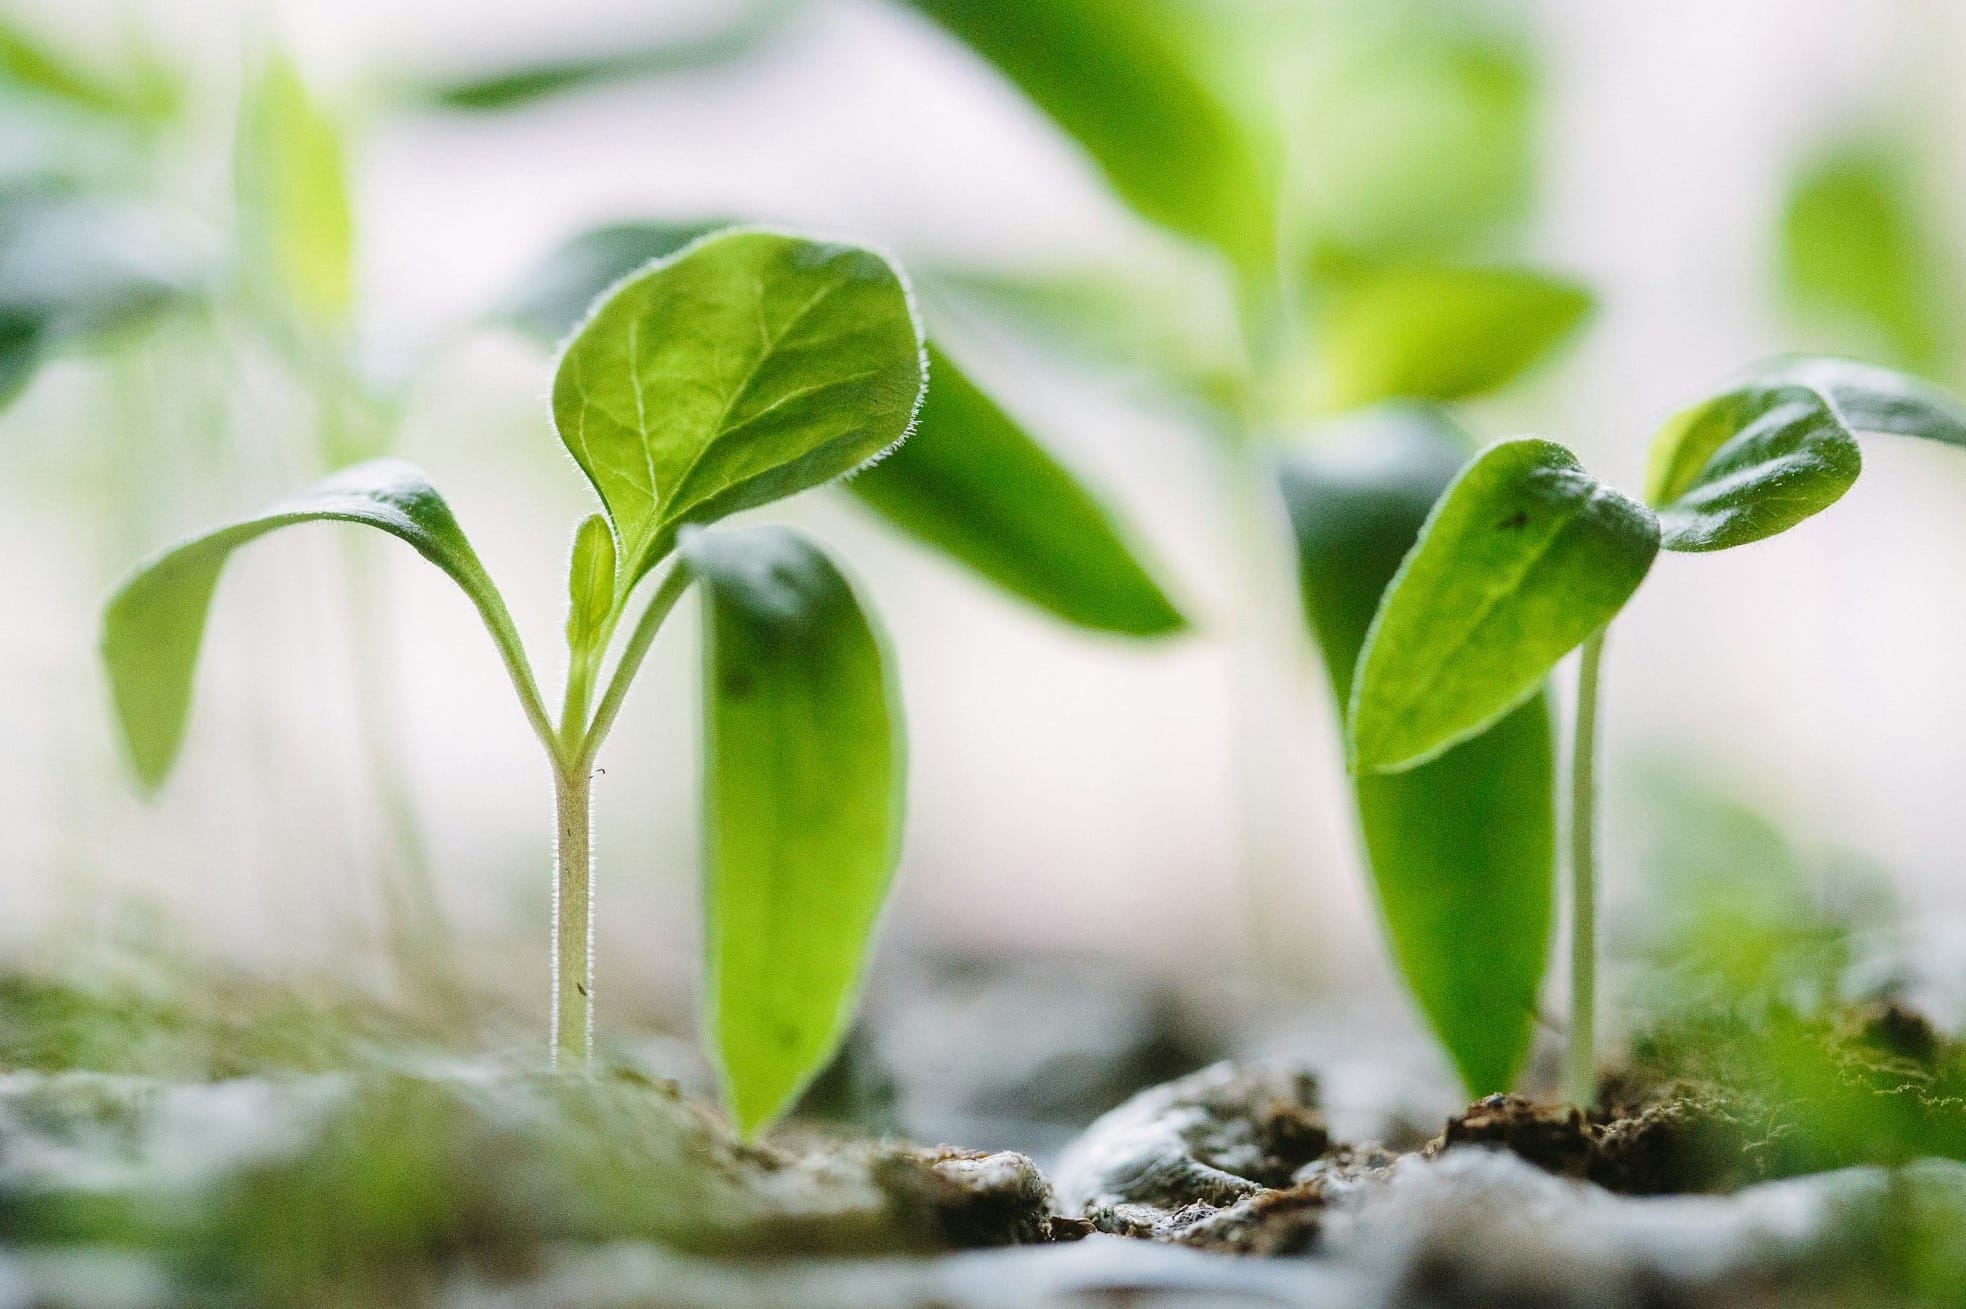
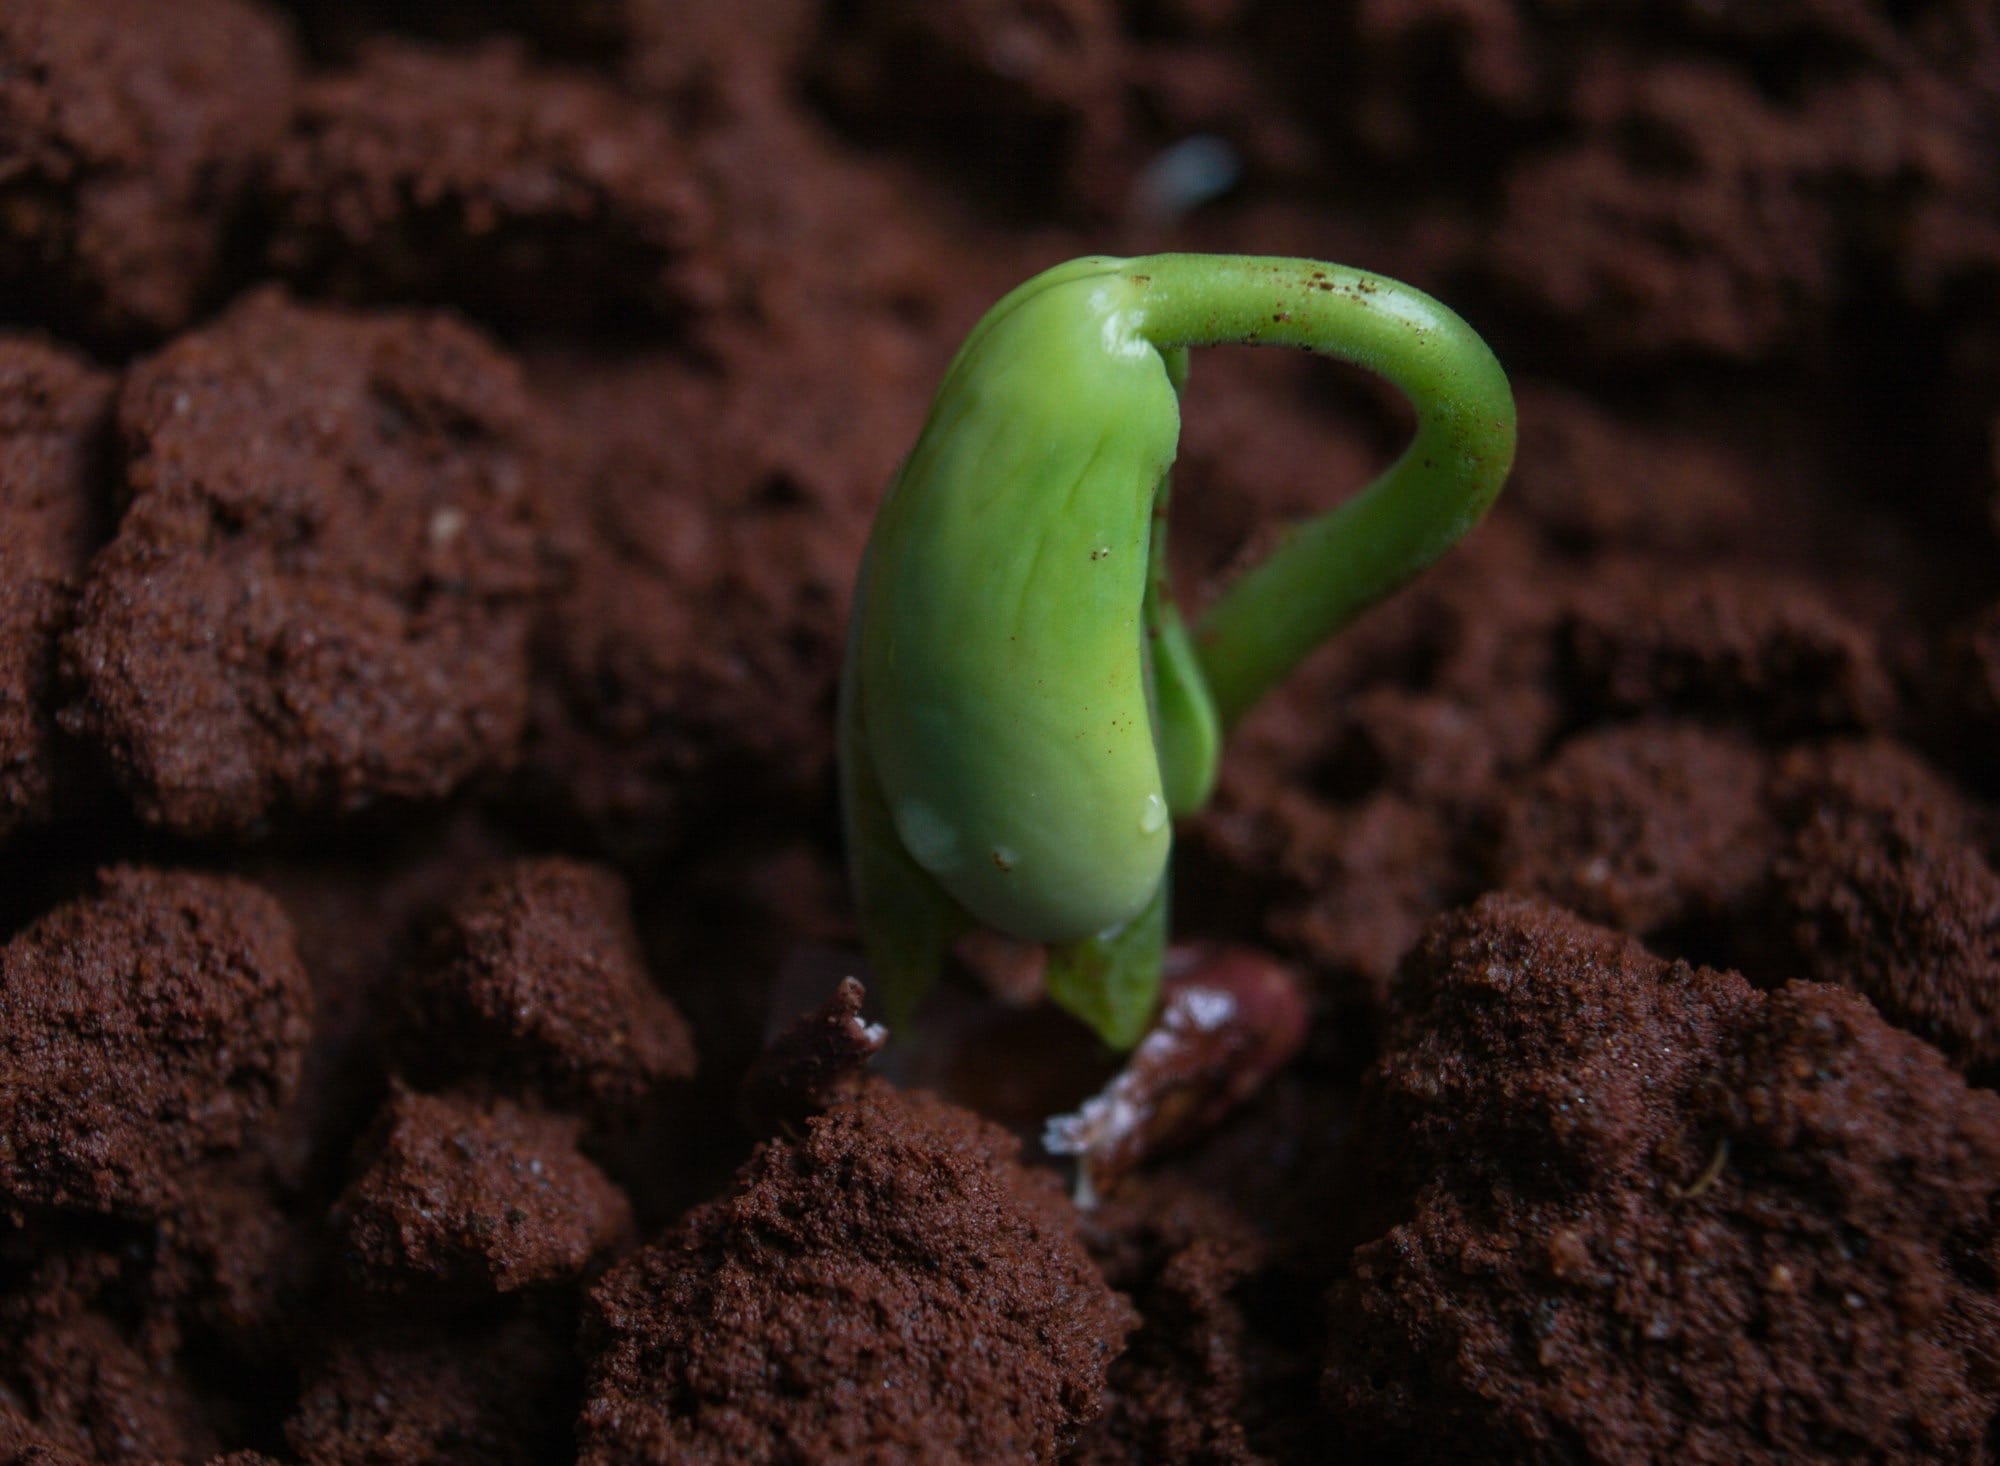
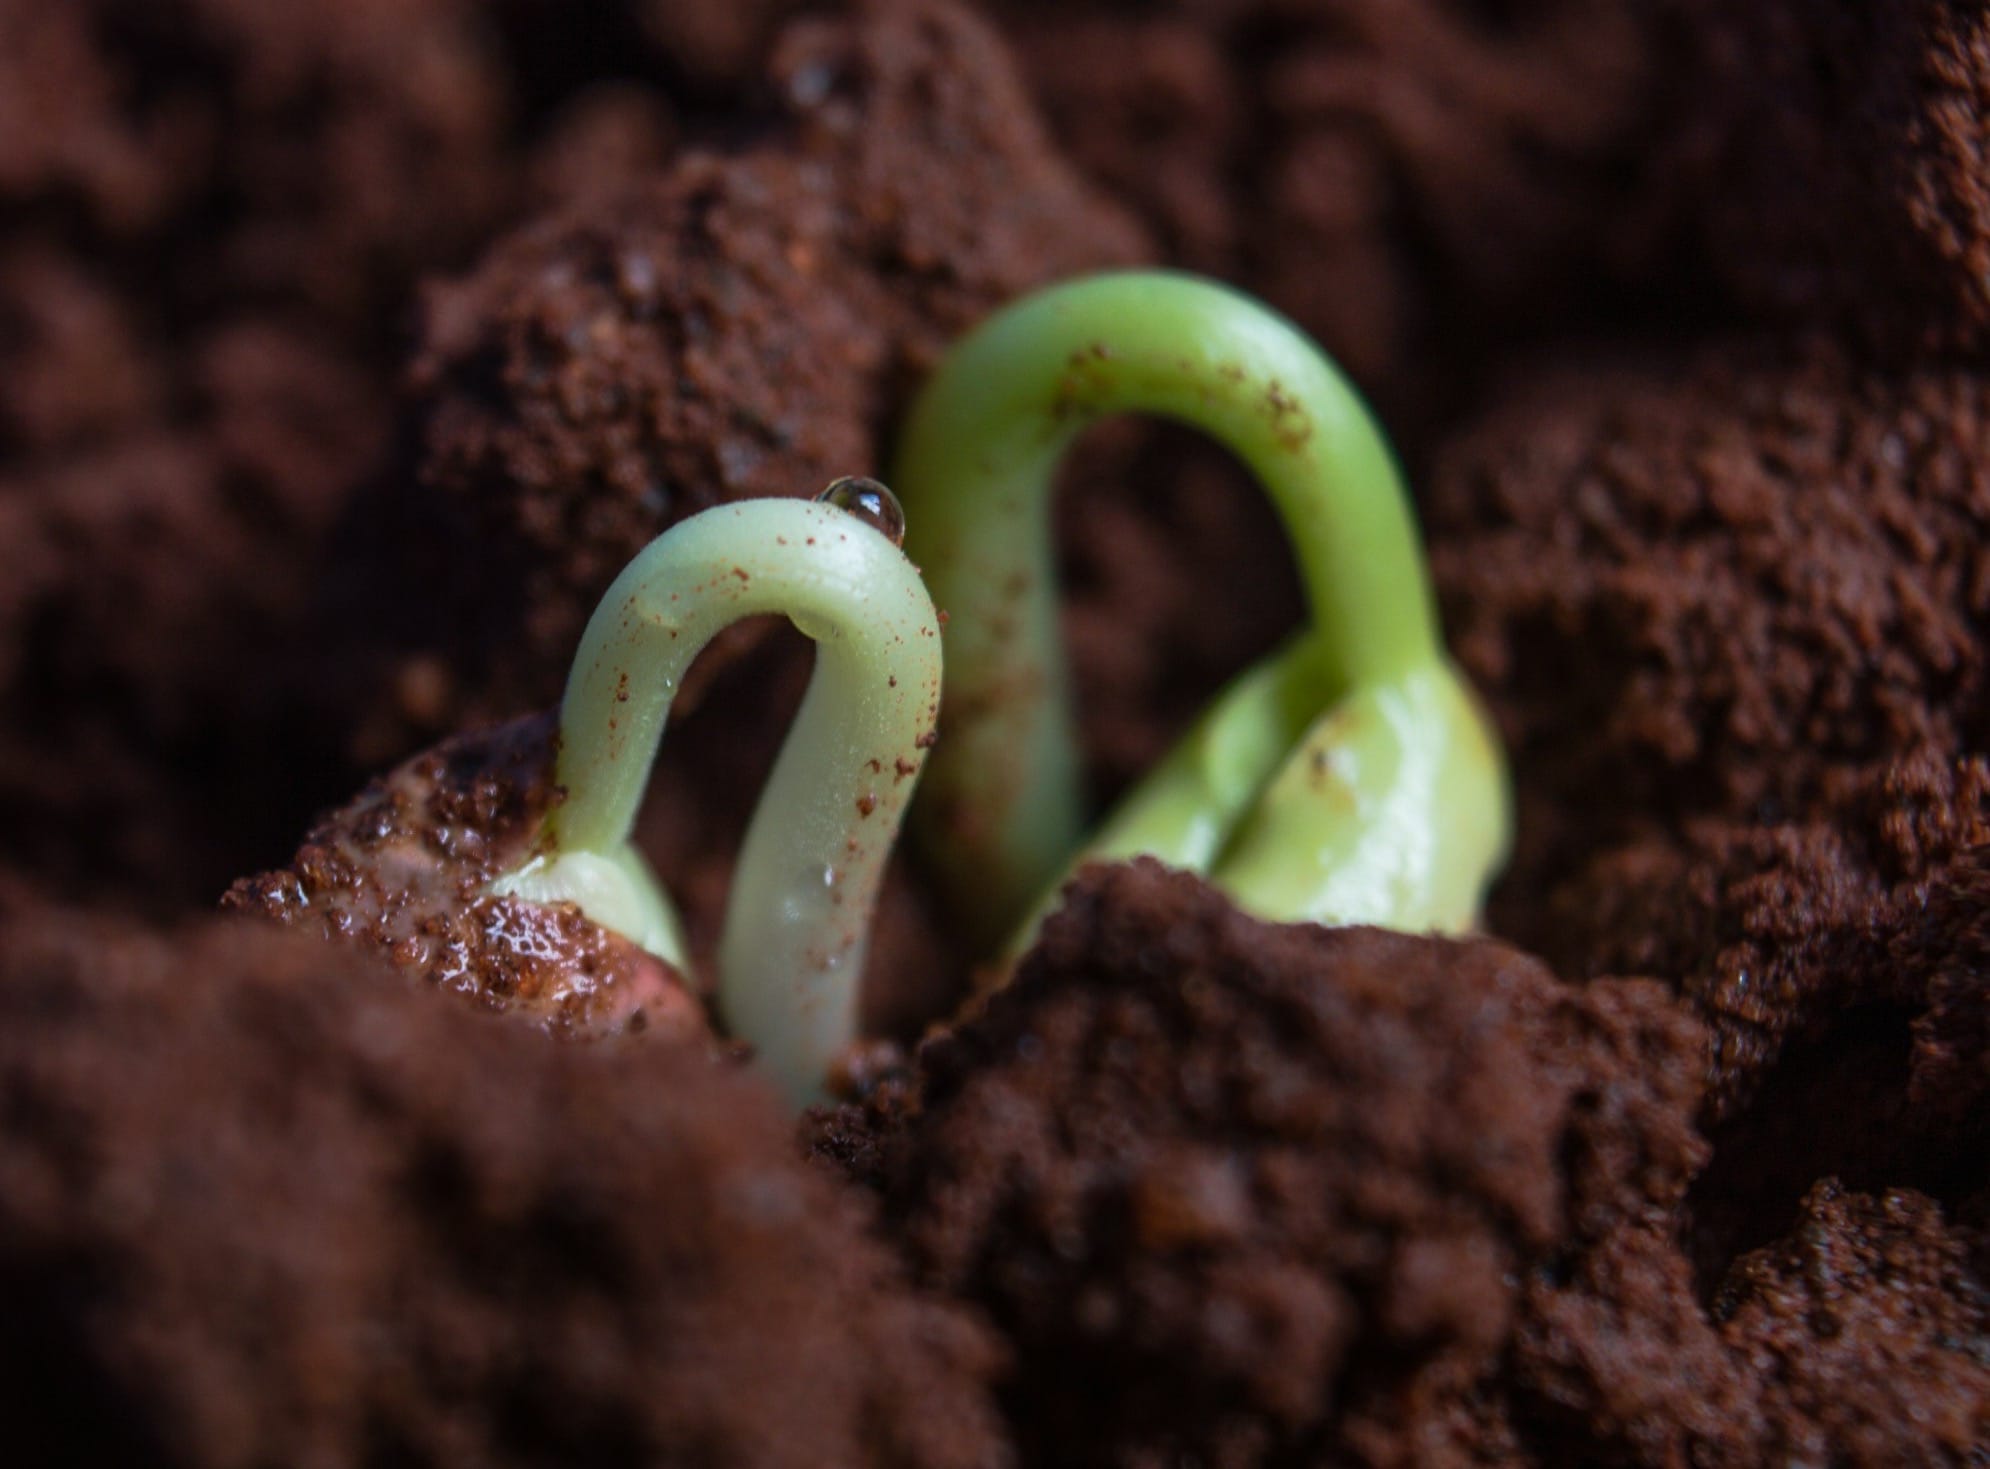
When you initiate the germination process, your seeds must undergo several stages. Initially, imbibition occurs, where the seed absorbs water and swells, breaking through the seed coat.
Following this, the radicle—the embryonic root—breaks through the softened seed coat. This is the first sign of life in the germination process.
The radicle anchors the plant, and as the seedling continues to absorb water, shoots emerge, seeking light.
- Key Stages:
- Water Uptake (Imbibition): Seed swells, activates enzymes.
- Seed Coat Breakage: Allows for radicle to emerge.
- Radicle and Shoot Development: Begins the growth of the plant.
Factors Affecting Germination
Your seeds' germination rate depends on several environmental factors.
Providing the right amount of moisture is paramount; seeds require enough water to initiate germination but not so much that it causes rot.
Temperature also plays a crucial role; most seeds have an optimal range for germination, typically between 68-86°F (20-30°C).
Adequate air, specifically oxygen, is essential for metabolic processes of the developing seedling.
- Crucial Factors:
- Moisture: Essential for starting germination, must be balanced.
- Temperature: Warmer conditions within a specific range favor most seeds.
- Oxygen: Required for the seed's respiration and energy production.
- Light: Varies by plant species—some need light, while others need darkness.
Keep in mind that the germination rates of your seeds can be an indicator of their viability and health.
Ensuring the correct balance of these factors can lead to successful germination, giving your plants the best start possible.
Preparation for Planting
Before you sow your seeds, two major aspects demand your attention: the selection of high-quality seeds and the application of proper seed treatment techniques.
Approaching these steps with care will significantly increase your chances of successful germination.
Selecting Quality Seeds
When choosing seeds, inspect the seed variety for traits that suit your planting environment and goals. Look for seeds labeled as "high germination" or those with a reputable brand.
Organic or heirloom varieties might be your preference if you seek less cultivated strains. Ensure that the seeds are fresh by checking the packed date; seeds stored for too long may have reduced viability.
Seed Treatment Techniques
Seed treatment methods such as stratification, scarification, and the use of hydrogen peroxide assist in breaking seed dormancy and promoting even germination. Here's how these techniques can be applied:
- Stratification involves simulating winter conditions by refrigerating seeds for a specific period.
- For example, some perennial seeds require 30-90 days of cold treatment.
- Scarification means physically damaging the seed coat to help water and air reach the embryo.
- Use sandpaper to abrade the seed surface, or make a small cut or nick.
- Using a hydrogen peroxide solution (e.g., 3% concentration) as a soak can disinfect seeds and speed up germination. Soak them for 5 minutes to kill off pathogens without harming the seed.
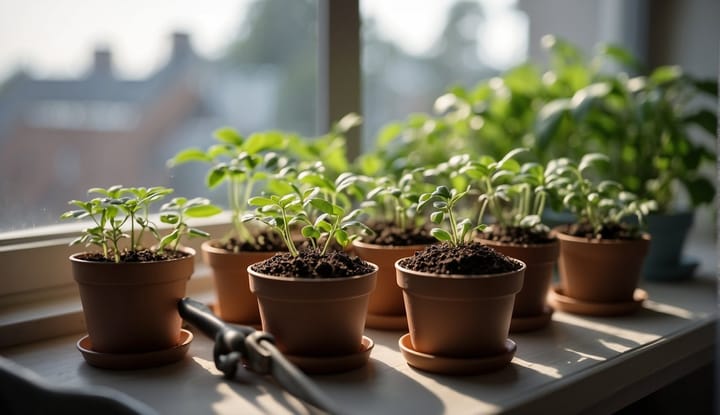
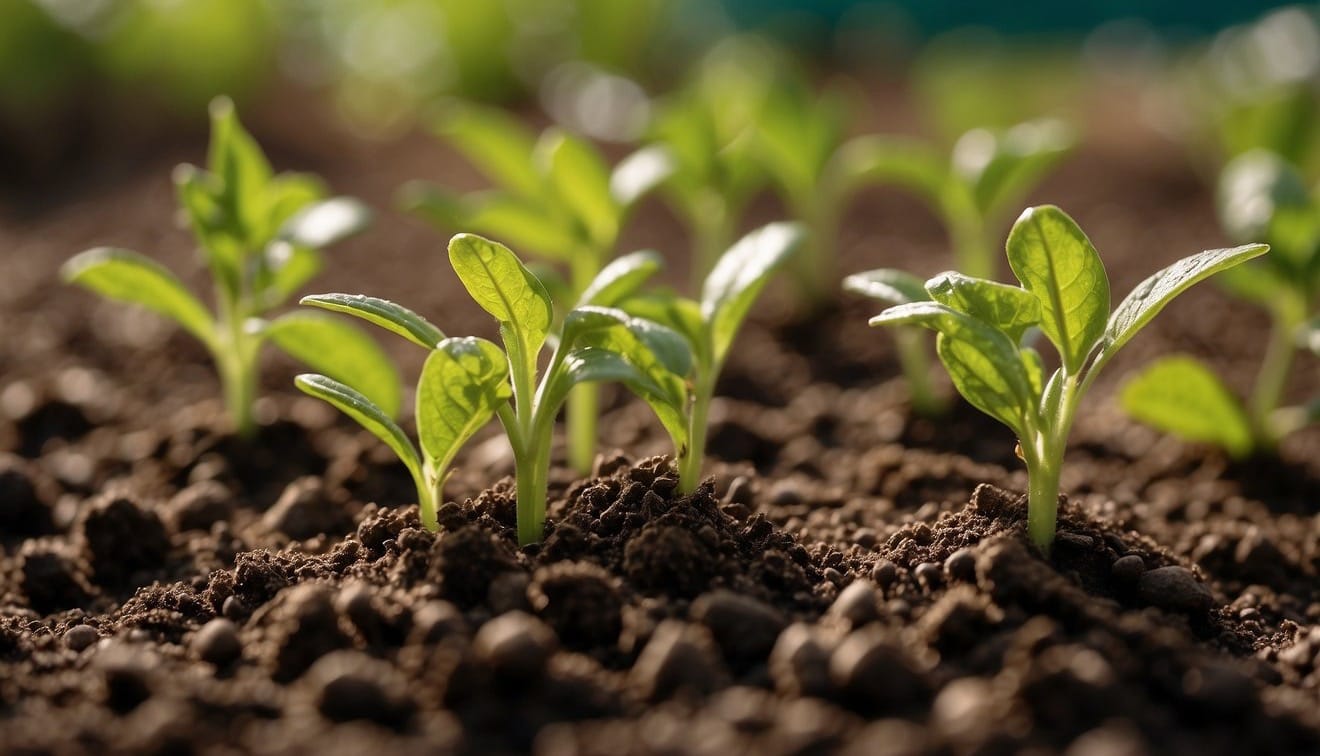
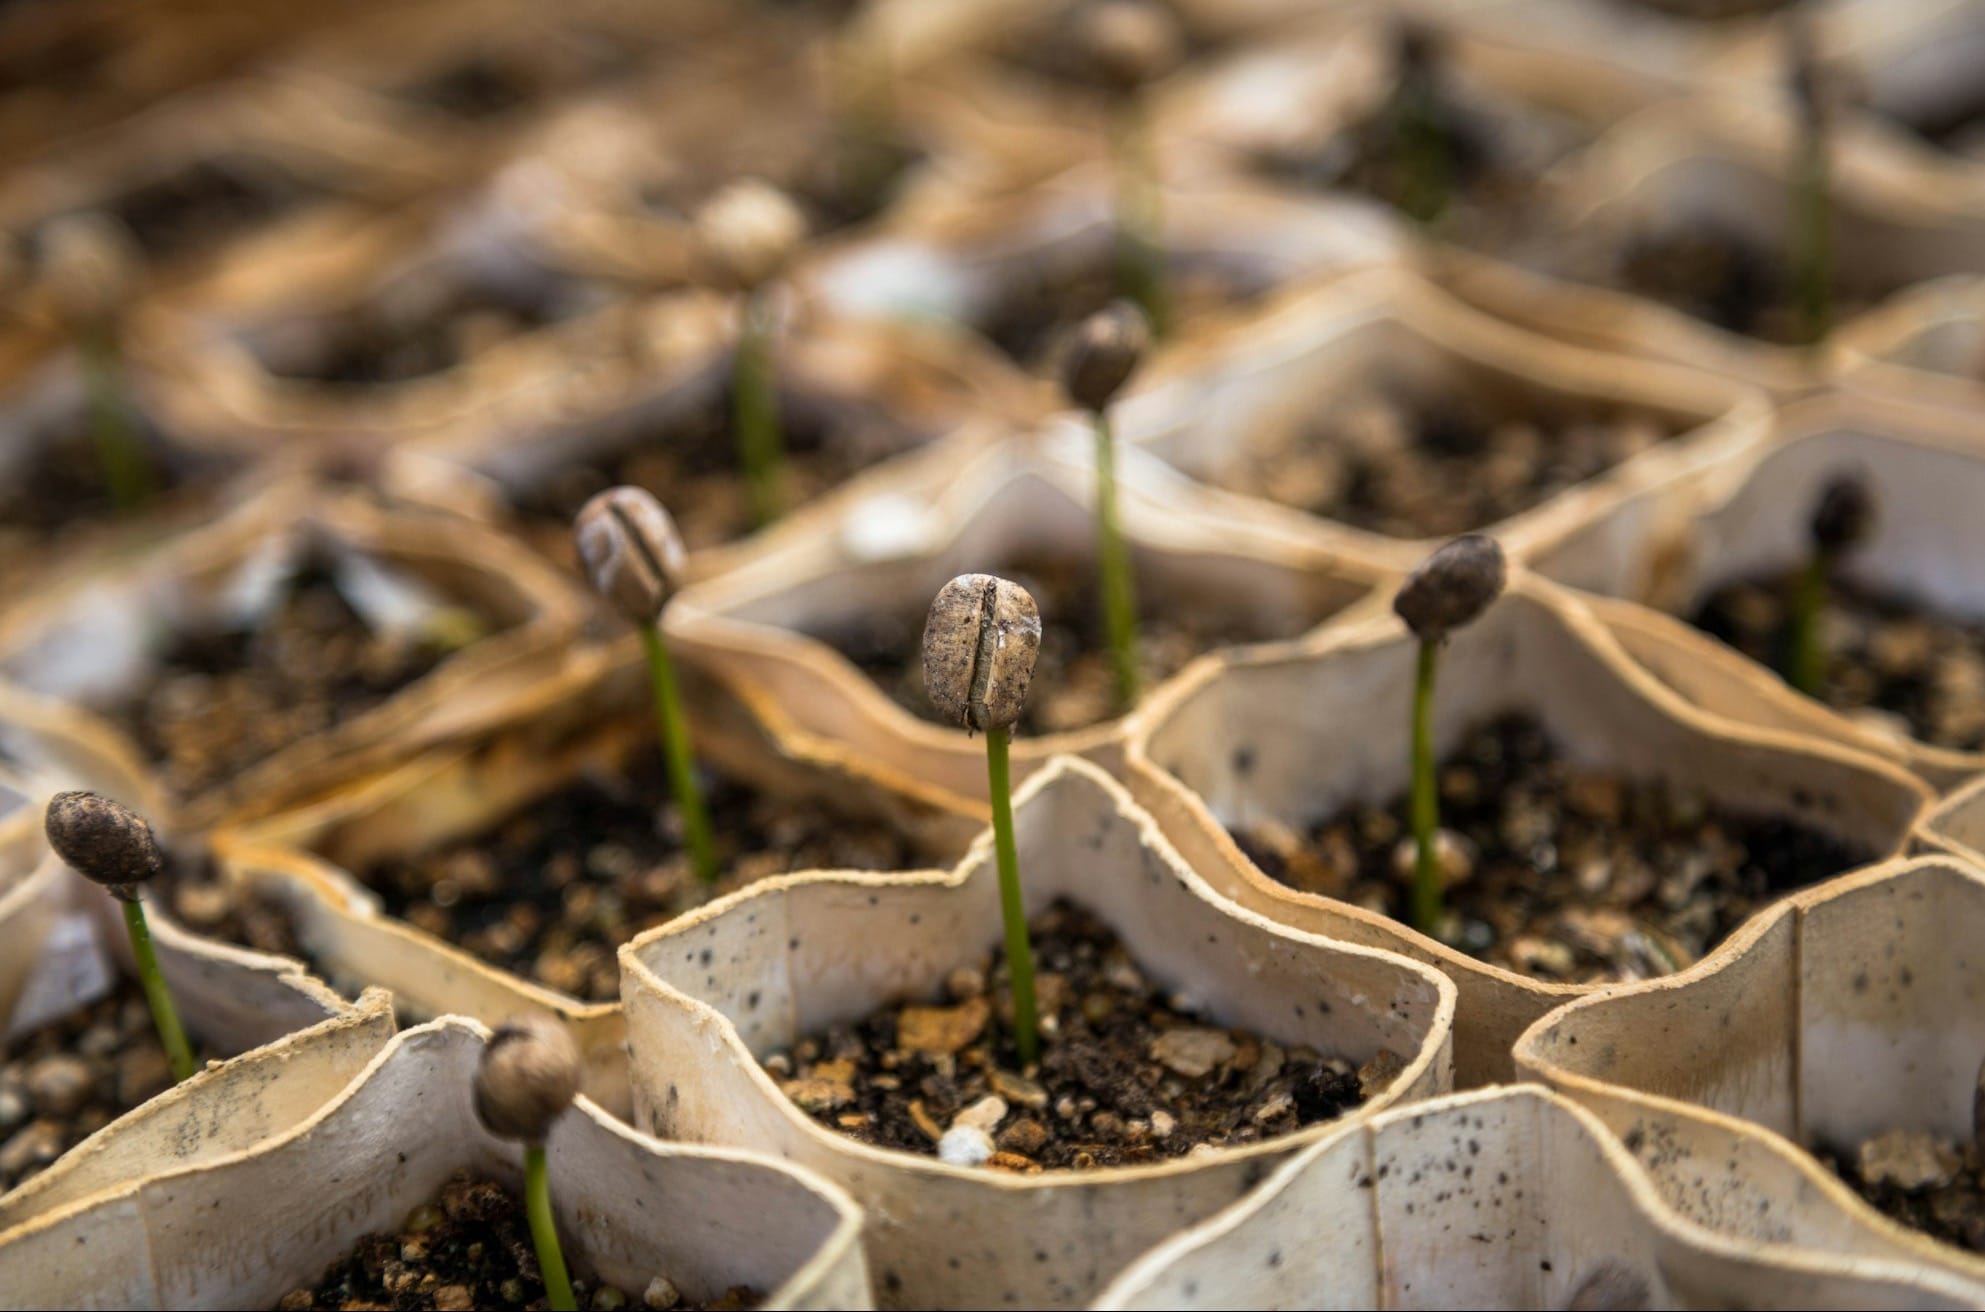
Seed Starting Basics
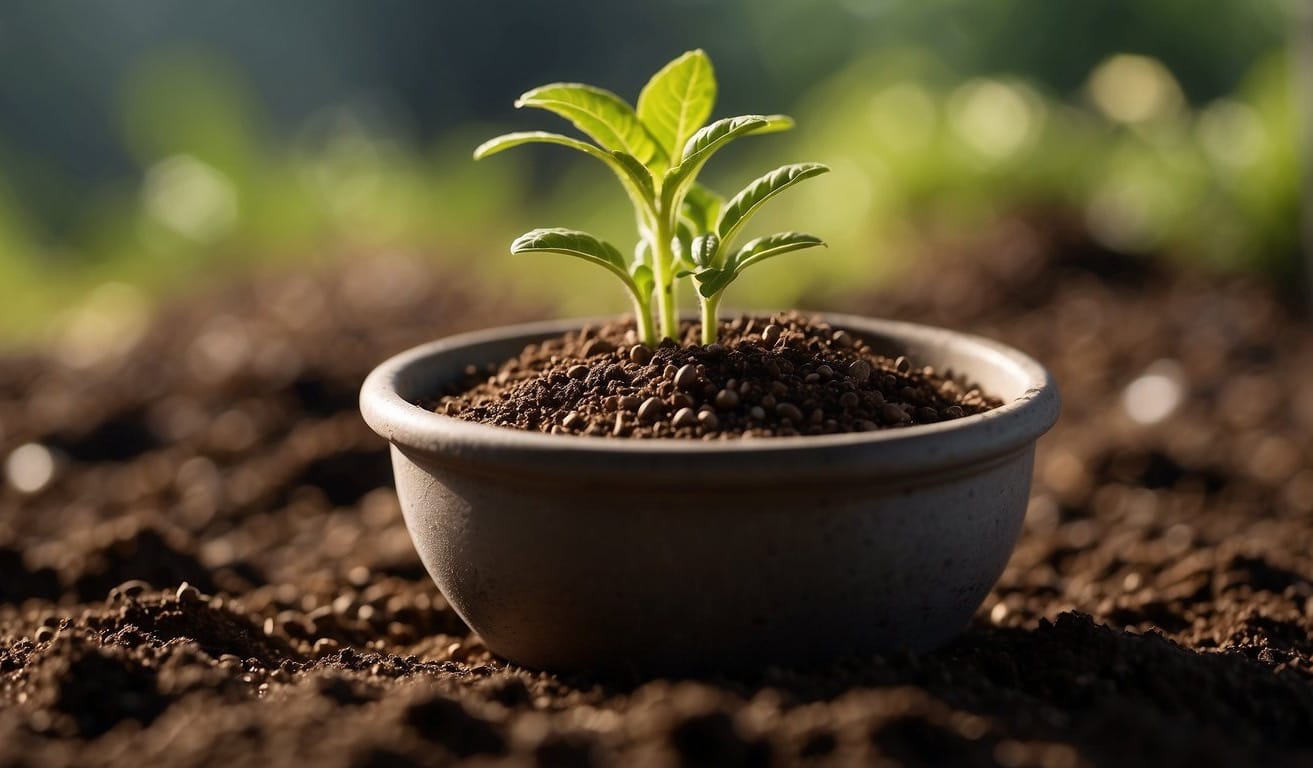
To successfully start seeds, you'll need the right medium, suitable containers, and an understanding of effective sowing techniques.
Here's how to begin your seed starting journey with confidence.
Choosing the Right Medium
Your choice of medium is crucial for optimal seed germination.
Seed starting mix should be sterile, to prevent disease, and lightweight, to allow for easy root development and air circulation.
A good mix typically consists of components like peat moss, which retains moisture, vermiculite, and perlite, which aerate the mix and improve drainage. Many gardeners prefer a soilless mix, as it minimizes issues with pests and pathogens.
- Recommended seed starting mix components:
- Peat moss or coconut coir for moisture retention
- Perlite or vermiculite for aeration
Containers and Trays
The right containers provide the structure for your seeds to grow into healthy seedlings.
Seed starting containers can range from peat pots and plastic trays to recycled household items, as long as they have adequate drainage. If using a reused container, ensure it's clean to avoid contamination.
The size of the container should correspond to the size of the plant; larger seeds and seedlings require more space to develop properly.
- Container checklist:
- Adequate drainage holes
- Sterilized if previously used
- Size-appropriate for the plant
Sowing Techniques
Effective sowing techniques ensure that your seeds have the best chance of germination.
Moisten your potting mix before sowing to provide a damp, but not soggy, environment.
Sow seeds at the depth recommended on the seed packet, as planting too deep can inhibit germination.
After sowing, gently press down the mix to ensure contact between seeds and soil, then cover lightly with more mix if needed. Maintain consistent moisture and temperature to aid germination.
- Seed sowing steps:
- Pre-moisten the potting mix.
- Sow seeds at the correct depth.
- Lightly press the mix around the seeds.
- Keep the environment moist and warm.
Optimal Growing Conditions
To ensure successful seed germination, it's crucial to provide the correct balance of temperature and humidity, along with proper lighting.
These factors create an environment that mimics the natural conditions seeds would encounter in the wild.
Temperature and Humidity Control
Seeds require a specific range of soil temperatures to germinate effectively; generally, this is between 68°F to 86°F (20°C to 30°C).
Consistent warmth can be achieved by using a heat mat. You should monitor the soil temperature regularly to ensure it remains within this optimal range.
Maintaining the right humidity is also essential for germination.
A humidity dome can help retain consistent moisture levels around your seeds. Aim for a humidity level between 70-90% during the germination phase.
After seeds have sprouted, gradually reduce humidity to acclimate the seedlings to less controlled environments.
Lighting and Photoperiods
Once germinated, seedlings need sufficient light to grow healthy and strong. A grow light provides a consistent and adequate light source, crucial for seedlings that are not near a bright window.
When choosing a grow light, consider the following:
- Intensity: The light should be bright enough to promote growth but not so intense that it causes damage.
- Duration: Most seedlings need between 14-16 hours of light a day, known as photoperiods, followed by a period of darkness.
When positioning your grow light, the distance from the light source to the plant should be adjusted as the seedlings grow.
Typically, lights should be about 2-3 inches above the seedlings, depending on the light's intensity. Avoid placing seedlings in direct sunlight too early, as this can overwhelm and damage delicate young plants.
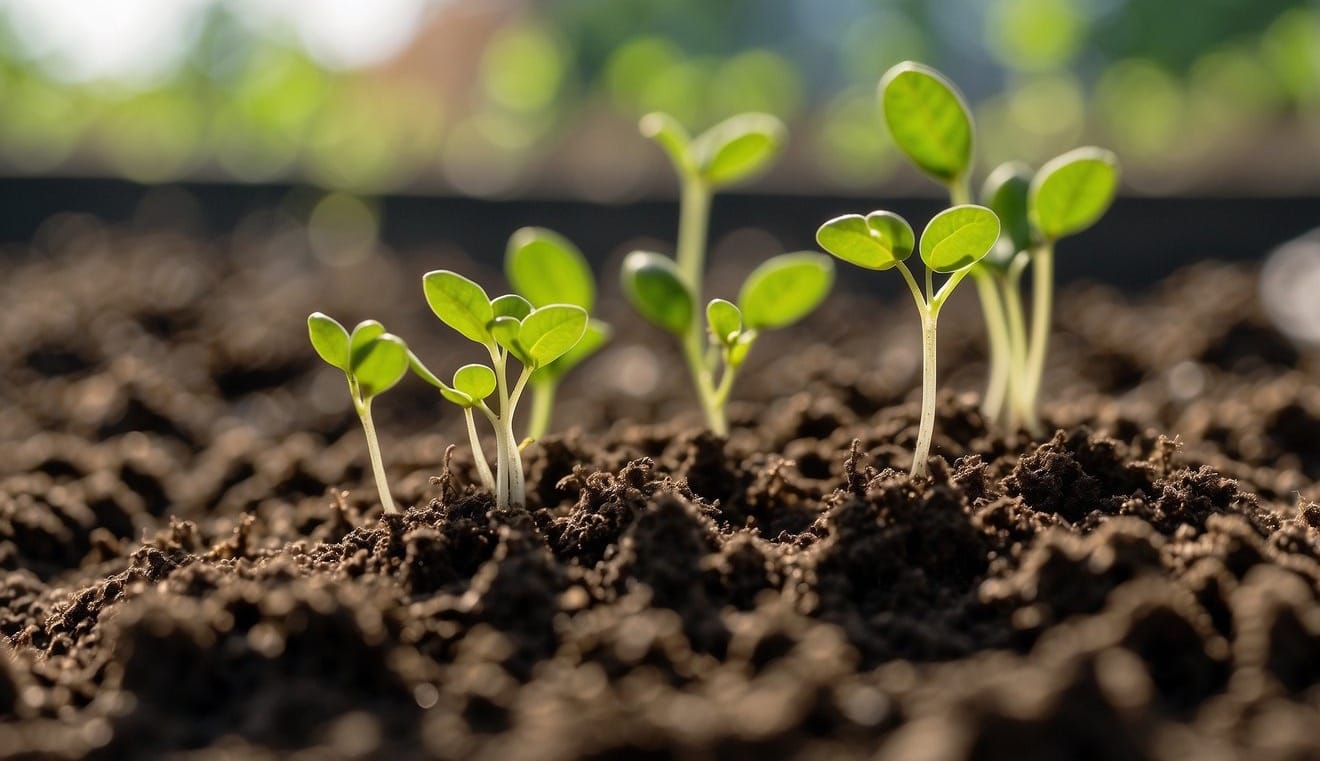
Caring for Seedlings
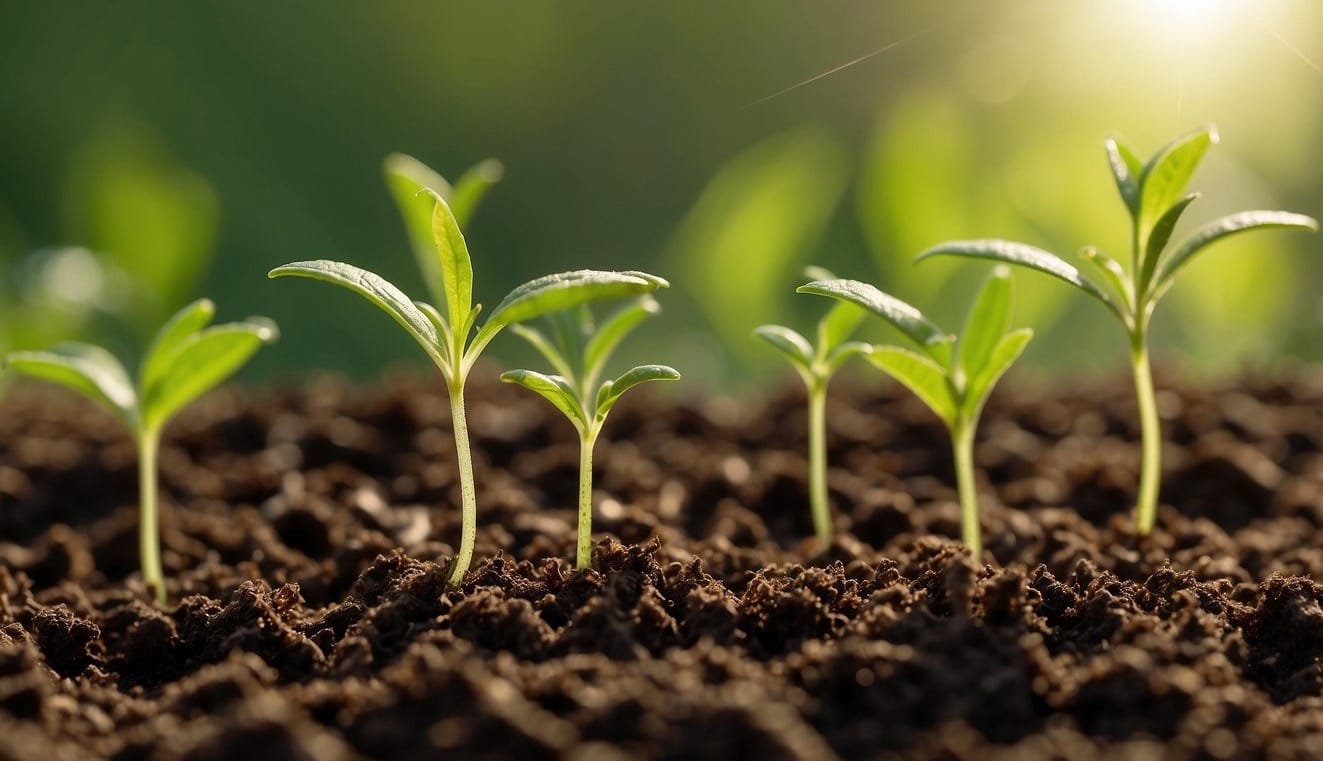
After your seeds have germinated, it's crucial to provide the right care to ensure healthy seedling growth.
You'll need to maintain proper moisture levels, begin feeding with the right fertilizer, and know when and how to transplant.
Watering and Feeding
Your seedlings require consistent moisture to thrive, but it's important not to overwater.
Use a spray bottle to gently mist them or water from below, allowing the soil to absorb water upwards. This method helps prevent oversaturation and reduces the risk of fungal diseases.
- Moisture levels: Check daily; the soil should be moist, not soggy.
- Frequency: Water lightly but regularly to maintain even soil moisture.
Begin fertilizing your seedlings once they have their second set of true leaves.
- Type of fertilizer: Use a water-soluble, balanced fertilizer.
- Dilution: Start with a quarter strength and gradually increase the concentration as they grow.
- Frequency: Feed every two weeks, or as recommended by the fertilizer brand.
Transplanting to Garden or Containers
When seedlings are strong enough, transplanting helps them to continue growing without competing for resources.
- When to transplant: Wait until seedlings are 3-4 inches tall and have several sets of true leaves.
- Container size: Choose a container that's slightly larger than the seedlings' root ball if not planting directly into the garden.
Transplant shock can occur, so take steps to reduce stress on your seedlings:
- Acclimation: Gradually introduce your seedlings to the outdoor environment over the course of a week.
- Timing: Transplant on a cloudy day or in the evening to reduce stress from direct sunlight.
- Watering after transplant: Water thoroughly after planting to settle the soil around the roots and help with recovery.
Common Seed Varieties and Their Needs
When starting seeds, understanding the specific requirements of each type is essential for successful germination.
Each variety has distinct needs that influence how you should plant and care for them.
Vegetables and Herbs
Tomatoes: You should start your tomato seeds indoors about 6-8 weeks before the last frost date. They need plenty of warmth, so maintain a temperature around 70-75°F (21-24°C). Seeds should be planted 1/4 inch deep in a sterile starting mix.
Peppers: Like tomatoes, pepper seeds benefit from early indoor starting. Plant them 1/4 inch deep and keep the soil consistently warm, between 70-85°F (21-29°C). Peppers may take longer to germinate, so patience is key.
Lettuce: Lettuce seeds require cooler temperatures, between 55-65°F (13-18°C), and should be sown directly on the soil surface as they need light to germinate.
Carrots: Direct sow carrot seeds outdoors 3 to 4 weeks before the last spring frost. Plant them 1/4 inch deep in well-drained soil and keep the soil moist.
Cucumber: Cucumbers need warm soil to germinate, so plant seeds 1 inch deep after the last frost when the soil has warmed to at least 70°F (21°C).
Spinach and Broccoli/Cauliflower: These cool-season crops can be direct sown. Spinach seeds need to be planted 1/2 inch deep, while broccoli and cauliflower should be 1/4 inch deep. Keep the soil temperature around 60-65°F (15-18°C).
Basil and Dill: Basil seeds should be covered lightly with soil and kept at a temperature of around 70°F (21°C). Dill can be sown directly into the garden, 1/4 inch deep, and prefers a temperature of 60-70°F (15-21°C).
Flowers and Ornamentals
Annual Flowers: Most annuals, such as marigolds and zinnias, require a warm germination environment. Plant these seeds 1/4 inch deep in a soil mix and maintain a temperature of 75-80°F (24-27°C).
Marigold: Marigold seeds benefit from being started indoors around 4-6 weeks before the last frost. Cover them with a thin layer of soil and keep the soil temperature around 70°F (21°C).
Snapdragon: For snapdragons, start seeds indoors 8-10 weeks before the last frost. They need light to germinate, so press them gently onto the soil surface and keep them at 65-70°F (18-21°C).
Zinnia: Zinnia seeds are best sown directly into the garden after the last frost and should be planted 1/4 inch deep in fertile, well-drained soil.
Morning Glory and Sweet Peas: Both of these flowering vines should be planted 1/2 inch deep after the soil warms. Soak seeds for 24 hours prior to planting to speed up germination.
Keep in mind that even within these categories, each variety may have its own unique requirements for light, temperature, and depth of planting. Always refer to the seed packet for the best results.
Preventing Common Issues
In seed germination, you'll want to prioritize maintaining a healthy environment that mitigates risks such as pests, diseases, and various environmental stressors. Addressing these factors early helps ensure successful sprouting and growth.
Pests and Diseases
Damping-off:
- Cause: Excessive moisture can lead to this fungal disease which attacks the radicle and seedling stem.
- Prevention: Use a germinating soil mix containing coir to improve drainage and reduce moisture buildup.
Fungal Infections:
- Signs: Discoloration or fuzzy growth on seedlings.
- Prevention: Sterilize planting containers and use fresh, sterile seed-starting mix to inhibit pathogen presence.
Environmental Stressors
Light for Photosynthesis:
- Requirement: Seedlings require adequate light for photosynthesis once they emerge; insufficient light can lead to weak, spindly plants.
- Tip: Ensure your setup provides consistent, direct light for at least 16-18 hours per day.
Temperature and Dormancy:
- Consistency: Keep the temperature between 60-75°F during the day and 55-65°F at night to prevent seeds from going into dormancy.
- Stable Environment: Avoid placing seedlings in drafty areas or near heating vents to reduce temperature fluctuations.
Advanced Germination Techniques
Exploring advanced germination techniques can significantly improve your seed starting success rates.
These methods offer efficient and controlled environments promoting faster and healthier seedling development.
Hydroponics and Soilless Germination
Hydroponics is a soilless germination method where you grow plants in a nutrient-rich solution.
In this system, seeds are often placed in a growing medium like rockwool or peat moss which provides support and retains moisture.
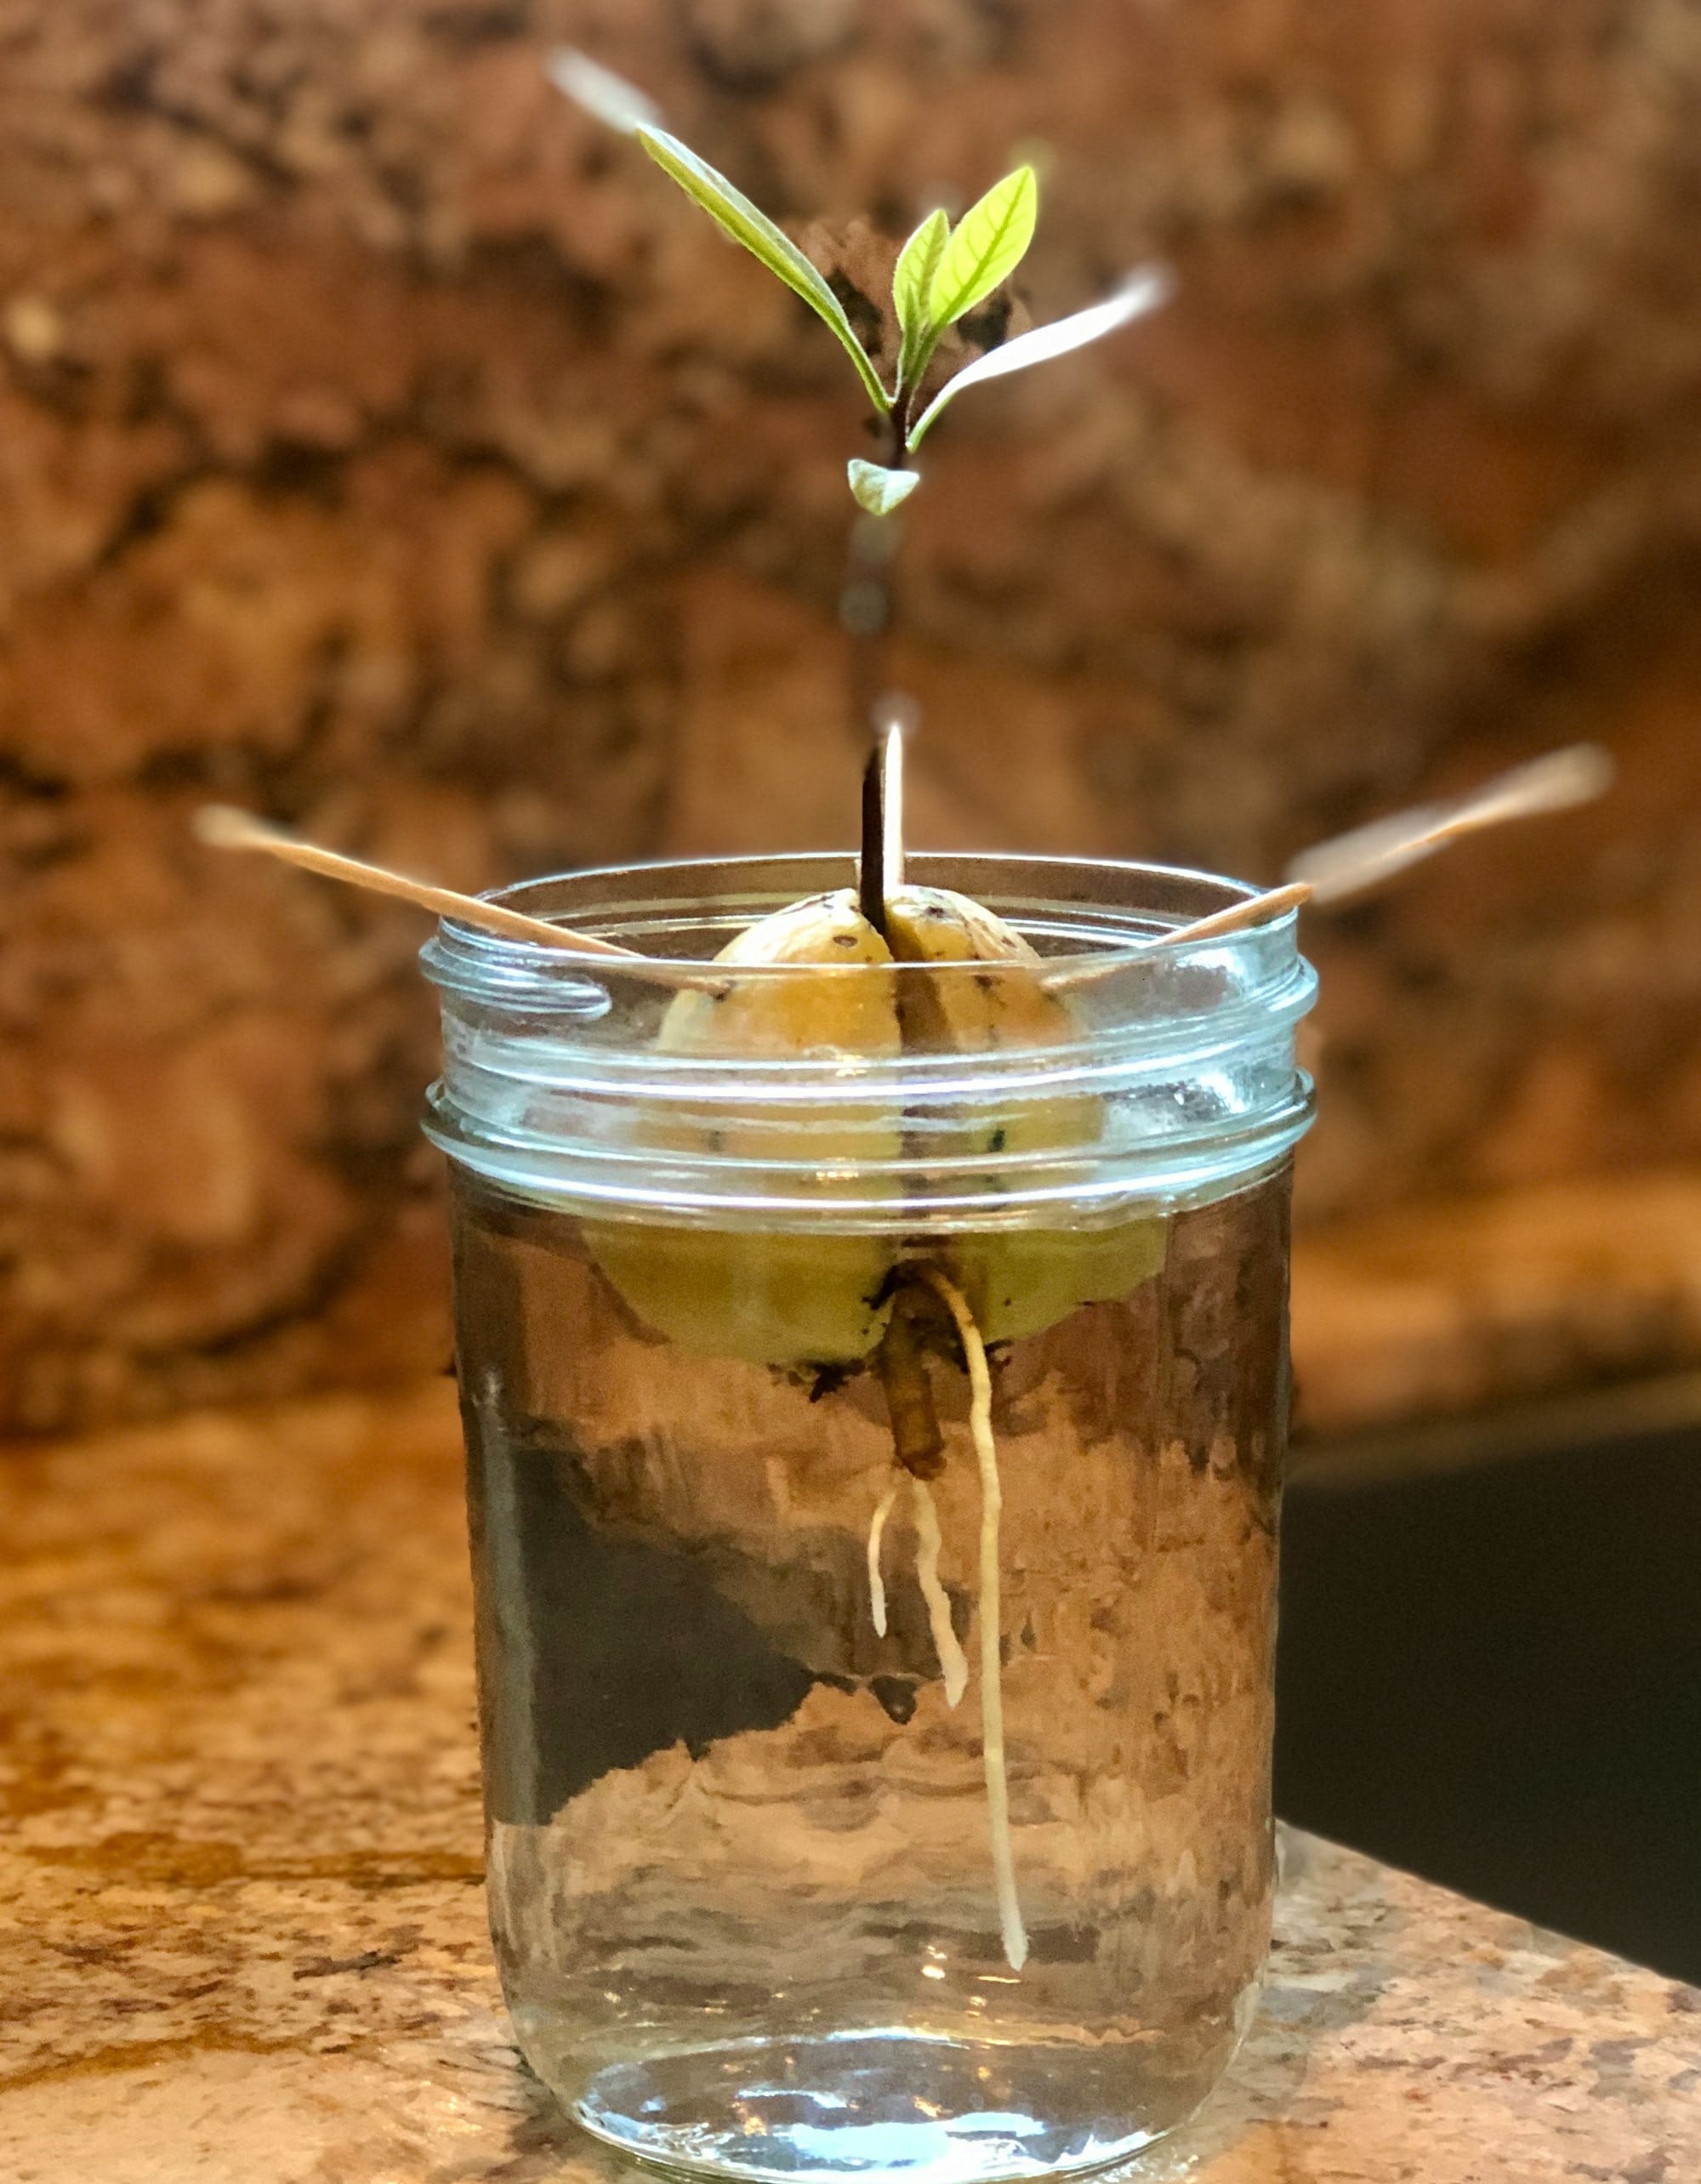
The roots have direct access to essential nutrients and oxygen, leading to a more robust growth. For starting seeds:
- Prepare your hydroponic system: Ensure it's clean and running correctly.
- Select a suitable growing medium: Lightweight mediums like peat moss or rockwool cubes are perfect.
- Sow your seeds: Place them in the medium, ensuring you don't bury them too deep.
- Nutrient solution: Use a balanced mix, adjusted to the correct pH for your plants.
- Monitor: Keep an eye on moisture levels, temperature, and nutrient strength.
Soilless germination is not solely about hydroponics. It can also be done using mixtures of peat moss, perlite, and compost.
The goal is to offer a sterile, nutrient-controlled environment that's free of soil-borne pathogens. Your mixture might resemble the following:
- 60% peat moss
- 30% perlite
- 10% compost
Using Growth Enhancers
Growth enhancers are substances that can increase the rate of germination and promote healthy root development. Types of growth enhancers include:
- Hormones: like gibberellins, for promoting seed growth.
- Microbial inoculants: to encourage symbiotic relationships with the plant roots.
- Nutritional supplements: like seaweed extracts, which are rich in micronutrients.
When using growth enhancers:
- Mix them according to the manufacturer's instructions.
- Apply directly to your seeds or mix with the germination medium.
- Do not overuse: this can harm the seeds rather than help.
You can also make a simple homemade growth enhancer using soapy water to soften thick seed coats before germination, enhancing water intake.
However, ensure the soap is mild and free from degreasers and antibacterial agents.
Frequently Asked Questions
In this section, we address common queries to ensure your seeds have the best start possible, focusing on the optimal conditions and practices essential for successful seed germination.
What type of soil is best for starting seeds indoors?
Your seed-starting mix should be lightweight and specifically designed for germination, providing good drainage and aeration. Avoid using heavy garden soil as it can compact and negatively affect seed development.
What is the ideal temperature range for seed germination?
Different seeds require different temperature ranges to germinate effectively. Generally, a soil temperature of 65-75°F (18-24°C) is suitable for many common varieties. For instance, Kentucky Bluegrass thrives at 55-65°F, while tomatoes prefer warmer conditions around 70-80°F.
How can I calculate the best planting time for my seeds?
Consult the seed packet for specific instructions, as timing varies per species. Count backward from your area’s last frost date based on the seed’s maturation time. Then, use a local extension service or online resources for regional frost dates and tailor your planting timetable accordingly.
What are effective methods for increasing humidity for seedlings?
To maintain high humidity levels, cover your seed trays with a clear plastic dome or wrap. Another option is to mist the seedlings regularly. Just ensure there is some airflow to prevent mold growth.
How do I know when it's time to transplant my seedlings outdoors?
Transplant your seedlings once they have developed true leaves (the set of leaves after the initial 'seed leaves') and have reached a strong enough size to withstand outdoor conditions. Then, harden them off by gradually exposing them to outdoor conditions over a week to avoid shock.
What are the most effective lighting conditions for seedlings on a windowsill?
Place seedlings in a bright, south-facing window to maximize exposure to natural light. If the natural light is insufficient, supplement with a grow light. This will provide the recommended 12-16 hours of light daily, mimicking spring daylight hours.