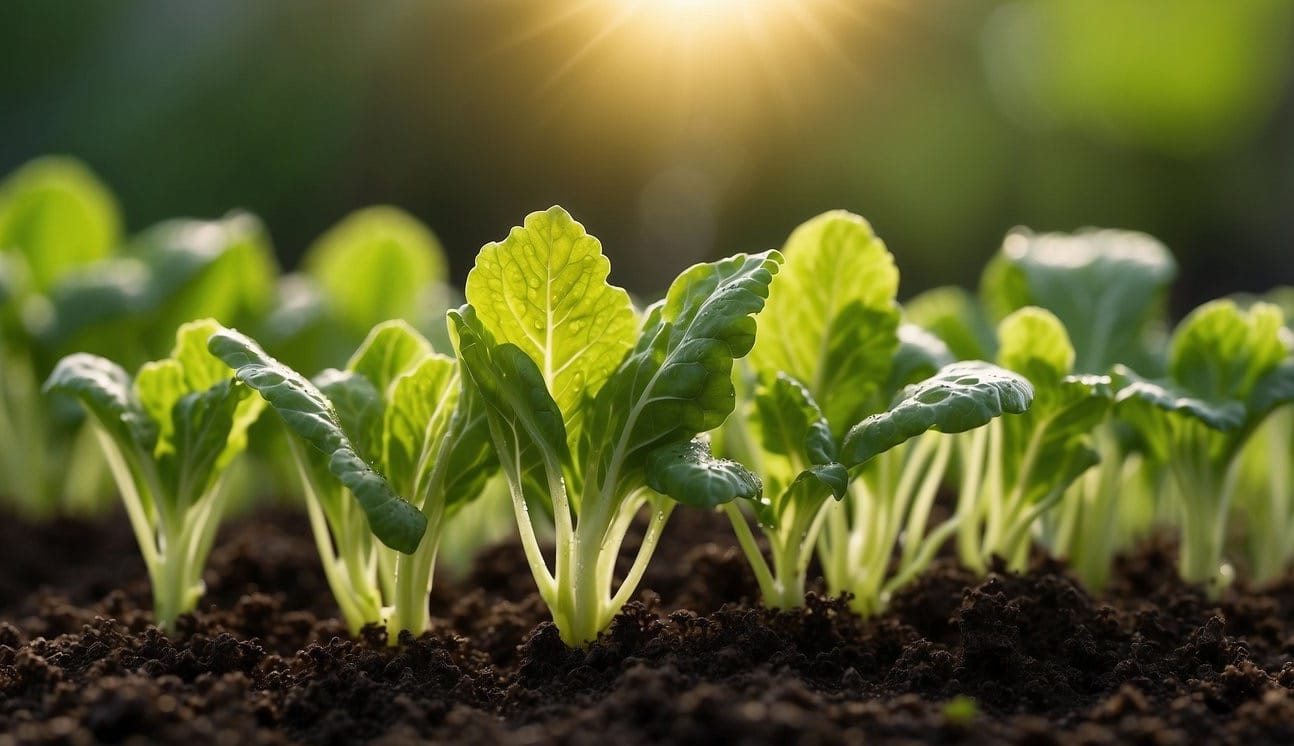
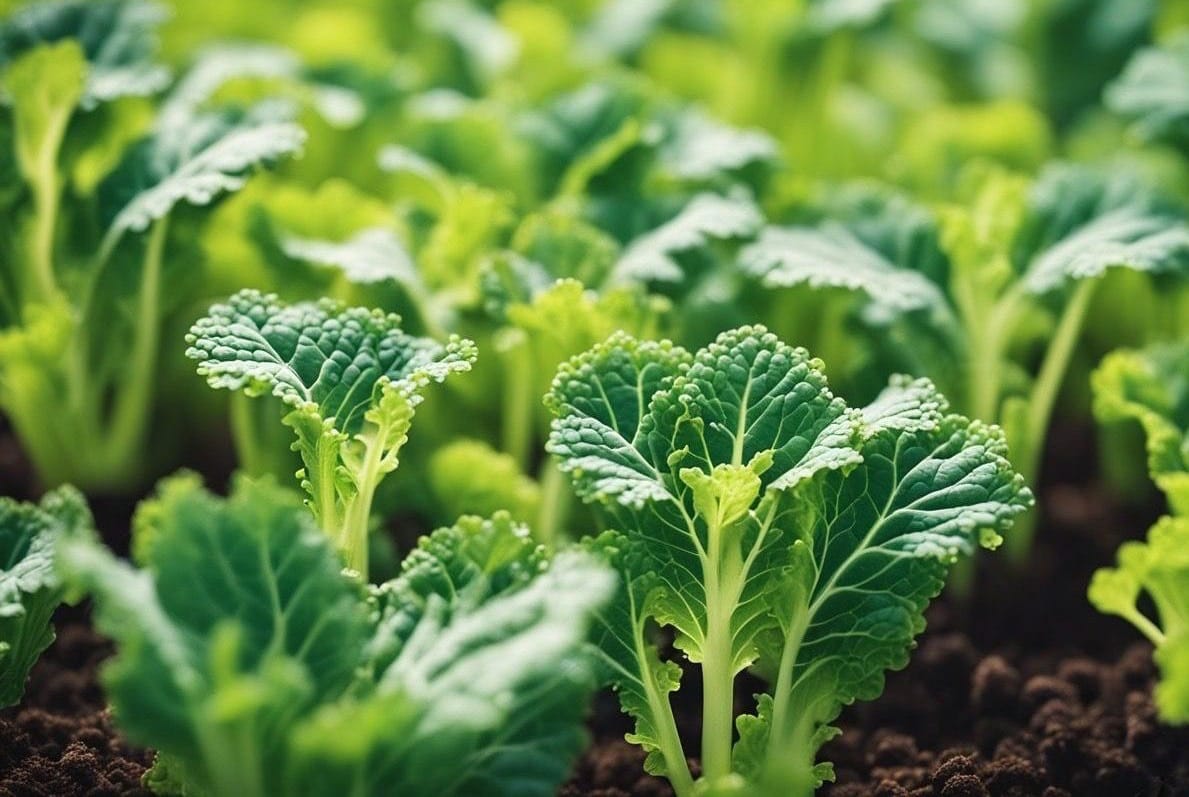
How to Grow Mustard Greens
Mustard greens are a flavorful addition to any vegetable garden, noted for their peppery taste that can spice up salads and stir-fries.
Growing mustard greens is relatively simple and can be a rewarding activity for both novice and seasoned gardeners.
They thrive in cool weather, making them an excellent crop for both spring and fall. Choose from a variety of seeds depending on the level of spice you prefer and the size of the greens you wish to grow.
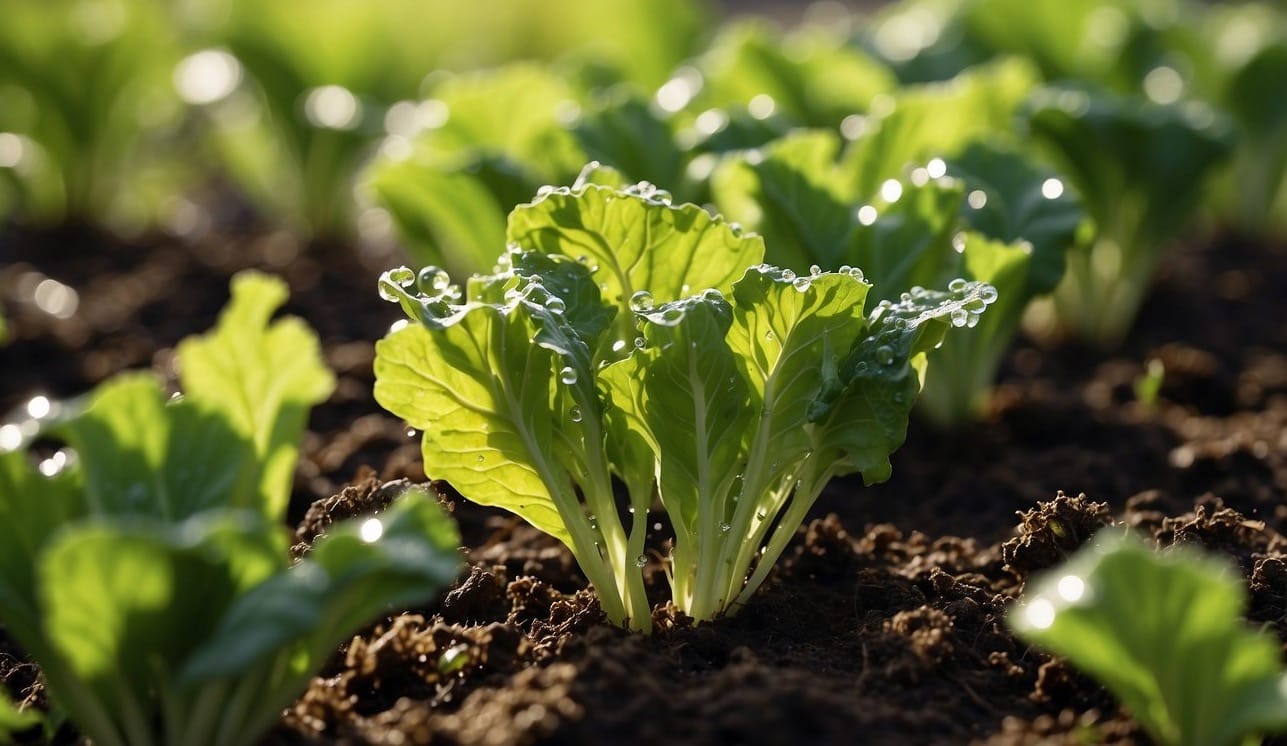
Proper site preparation is crucial to the success of your mustard green crop. These greens prefer a sunny spot with well-drained, fertile soil.
Before planting, enrich the soil by working in compost to provide the nutrients the plants will need.
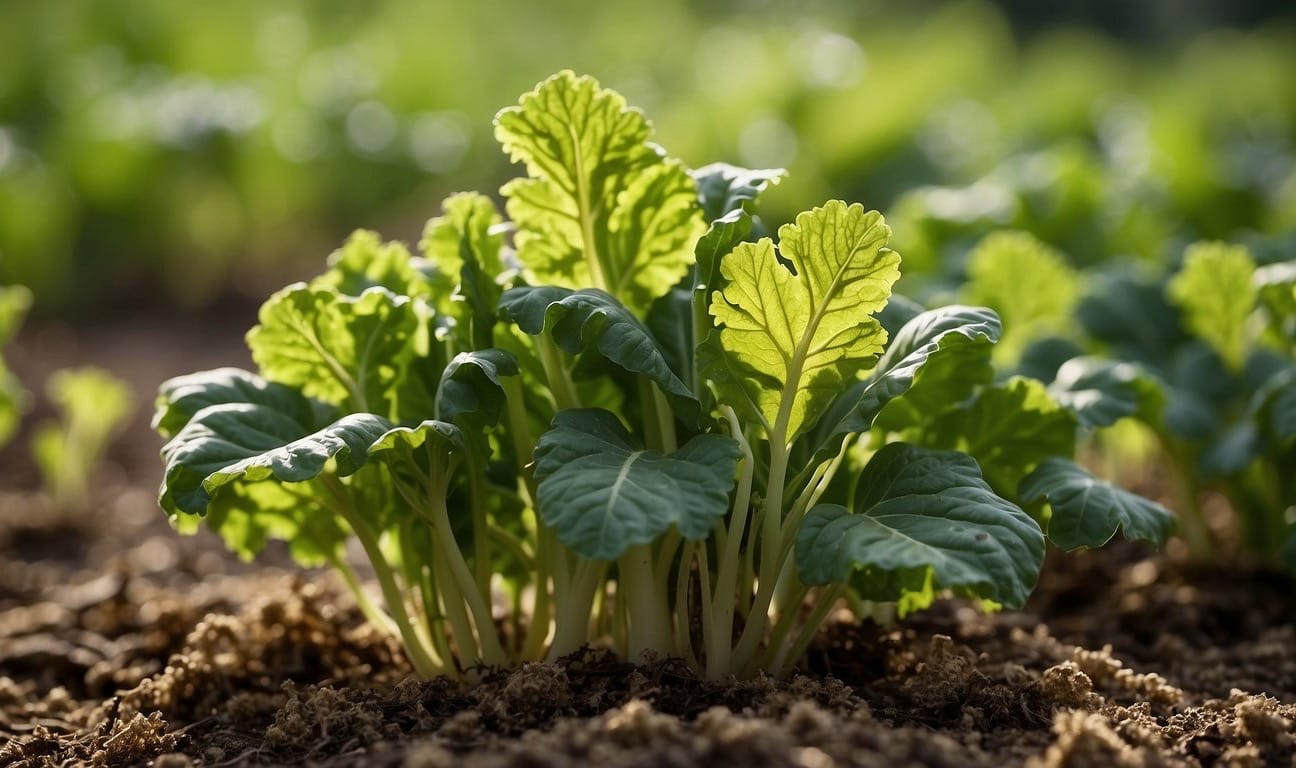
Planting at the correct time is also essential. In many regions, you can sow seeds directly in the garden a few weeks before the last frost of spring. You can continue sowing seeds in succession for a continuous harvest.
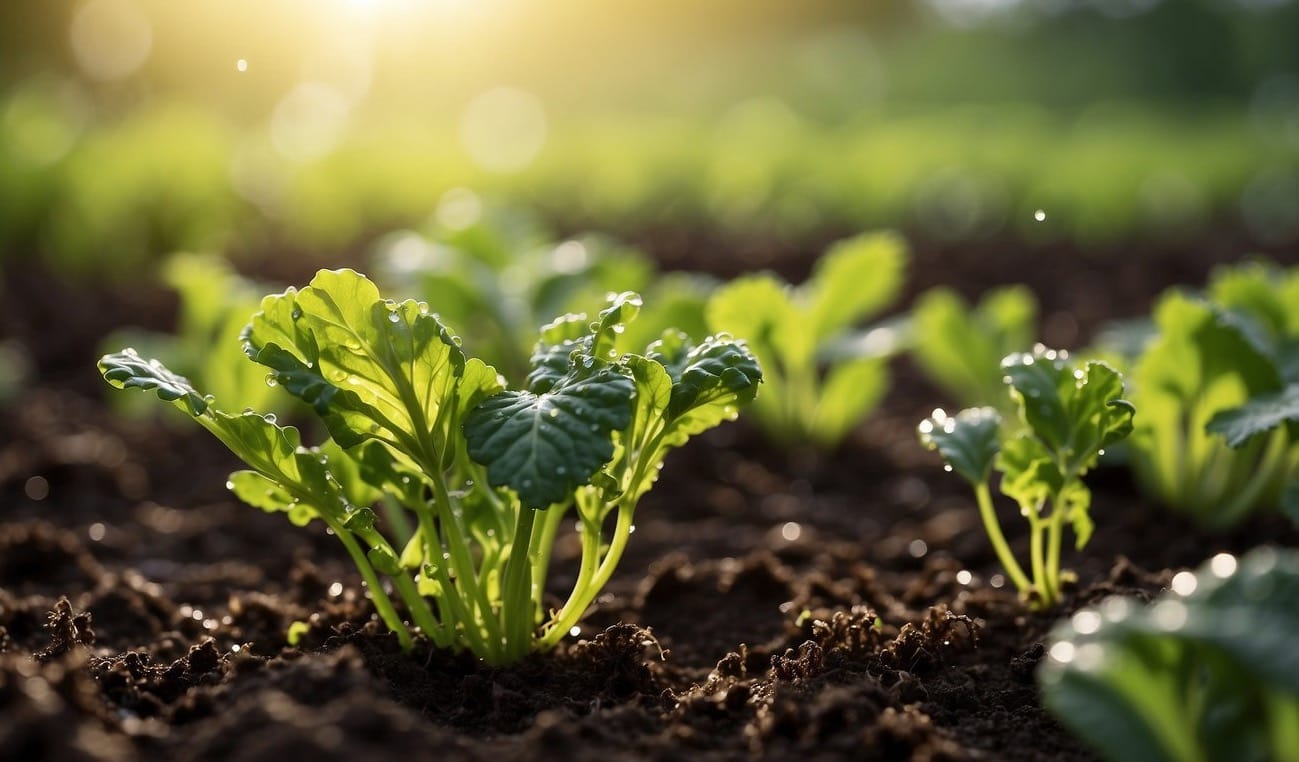
Once your mustard greens are established, consistent watering and occasional fertilizing will help boost your crop's health and yield.
Key Takeaways
- Mustard greens are easy to grow and add peppery flavor to dishes.
- Choose a sunny location with fertile, well-drained soil for planting.
- Consistent care, including watering and fertilization, ensures a bountiful harvest.
Choosing the Right Varieties
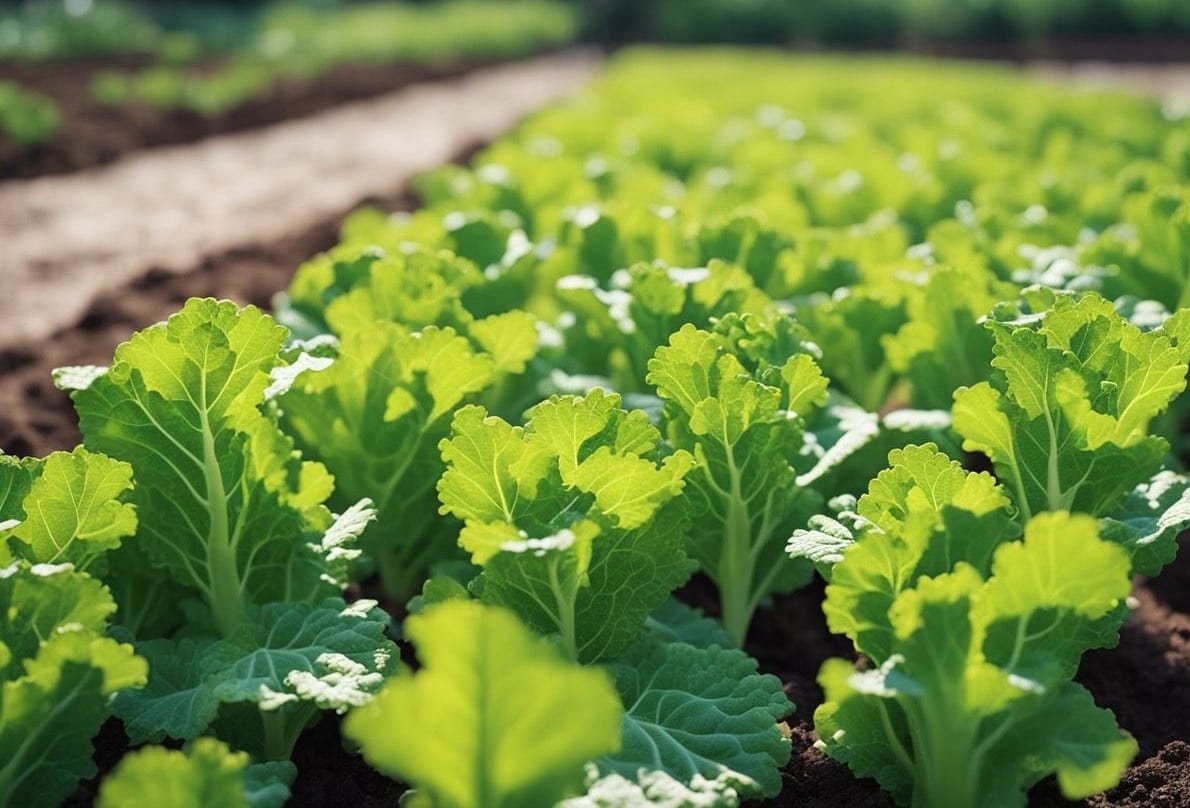
When selecting mustard greens, you want to consider both their culinary uses and growing conditions. Varieties differ in taste, texture, and growth habit, making your choice crucial for a successful harvest.
Understanding Different Mustard Greens
Mustard greens, classified under Brassica juncea, come in several varieties each with distinctive characteristics. From curly to smooth, and spicy to mild, these varieties cater to different preferences and uses in the kitchen.
- Red Giant: As the name suggests, this variety boasts large, reddish-purple leaves with a robust peppery flavor.
- Southern Giant: Recognized for its large, crumpled, bright green leaves, it offers a traditional mustard green flavor.
- Green Wave: Medium-hot and reliable, this variety sports ruffled green leaves and is a favorite for its quick growth.
- Mizuna: Characterized by its feathery, mild, and slightly sweet leaves, Mizuna is a versatile choice for salads and stir-fries.
- Giant Curled: Known for its vigorous growth and heavily curled leaves, this variety is favored for its bold, spicy taste.
Selection of Seeds
Choosing the right seeds is instrumental in growing the variety that best suits your taste and garden space. Here are specific tips to ensure you get the best quality seeds and results:
- Read the labels: Ensure that the seed packet clearly identifies the variety of mustard greens and its growth characteristics.
- Purchase from reputable suppliers: This increases the likelihood of seed purity and viability, giving you a better chance at a healthy crop.
- Consider maturity times: Different varieties have different growth rates. For example, Green Wave matures quickly and can be harvested as baby leaves in just 21 days.
By carefully selecting the right mustard green varieties and seeds, you set yourself up for a flavorful and bountiful harvest that suits your culinary needs and growing conditions.
Site Preparation and Soil Considerations
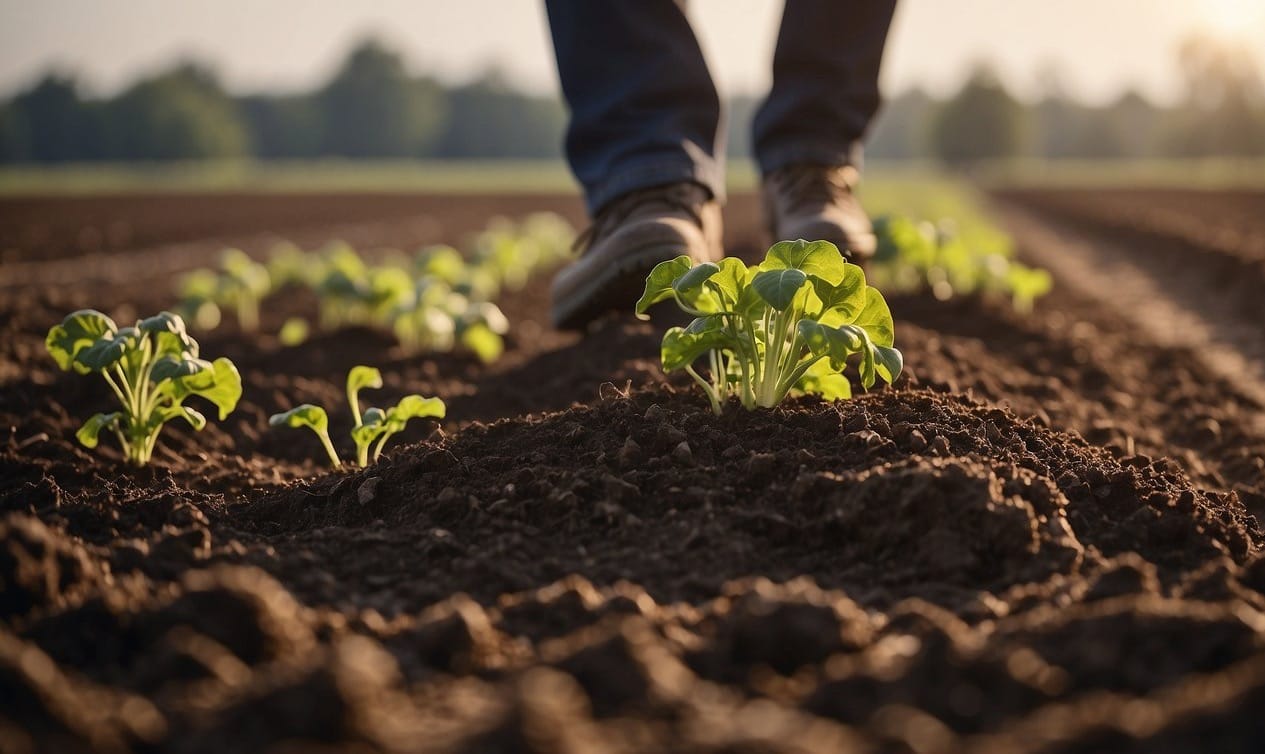
Proper site preparation and an understanding of soil requirements are crucial to growing healthy mustard greens. Your success hinges on two main factors: the soil's pH balance and its physical condition.
Testing and Amending Soil
Soil pH is a critical parameter for mustard greens which thrive in a slightly acidic to neutral range, typically between 5.5 and 6.8.
Before planting, it's advisable that you test your soil using a home test kit or by sending a sample to a local extension service.
If the pH isn't within the desired range, you can:
- Add lime to raise the pH if the soil is too acidic.
- Incorporate sulfur to lower the pH if the soil is too alkaline.
As for fertility, mustard greens do best in rich soil.
You should enrich your soil with aged compost or a balanced fertilizer before planting to provide a nutritious environment for your greens.
Soil Type and Drainage
Mustard greens will perform best in well-drained soil. Soil that retains too much water can lead to root diseases and poor plant health.
Here's how you can ensure your soil is ready:
- Aim for loamy soil, which typically combines sand, silt, and clay in a way that promotes good drainage and aeration.
- Soil structure can be improved by mixing in organic matter such as compost. This not only helps with water retention but also creates a fertile growing medium.
- Ensure the planting site does not collect standing water. If your garden has heavy clay soil, consider raised beds or mounds to improve drainage.
Planting Instructions
Mastering mustard greens planting requires understanding the right sowing techniques, the optimal timing, and the specifics about transplanting seedlings for a successful harvest.
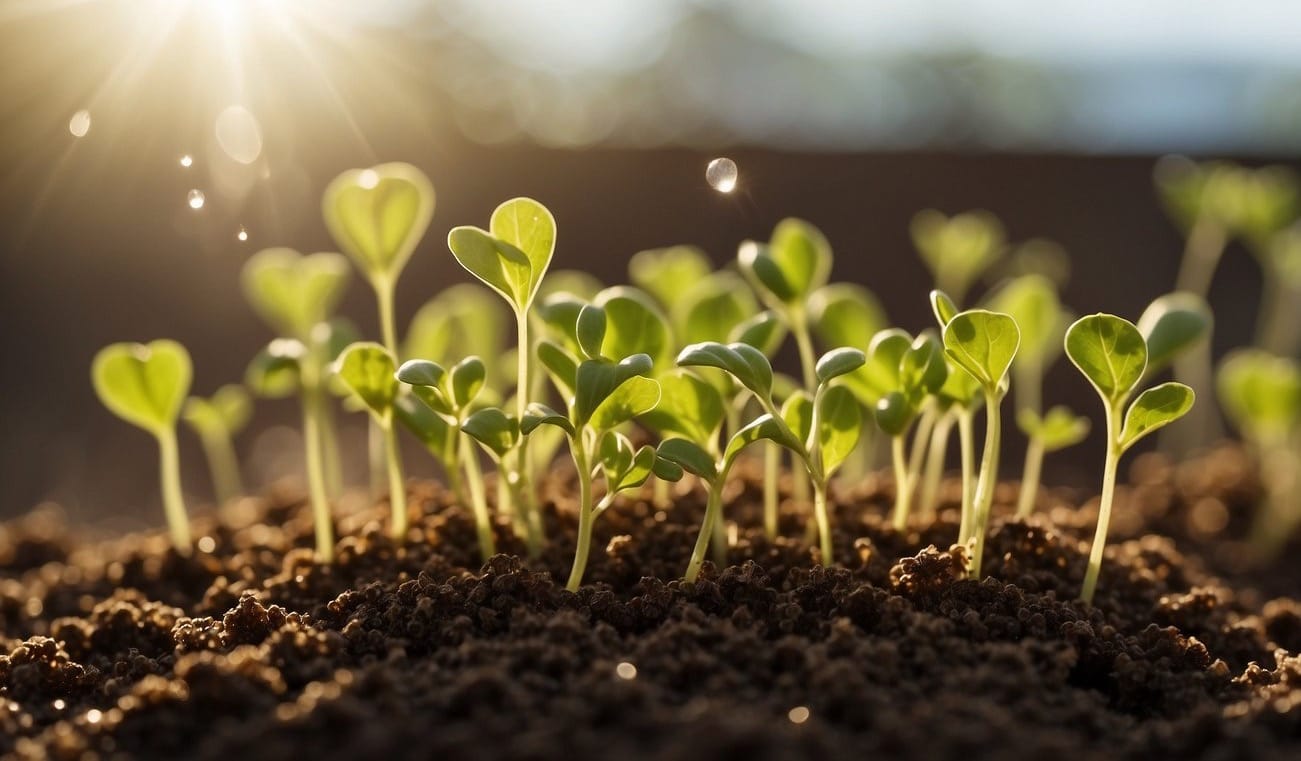
Sowing Seeds
To ensure proper germination, sow your mustard green seeds directly into the soil at a depth of about ¼ inch and cover lightly with soil.
For baby mustard greens, sow two seeds per inch with rows spaced 4-6 inches apart.
For larger plants, space rows 12-18 inches apart and plants 6-12 inches within a row.
It's recommended to use a well-moistened, fertile soil, rich in organic matter.
- Location: Choose a sunny spot or one with partial shade.
- Soil: Preferably moist, rich, and well-drained.
- Spacing:
- Baby greens: 2 seeds per inch, rows 4-6 inches apart.
- Full-sized plants: Rows 12-18 inches apart, plants 6-12 inches apart.
Transplanting Seedlings
If starting seedlings indoors, transplant them into your garden once they’ve grown strong enough and the risk of last frost has passed.
Hardening off the seedlings by gradually exposing them to outdoor conditions over several days is also necessary.
When transplanting, maintain the original spacing guidelines, placing them in a raised bed or container if preferred to control soil quality.
- Preparation: Harden off by gradually exposing to outdoor temperatures.
- Method: Firm plants into the soil at the same depth they were growing in containers.
- Spacing: Follow original spacing guidelines for the type of harvest you want.
Best Planting Times
Your mustard greens thrive best during cooler weather.
Start sowing seeds as early as 4-6 weeks before the average last frost date in spring, or plant in fall, at least 30-40 days before the first frost date.
Mustard greens can handle light frost, but it's essential to ensure they're harvested before temperatures exceed 75°F (24°C).
- Spring Planting: 4-6 weeks before the last frost date.
- Fall Planting: 30-40 days before the first expected frost.
- Climate Note: Optimal growing temperature is below 75°F (24°C).
Caring for Mustard Greens
To ensure your mustard greens thrive, consistent attention to watering, nutrition, planting density, and weed control is essential. Careful management of these aspects leads to a healthy and bountiful crop.
Watering Needs
Mustard greens require regular watering to maintain moist soil, especially during dry spells.
Aim for about 1 to 1.5 inches of water per week, either from rainfall or supplemental watering.
Deep, less frequent waterings encourage strong root development, as opposed to shallow, daily waterings.
Fertilizing Schedule
Feed your mustard greens a balanced nitrogen-rich fertilizer to foster leaf growth.
Apply a half-strength solution every two to four weeks, or according to the product's specific instructions.
Over-fertilizing can harm the plants, so adhere to recommended amounts.
Thinning Seedlings
If you sow your seeds densely, thin the seedlings to prevent overcrowding, which can lead to lackluster growth and diseases.
When seedlings are 2-3 inches tall, thin them so they're spaced 6 to 12 inches apart. The thinned seedlings can be used in salads or as garnishes.
Mulching and Weed Management
Mulch your mustard greens with organic materials like straw to retain soil moisture and suppress weeds. A layer of 2-3 inches is usually sufficient.
Regularly removing weeds by hand helps prevent them from competing with your mustard greens for nutrients and water.
Understanding Growth Requirements
When you decide to grow mustard greens, knowing the specific conditions they thrive in is key. This section guides you through their ideal light conditions and temperature requirements.
Light and Temperature
Your mustard greens require full sun to partial shade to cultivate healthy growth. They are cool-season vegetables, which means they grow best in cooler temperatures, typically between 50 and 70 degrees Fahrenheit.
It's essential to plant them so that they mature before the heat of the summer sets in, as high temperatures can cause the plants to bolt or produce seeds prematurely, leading to a bitter taste.
When growing in cooler climates:
- 50-60°F: Optimal for steady growth
- Above 75°F: Risk of bolting increases
To ensure a robust growth period, plant your mustard greens in full sun. However, if you are located in a warmer zone or as summer approaches, you can plant them in areas that receive partial shade during the afternoon.
This will protect the plants from the most intense periods of heat which could hinder their growth and overall health.
Humidity and Air Circulation
Mustard greens are fairly hardy and can tolerate different humidity levels, but proper air circulation helps prevent disease. Here's what you should aim for:
- Moderate humidity: To support growth without encouraging leaf diseases
- Good air circulation: To reduce the chance of fungal infections
In very moist climates, pay extra attention to spacing and place your greens where air can move freely around each plant.
If you grow them in clusters or a dense rosette, ensure there's enough space between the clusters for air to circulate. This helps reduce excess moisture on the leaves, which is often a precursor to disease.
Pest and Disease Management
Growing mustard greens can be rewarding, but you must stay vigilant against pests and diseases that could hinder your harvest. Through careful observation and strategic action, you can manage these issues effectively.
Identifying Common Threats
Pests like flea beetles, aphids, cabbage worms, and slugs are all common nuisances in mustard green gardens.
Flea beetles create small holes in the foliage, while aphids are typically found in clusters on the underside of leaves. Meanwhile, cabbage worms can chew large portions of the leaves, and slugs make irregular holes and slimy trails.
Diseases often arise from moist conditions. For instance, downy mildew, a fungal infection, can stunt plant growth, and bacterial leaf spot causes dark, wet-looking spots on the leaves.
Regularly inspecting your plants is essential for early detection and successful management.
Organic Control Methods
Implementing organic control methods can effectively mitigate pest and disease issues:
- Physical barriers: Floating row covers can prevent pests like flea beetles and cabbage worms from reaching your plants.
- Natural predators: Encourage beneficial insects, such as ladybugs, to visit your garden as they feed on aphids.
- Companion planting: Growing aromatic plants like thyme or mint nearby may deter some pests due to their strong scents.
- Organic pesticides: Neem oil and insecticidal soaps can control small infestations of aphids and flea beetles when applied correctly.
For handling slug invasions, setting up traps or barriers can be an effective deterrent.
Additionally, using well-aged compost in your soil preparation can promote healthy growth, potentially reducing the impact of certain diseases.
Harvesting Mustard Greens
Efficient harvest techniques and proper timing are crucial to ensure your mustard greens are at their peak for both flavor and nutritional value.
When to Harvest
You should begin harvesting mustard greens when the leaves reach a suitable size for your purpose.
For microgreens, you can harvest as early as 5 days after germination. If you prefer baby leaves, they will typically be ready in about 21 days. Meanwhile, full-sized leaves will take around 37 days from planting.
Be mindful as mustard greens mature quickly, and high temperatures over 75°F (24°C) can cause the plants to bolt, resulting in bitter leaves.
Harvesting Techniques
To harvest mustard greens, you can either snip individual leaves or cut the entire plant. For a continuous yield, pick the outer leaves first and leave the inner ones to grow:
- Use clean, sharp scissors or a knife.
- Cut the leaves at about one inch above the soil line to encourage new growth.
- Be gentle to avoid damaging the plant, which can reduce the yield.
Storing for Freshness
After harvesting, mustard greens should be washed and dried thoroughly before storing to maintain freshness.
For short-term storage, wrap them in paper towels and place them in a plastic bag in your refrigerator, which can keep them fresh for a few days to a week.
For long-term storage:
- Blanch the greens by boiling briefly and then plunging into an ice bath.
- Dry them completely to prevent freezer burn.
- Place the blanched greens in airtight containers or freezer bags.
- Store in the freezer where they can maintain quality for several months.
Frequently Asked Questions
Growing mustard greens successfully hinges on understanding their cultivation needs, from indoor growing techniques to companion planting.
What is the best method to grow mustard greens indoors?
To grow mustard greens indoors, use containers with good drainage and place them in a spot that receives ample sunlight.
Maintain a consistent soil moisture level and use a high-quality, organic potting mix to ensure healthy growth.
Can you explain the process for growing mustard greens from seed?
Sow mustard green seeds directly into the soil at approximately ¼ inch deep, spacing them based on whether you want baby leaves or full-sized plants.
Thin the seedlings to 6 to 12 inches apart once they reach a few inches in height.
What are the ideal growing temperatures for mustard greens?
The ideal temperature for mustard greens is between 50 and 75 degrees Fahrenheit. They grow best in cooler weather and should be harvested before the average temperature exceeds 75°F to prevent bolting.
How long does it typically take for mustard greens to reach maturity?
Mustard greens have a fairly rapid growth cycle. They can be ready for harvest as microgreens in 5 days, as baby leaves in 21 days, and as full-sized leaves in about 37 to 50 days.
What are some companion plants that can be grown with mustard greens?
Good companions for mustard greens include peas, beans, and root vegetables like beets and radishes.
Avoid planting them with other brassicas to prevent the spread of pests and diseases.
What are the light requirements for mustard greens to thrive?
Mustard greens require 4-6 hours of direct sunlight per day. They will grow best with 6 to 8 hours of sunlight. If grown in partial shade, ensure they still receive enough light to support their growth.