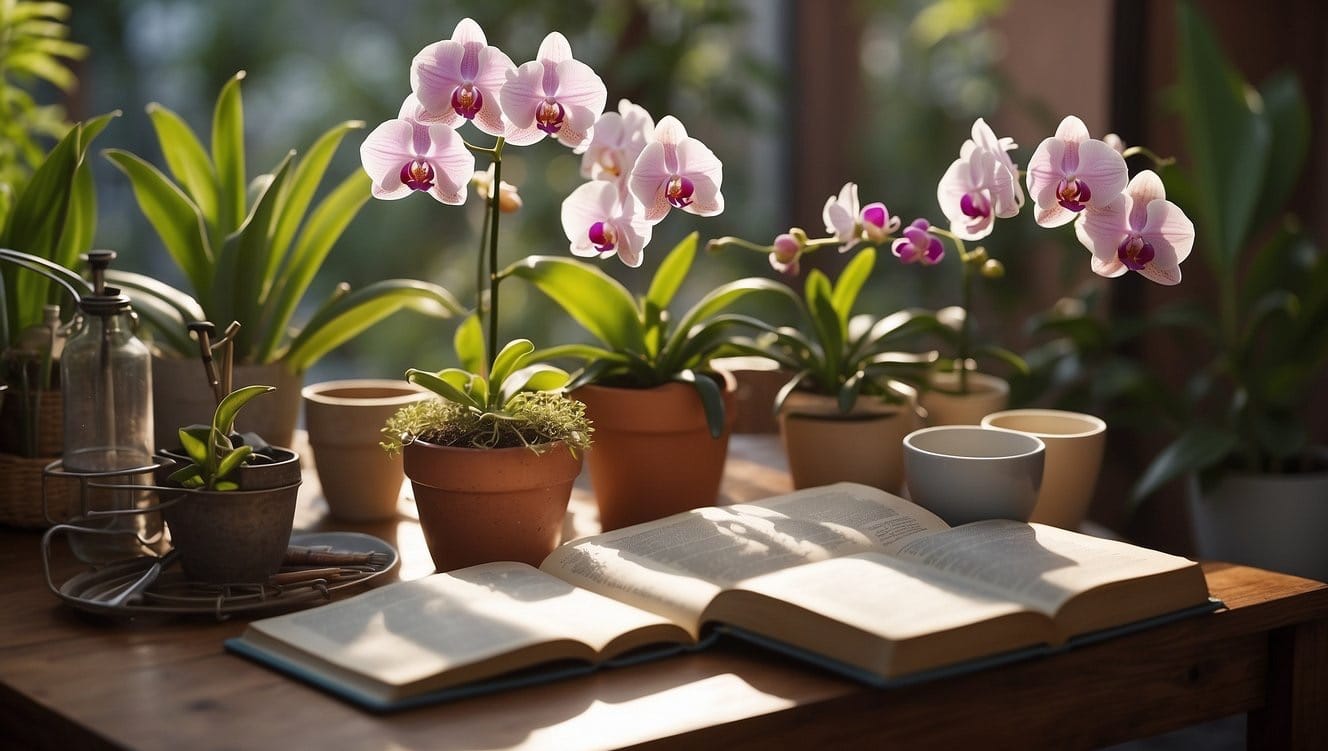
How to Grow Orchids
Growing orchids can be a rewarding experience. You get to enjoy the beauty of the blooms and the satisfaction of nurturing such an exotic plant successfully.
With their diverse shapes and vibrant colors, orchids have a reputation for being both elegant and intricate.
However, the process of growing them is not as daunting as it may seem.
While they do require more specific care than your average houseplant, understanding and meeting their needs can help you grow healthy and stunning orchids.
The first step in growing orchids is choosing the right variety that fits well with your environment and your level of expertise in plant care.
Once you've selected an orchid, the basics of care – such as the right light, temperature, and humidity – are crucial to keep your orchids thriving.
Potting and repotting play a significant role in orchid health, as does the right fertilization schedule.
Dealing with common problems, encouraging blooming, and exploring advanced care techniques can further your orchid-growing hobby.
Key Takeaways
- Orchids require specific conditions like the correct light and temperature to grow well.
- Regular care, including proper watering and fertilizing, is essential for healthy orchids.
- Knowing how to pot and repot is important to maintain your orchid's health and encourage blooming.
Choosing the Right Orchid
When you decide to grow orchids, the vast selection can be overwhelming.
However, focusing on the intricacies of different species and popular varieties can help you make an informed decision.
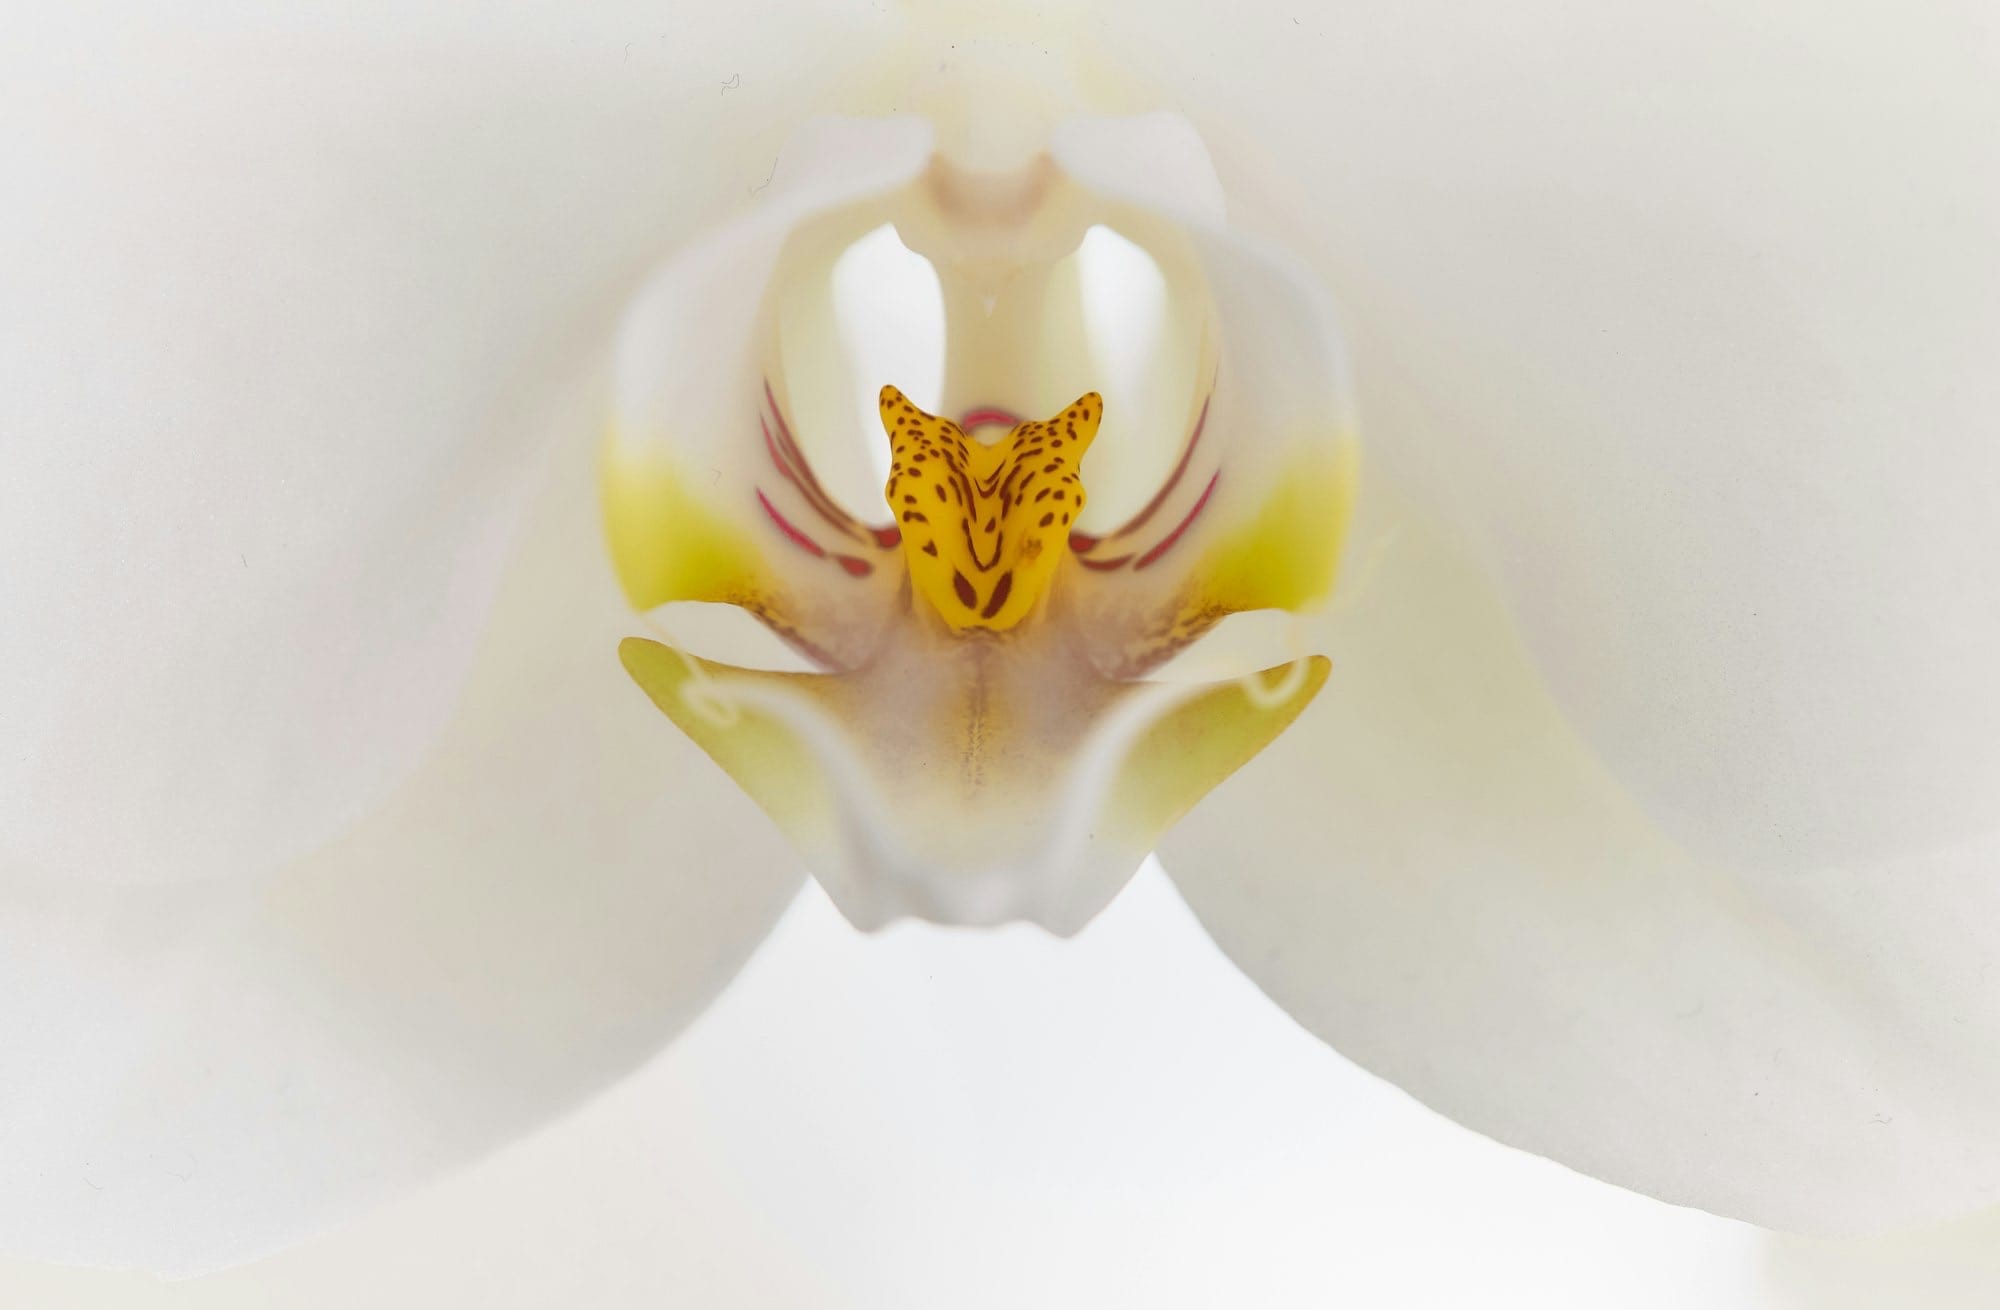
Understanding Orchid Species
Orchids belong to an extensive family, with over 30,000 different species. Each species thrives under certain conditions and offers a unique aesthetic.
To start, it's crucial you know which orchid will suit your environment and care abilities.
- Light: Some orchids need bright, indirect light, while others can tolerate lower light.
- Temperature: Orchids generally prefer temperatures between 65-85°F (18-29°C).
- Water: Watering needs can vary; it's essential to let most orchid types dry out between waterings.
- Humidity: A level of around 40-70% is ideal for most orchids.
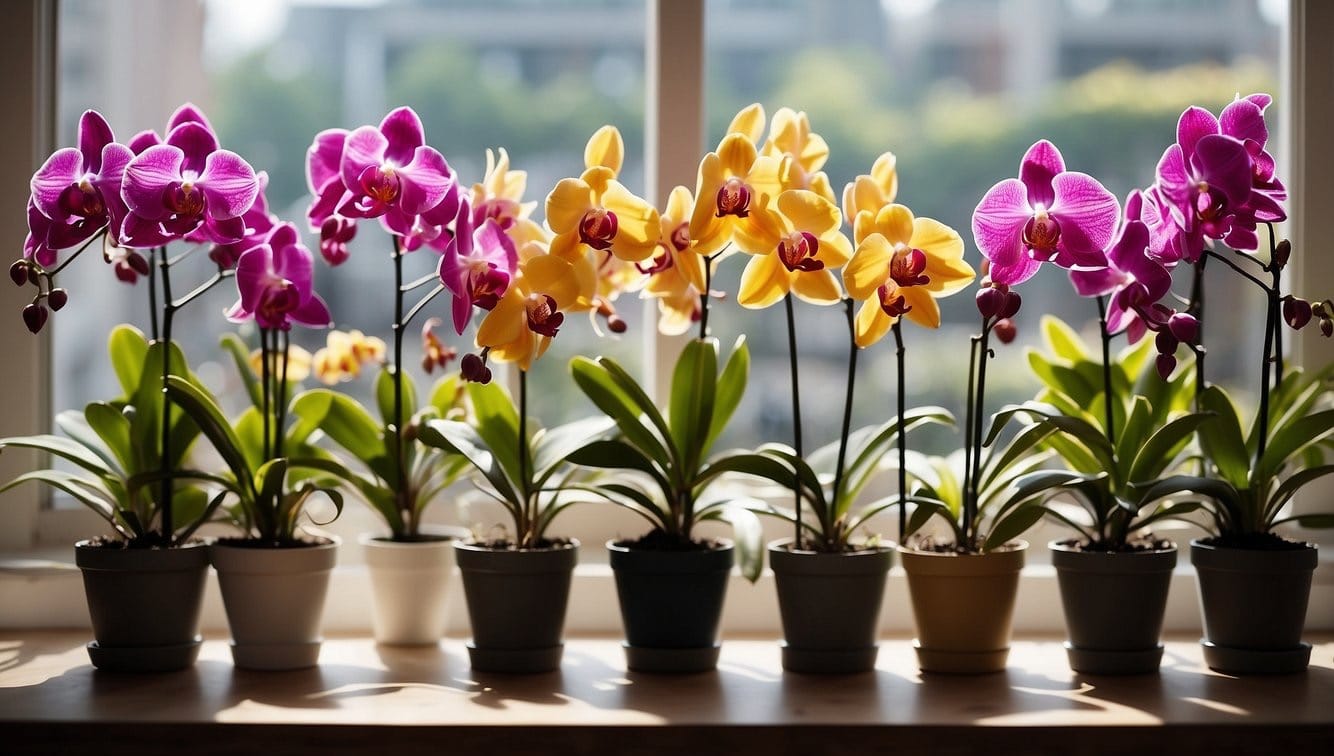
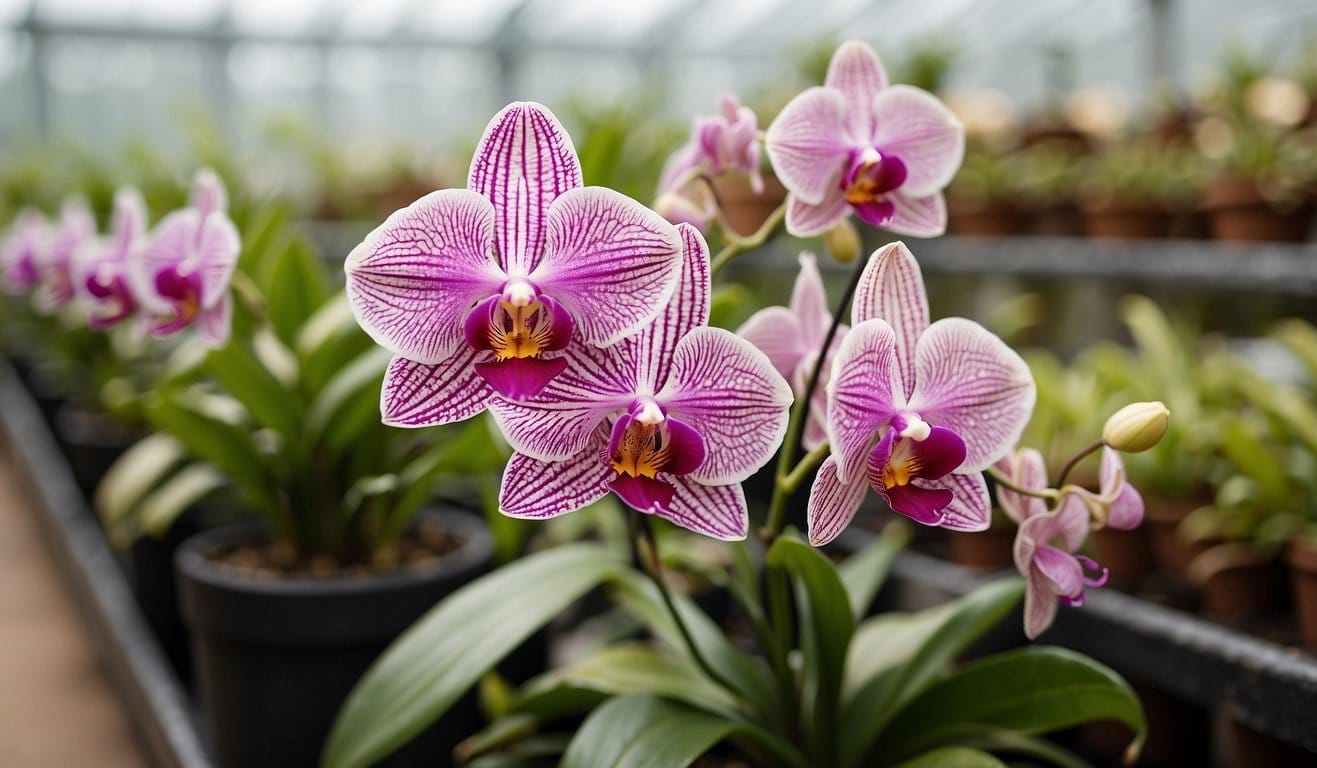
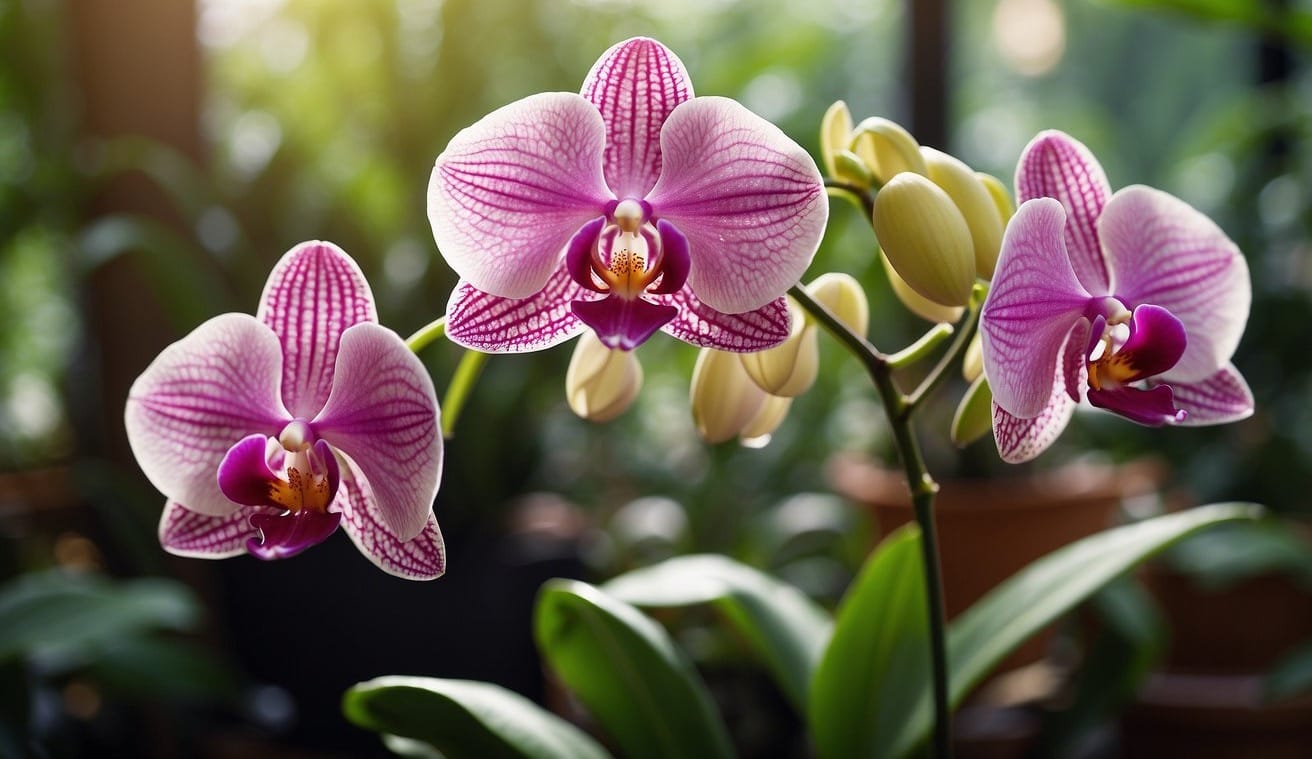
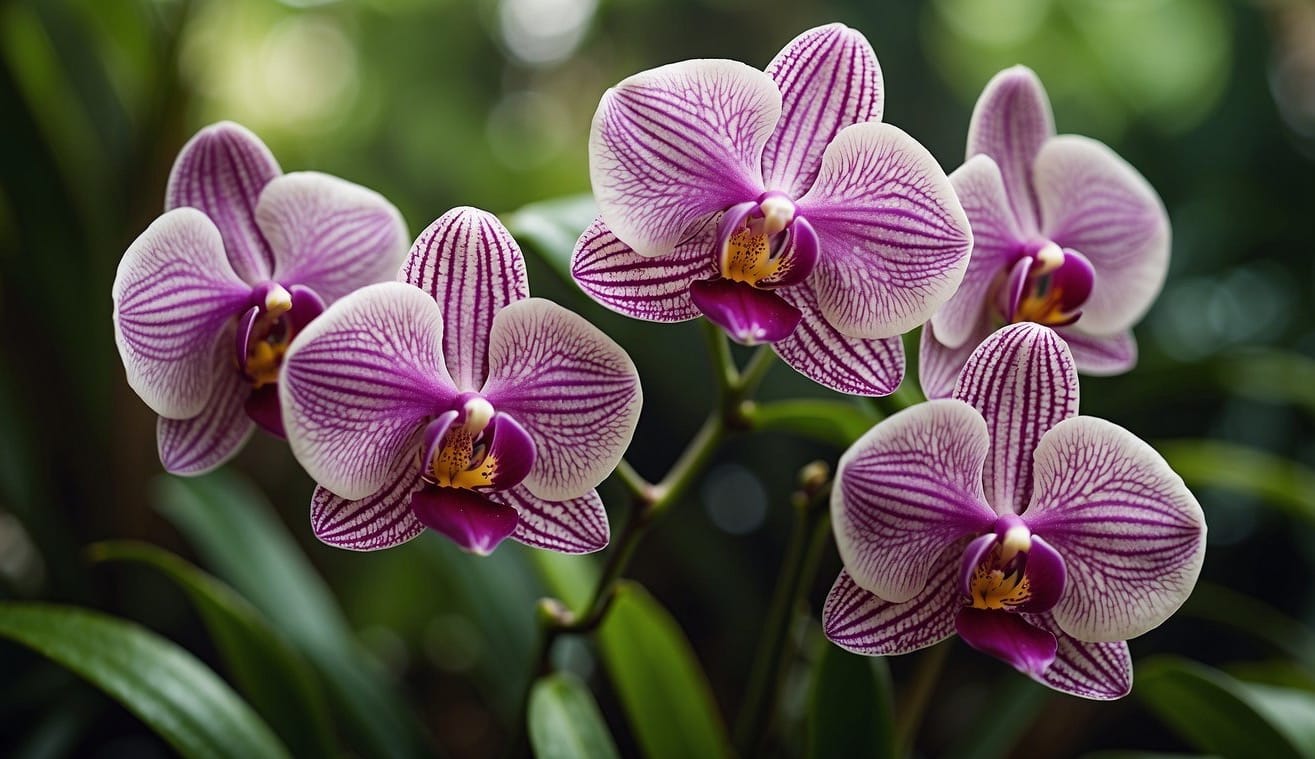
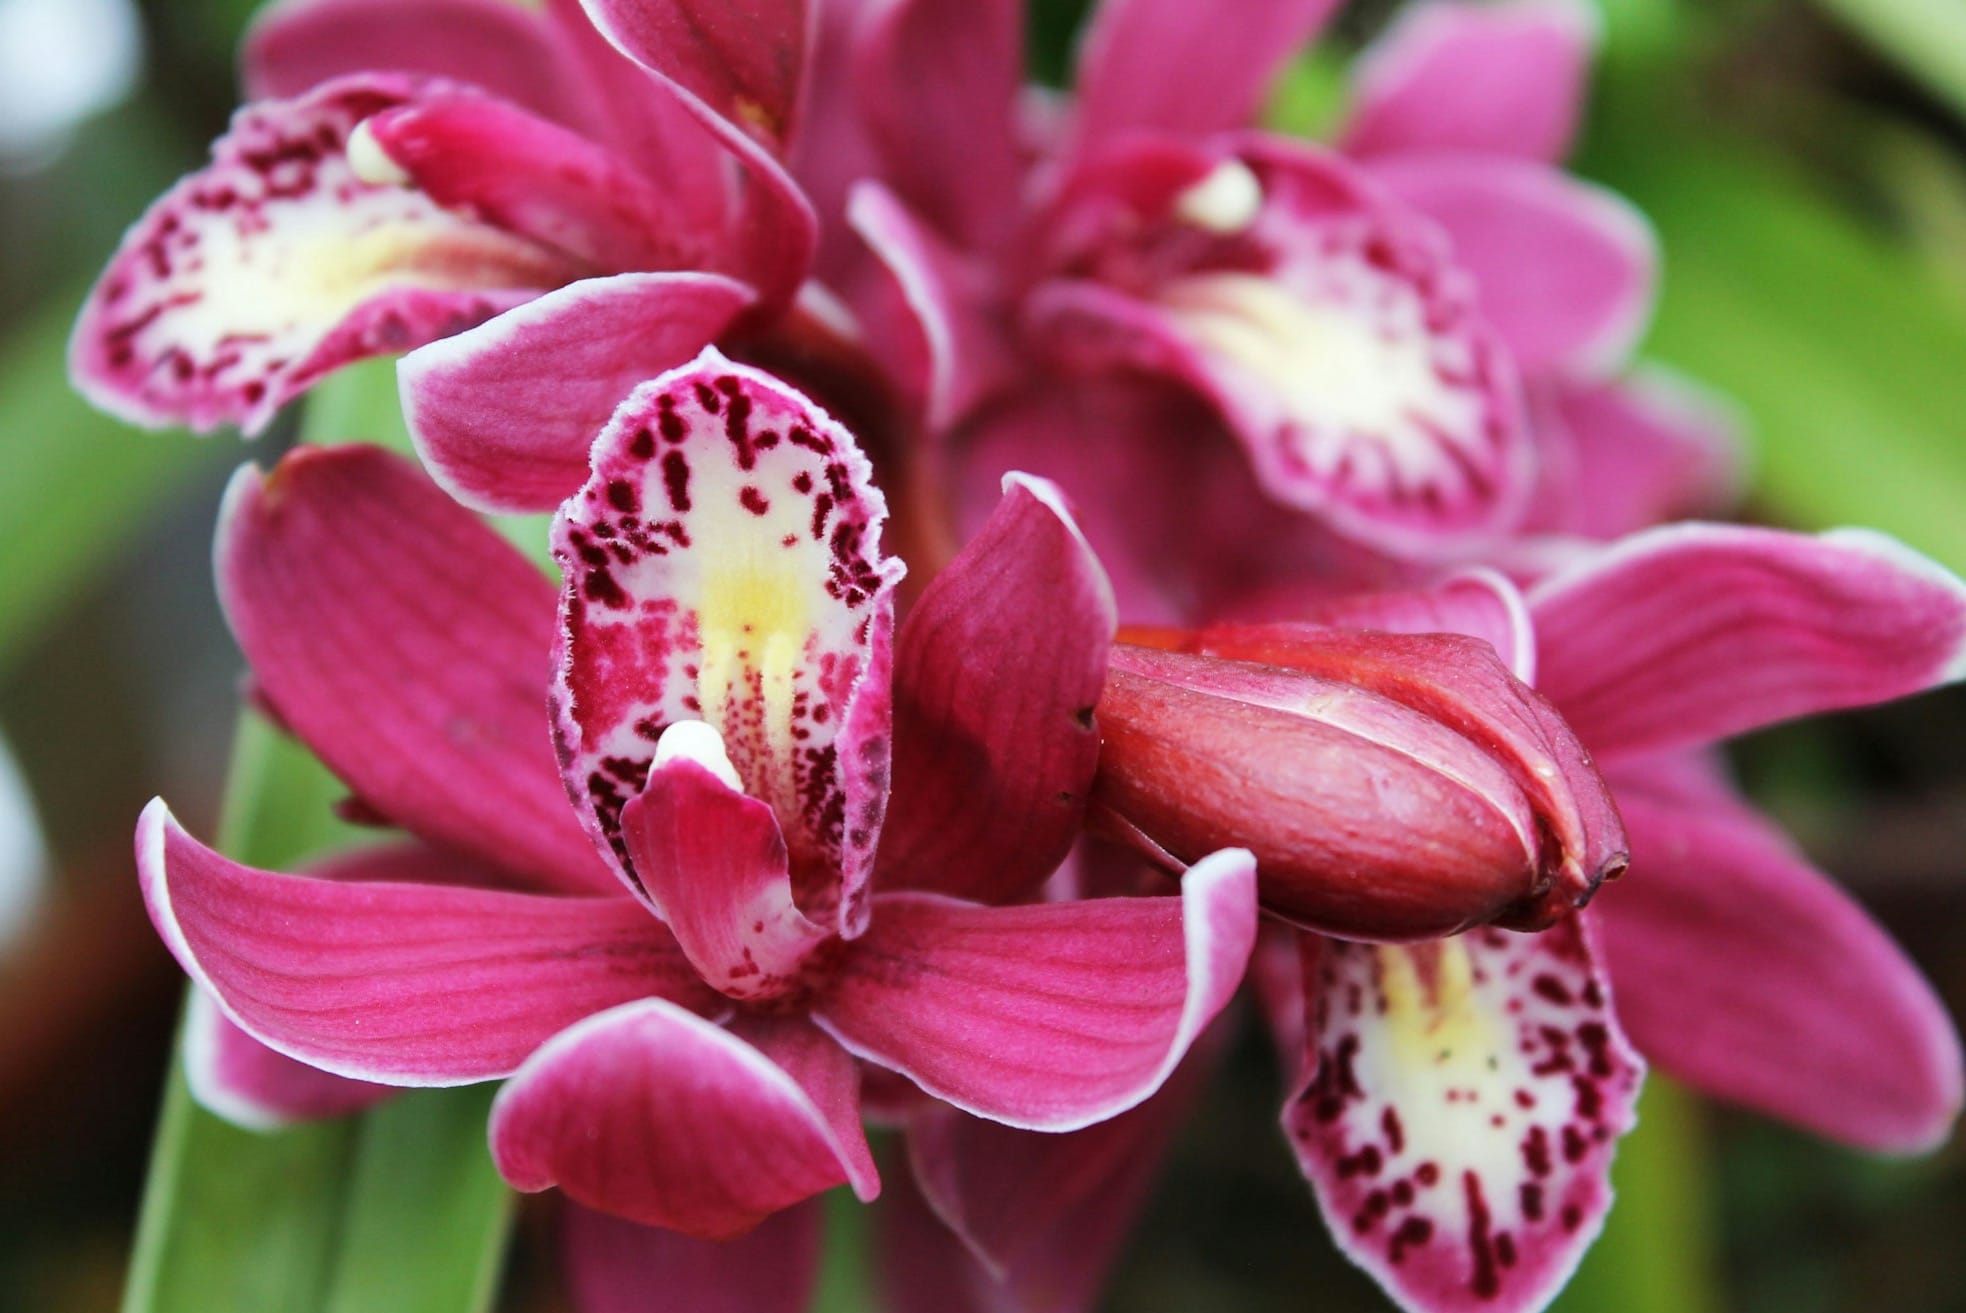
Popular Orchid Varieties
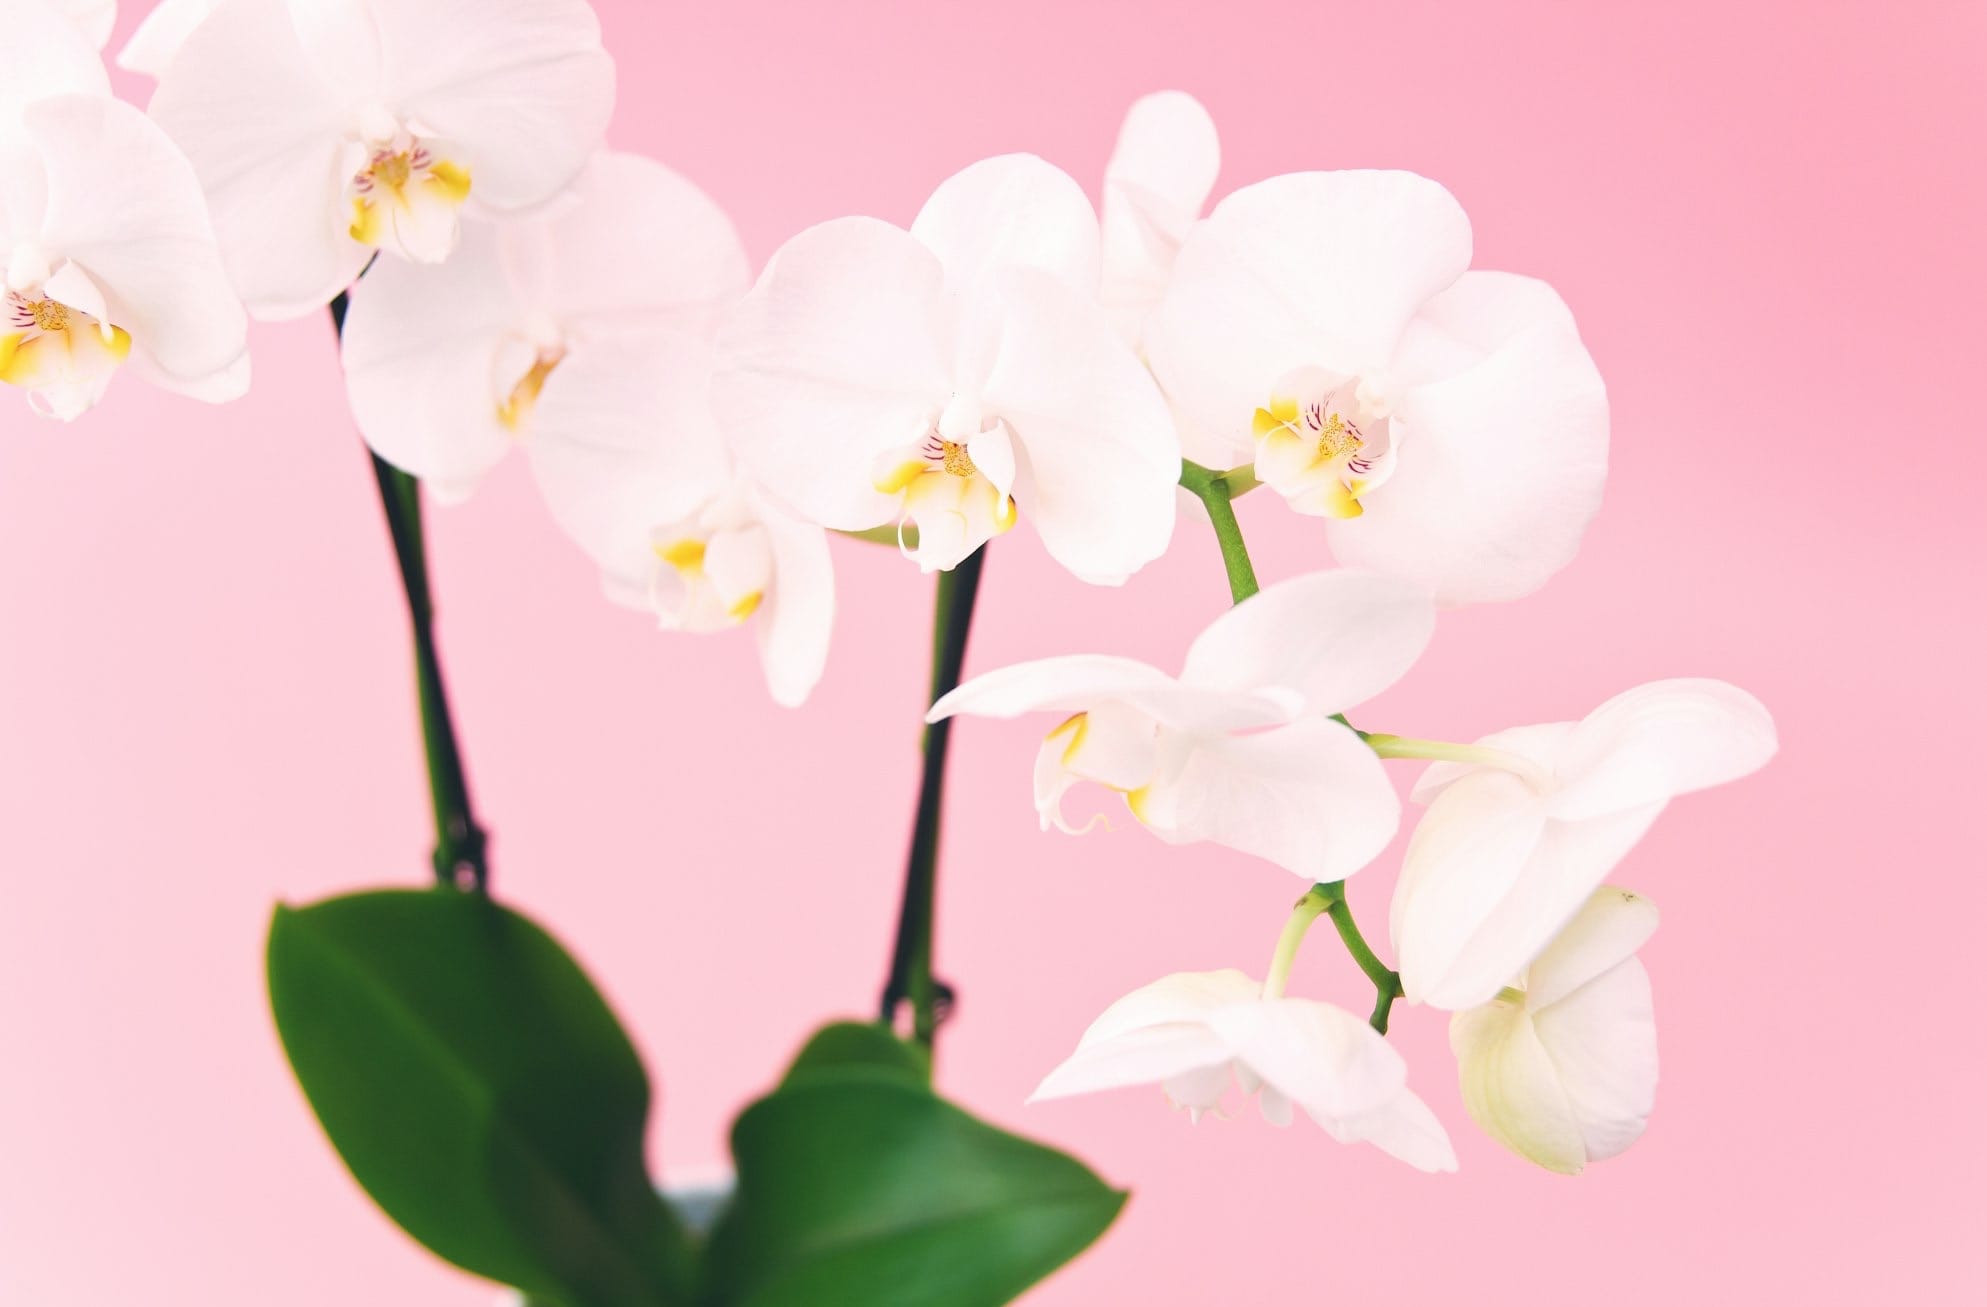
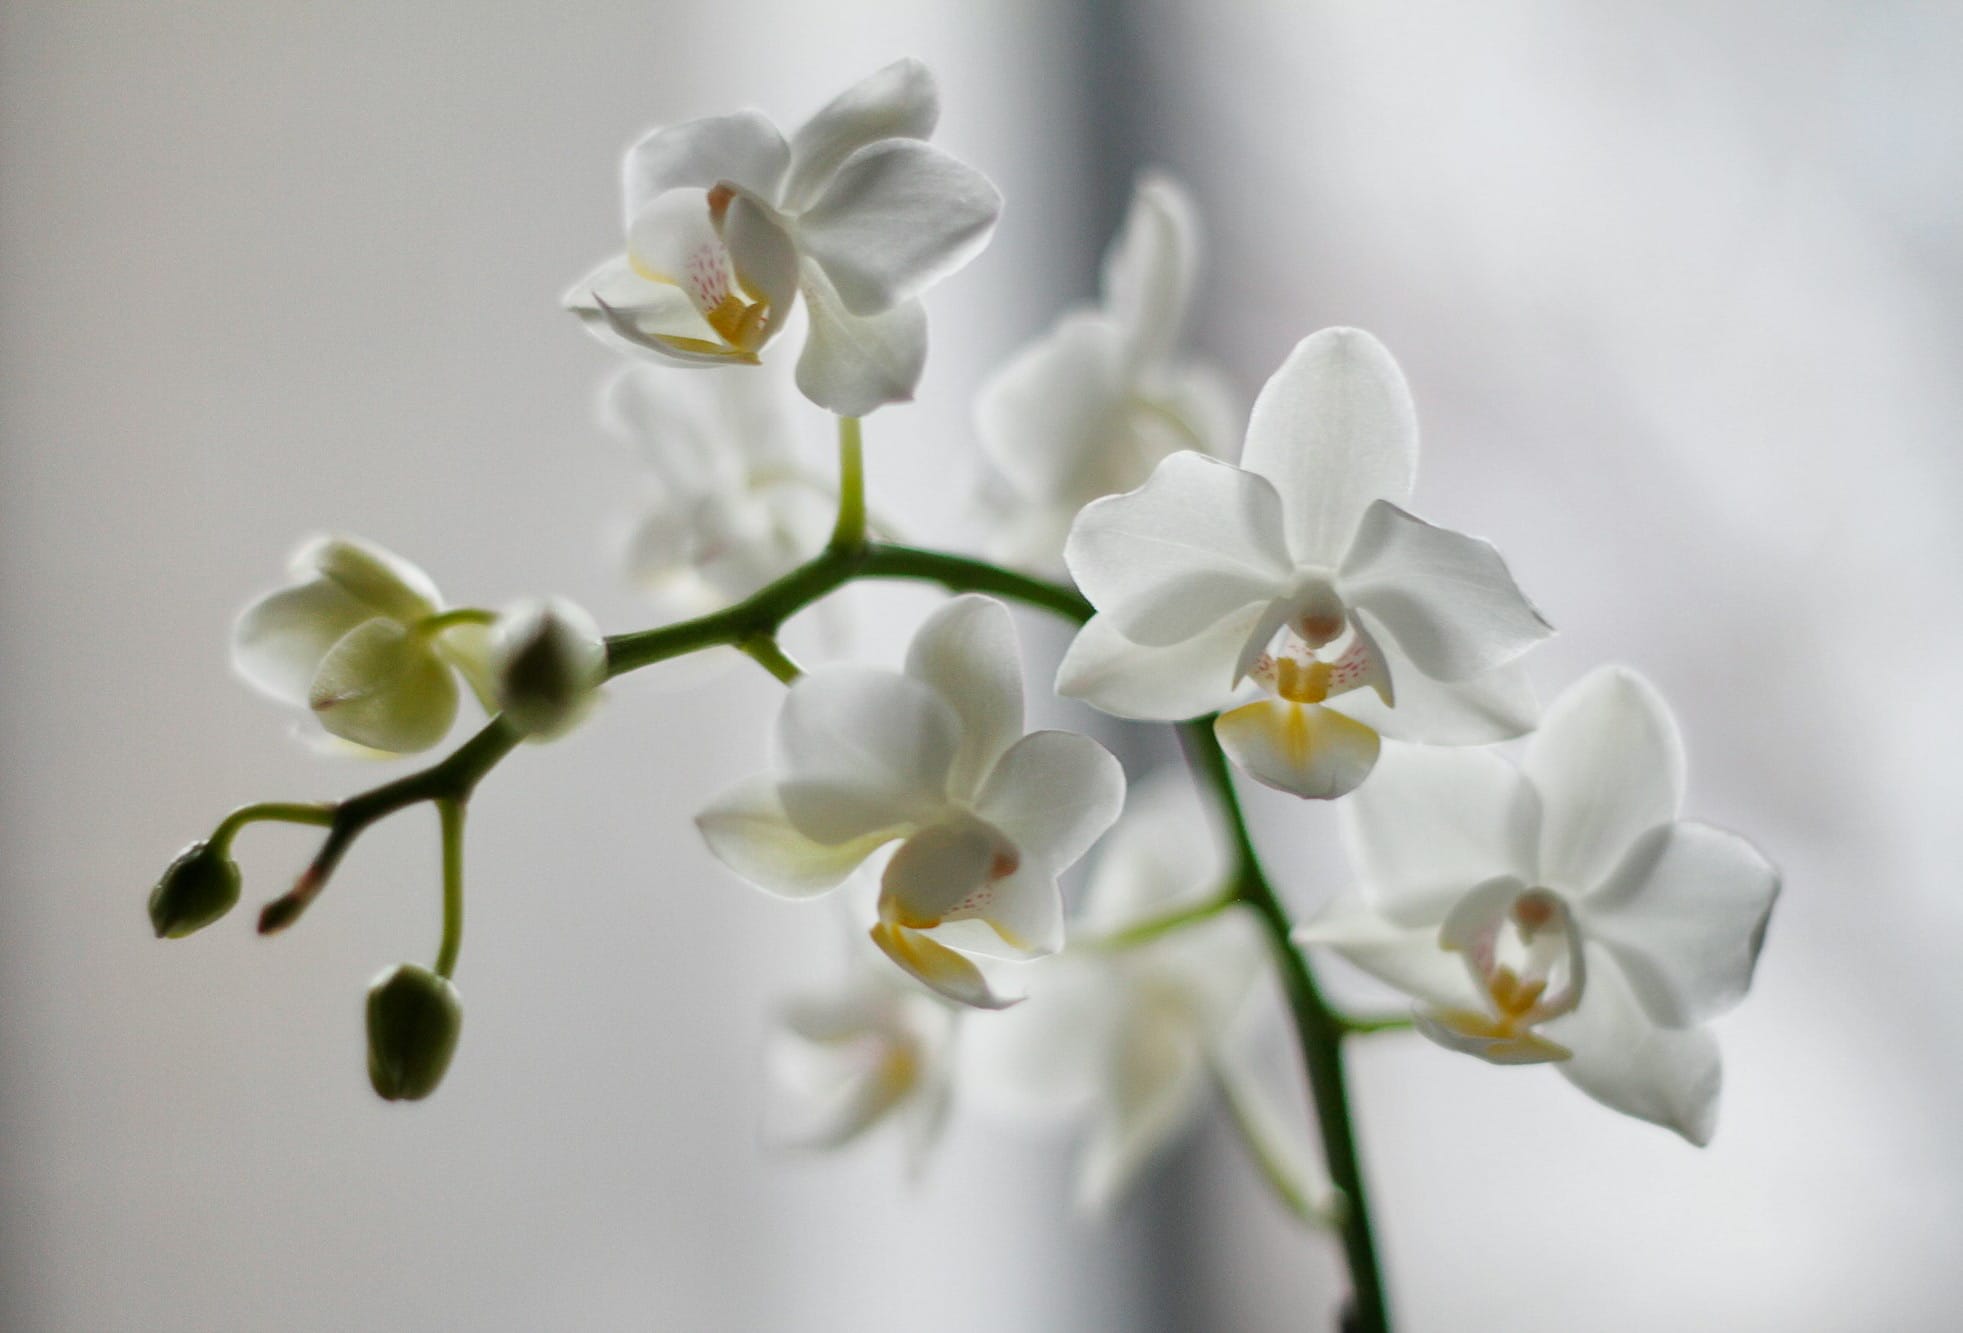
Phalaenopsis, or moth orchids, are widely loved for their prolonged blooms and ease of care, suitable for beginners. They do well in medium light and typical home temperatures.
For a little more challenge, the Cattleya orchid might appeal to you, known for its large, showy flowers; they require more light and less frequent watering.
The Cymbidium orchid is another popular choice, especially for cooler climates, as it can tolerate temperatures as low as 50°F (10°C).
Dendrobium orchids are known for their slender stems and profuse flowering. They enjoy lots of light and a regular watering schedule.
Lastly, Oncidium orchids, often called dancing ladies, are beloved for their masses of small, delicate flowers. They are versatile but do need brighter light and more humidity.
Fundamentals of Orchid Care
Growing orchids successfully depends on providing the right light, consistent moisture without over-watering, and maintaining an environment with suitable temperature and humidity.
Light Requirements
Orchids thrive under indirect light conditions. Place your orchid where it will receive moderate brightness but no direct sun, which can burn the leaves. East- or west-facing windows are often ideal.
Orchids need:
- Bright, filtered light for about 12-14 hours a day.
- Protection from intense midday sun.
Watering Techniques
Proper watering is essential for healthy orchids. Here’s how to water them correctly:
- Check the potting medium—if it’s dry an inch below the surface, it’s time to water.
- Water in the morning so excess moisture can evaporate during the day.
- Avoid letting orchids sit in water; let them dry out between waterings.
- Use lukewarm water to avoid shocking the plant's roots.
Temperature and Humidity
Orchids prefer a stable environment with the following conditions:
- Temperature should be between 60°F and 80°F. Nighttime drops of 10-15 degrees help encourage flowering.
- Maintain a humidity level around 40-70%. Use a tray with water and pebbles to increase moisture around the plant or consider a humidifier.
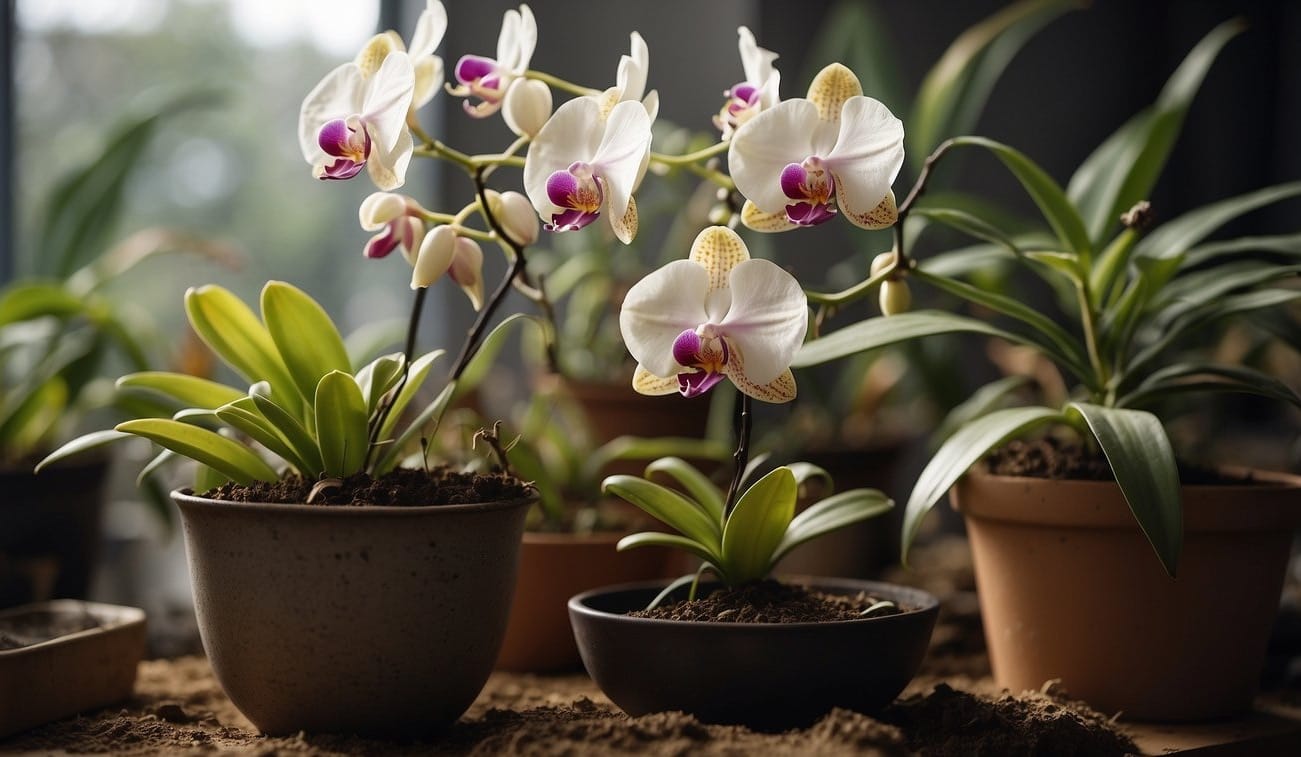
Potting and Repotting Orchids
Proper potting and repotting are crucial for the health and growth of orchids.
Knowing when and how to repot, along with choosing the right pot and potting mix, ensures your orchids remain healthy and thrive.
Choosing the Right Pot
When selecting a pot for your orchid, consider both size and material.
Orchid roots need adequate space to grow but too much space can overwhelm the plant, so choose a pot that's 1-2 inches larger in diameter than the current one.
Ensure the pot has adequate drainage holes to prevent water from stagnating, which can harm the roots.
- Clear plastic pots are popular because they allow light to reach the roots and enable you to see the condition of the roots and moisture level of the potting mix.
- Pots made of terracotta or ceramic are heavier and more stable, which is useful for top-heavy orchids that might tip over.
- Slatted baskets can be used for orchids that prefer extra air circulation around their roots.
The Best Potting Mixes
Orchids require a specialized potting mix that mimics their natural growing environment. Key components typically include:

- Bark: Provides good aeration and drainage; comes in different sizes for different types of orchids.
- Sphagnum moss: Retains moisture well, which can be beneficial for dryer environments or for orchids that prefer more humidity.
- Perlite: Increases aeration within the mix and helps maintain a balance of moisture.
When you are repotting, remove the orchid carefully and trim away any dead or rotting roots.
Fill the new pot with your chosen potting mix and settle the plant so that the roots are comfortably spread out.
- Use a loose mix of bark and sphagnum moss for most orchids, ensuring good air flow and moisture retention.
- Before using your potting mix, sterilize it with hot water to kill any potential pathogens, and let it reach room temperature to avoid root shock.
Fertilizing Your Orchids
Feeding your orchids the right amount of fertilizer is key to their growth and bloom. It’s important to understand the timing and the type of fertilizer to use for optimal orchid health.
When and How to Fertilize
Frequency: You should fertilize your orchids regularly, but the frequency depends on the growth cycle. During active growth, fertilize every week or every other week.
Once the orchid is dormant, after it has bloomed, reduce this to once a month.
- Dilution is key: To avoid over-fertilizing, dilute the fertilizer to half or one-quarter of the strength recommended on the package.
Application:
- Mix the diluted fertilizer with water.
- Water your orchid with the mix, taking care not to splash the leaves.
- If you do get fertilizer on the leaves, rinse it off to prevent damage.
Selecting the Right Fertilizer
Nutrient Needs: Orchids generally need a balance of three key nutrients: nitrogen (N), phosphorus (P), and potassium (K).
A common ratio used is 20-20-20, but this can vary based on the type of orchid and the stage of its growth cycle.
Considerations:
- Check if the fertilizer has micronutrients like calcium and magnesium, which are also essential.
- The potting medium impacts fertilizer choice because it can affect how nutrients are retained and delivered to your orchids.
- Some orchids may require a bloom booster fertilizer with higher phosphorus content to encourage flowering.
pH Levels: The pH level of your potting mix should ideally be between 5.5 and 6.5, as it affects nutrient absorption. If needed, use sulfur to lower pH or lime to raise it.
Addressing Common Orchid Problems
Growing orchids can be rewarding, but sometimes you may encounter issues such as pests or diseases, and rot.
Recognizing these problems early and taking the right steps can keep your orchids healthy.
Pest and Disease Management
Orchids can fall prey to various pests like spider mites, aphids, and diseases including fungal and bacterial infections.
To manage pests, regularly inspect your orchids for signs of infestation, such as small webs, sticky residue, or visible bugs on leaves and flowers.
If you detect pests:
- Isolate the affected plant to prevent spread.
- Clean the plant with a soft cloth and mild, soapy water.
- Apply insecticidal soap or neem oil, which are effective and safe.
Fungal and bacterial diseases often present as spots or rots on leaves and stems. Here's how to handle them:
- Remove infected parts with sterilized tools.
- Ensure good air circulation around your orchids.
- Reduce humidity and adjust watering to avoid standing water.
Dealing with Rot and Other Ailments
Root rot is a common condition in orchids, generally caused by overwatering and poor drainage. To address root and crown rot:
- Unpot your orchid and trim any black, mushy roots.
- Repot in fresh, sterile potting media.
- Choose a clear pot to monitor root health.
For issues like bud blast, where buds fall off before blooming, consider these factors:
- Sudden temperature changes can stress the plant. Keep your orchid in a stable environment.
- Examine if the plant has enough light, but not direct sunlight.
- Make sure to fertilize appropriately; too much can harm the plant.
Orchid Blooming and Rebloom
Orchids are known for their enchanting flowers and with the right care, you can enjoy these blooms more often. Here are steps to encourage flowering and how to care for orchids when they are in bloom.
Encouraging Flowering
Light: Orchids usually need bright, but indirect, sunlight for about six hours daily to thrive and initiate flower buds. Too much direct sunlight can damage their leaves, while too little can prevent them from flowering.
Temperature: A night temperature drop is often essential for triggering orchids to flower. Try to provide a difference of 10-15 degrees between day and night temperatures.
Watering: Keep a consistent watering schedule, allowing the planting medium to dry slightly between waterings. Overwatering can lead to root rot, while underwatering can stress the plant and hinder bud development.
Fertilization: After the flowering season, begin fertilizing your orchid once a month with a balanced, water-soluble fertilizer at half strength to prepare it for the next bloom.
Rest Period: Once flowers fade, give your orchid a dormant period without fertilizer to rest before the next growth cycle.
Caring for Orchids in Bloom
Humidity: Maintain a humidity level of 40-70% for optimal health during the flowering phase. This mimics the natural humid conditions of their native environments.
Support: As flowers and buds develop, they can become heavy. Provide stakes or clips to support the stems and prevent them from breaking.
Watering: Continue to water your orchid carefully during the bloom period. Avoid getting water on the flowers themselves as this could cause them to rot.
Air Circulation: Ensure your orchid has good air circulation to keep the flowers dry and healthy, but avoid placing it in the path of direct drafts which can dehydrate the blooms too quickly.
Advanced Orchid Care Techniques
Mastering the propagation of orchids can lead to personal satisfaction and possibly financial benefit if you decide to sell your plants.
Understanding how to enhance your orchids' beauty will also give you a sense of pride in your gardening skills.
Let's dive into some techniques that can take your orchid care to an advanced level.
Propagation Methods
Division: When your orchid outgrows its pot, you can divide it during repotting. Look for natural separations in the rhizomes and use a sterile knife or scissors to cut, ensuring each new section has at least three pseudobulbs.
Keiki Cuttings:
- Wait until the baby plant (keiki) has roots at least 3 inches long.
- Cut it with a clean blade just below the roots.
- Pot it in its own container with suitable orchid mix.
Seeds: Orchid seeds require a sterile environment and a special fungus to germinate, as they have no stored nutrients.
- Start with a green pod from a healthy plant.
- Remove the seeds in a sterile environment.
- Sow the seeds on a nutrient-rich agar medium.
Enhancing Orchid Beauty
Lighting: Install grow lights to ensure your orchids get enough light without being exposed to direct sunlight that can damage their leaves.
- Duration: 12-14 hours a day.
- Distance: 6-12 inches above the orchid.
Hybrids: Select hybrids known for their vibrant colors and patterns. Hybrids can be more resilient and require specific care for the best bloom quality.
- Research hybrid-specific care requirements.
- Adjust your care routine accordingly.
Remember to consider temperature, humidity, and airflow around your orchids as these factors contribute greatly to their health and appearance.
Orchids in Different Environments
Orchids thrive in a range of environments, adjusting their care based on whether you're growing them inside your home or in a greenhouse.
Achieving the right balance of light, air, and humidity is key to their success.
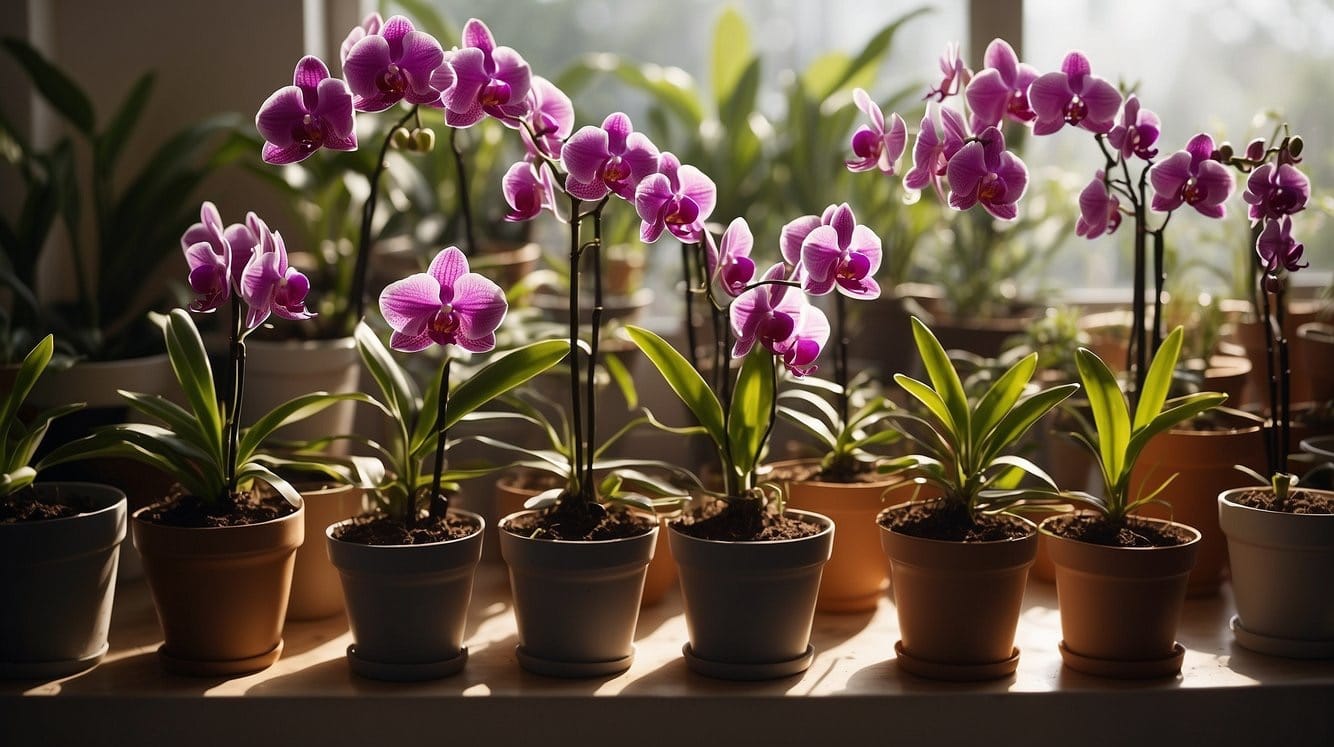
Growing Orchids Indoors
When growing orchids indoors, consider placing them on a windowsill where they receive plenty of bright light, but not direct sunlight, to avoid leaf burn.
These plants prefer consistent conditions, which homes often provide.
Keep your orchids in a spot where they can get a good amount of indirect light, ideally from an east or a west-facing window.
Proper air circulation is crucial for indoor orchids. A gentle flow of air helps prevent diseases and mimics the natural breezes they would experience outdoors.
However, avoid placing your orchids in the path of strong drafts, which can dehydrate them quickly.
For homes with less natural light, artificial light from grow lights can supplement what your orchid isn't getting from the windowsill.
If you go this route, remember:
- Place lights 1-2 feet above your plants
- Provide 10-16 hours of light per day to encourage blooming
Living indoors, orchids aren’t exposed to the same humidity levels as their natural habitats. You can increase humidity around your plants by:
- Placing a water tray near the orchids
- Using a small humidifier
Watering your indoor orchids is less frequent than other houseplants. Allow the potting mix to dry out between waterings to prevent root rot.
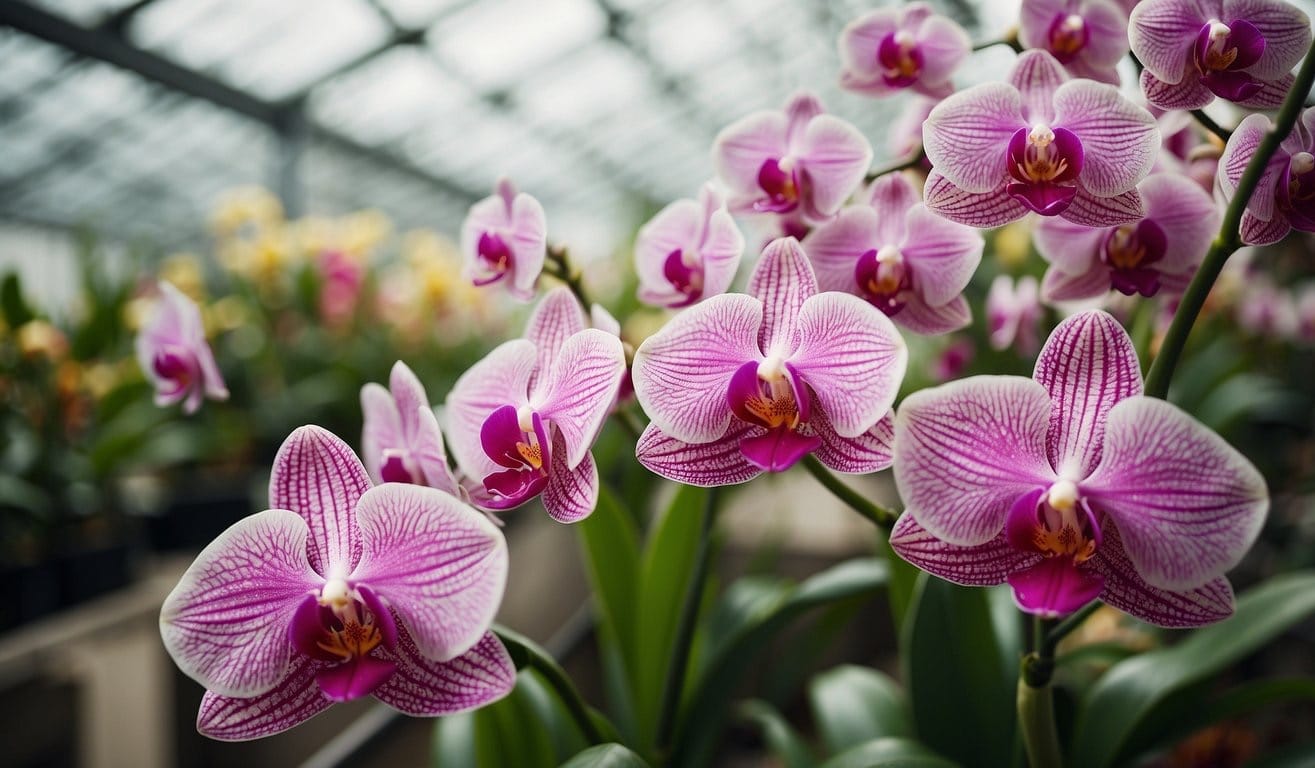
Orchids in Greenhouses
Growing orchids in a greenhouse allows you more control over their environment.
These structures can mimic a natural habitat by accommodating high humidity, stable temperatures, and controlled light exposure.
Bright light in greenhouses should be diffused to protect orchid leaves from sunburn. You may need to use shade cloths during the sunniest part of the day.
Unlike indoor environments, greenhouses can provide a more consistent level of bright, indirect light suited to orchid growth.
Maintaining proper air circulation in a greenhouse is important and can be managed with vents and fans. These tools help regulate temperature and humidity while providing fresh air to your orchids.
In a greenhouse setting, orchids thrive when the humidity level is between 40-70%. This can be achieved through misting systems or damp gravel trays.
Watering routines in greenhouses may vary based on the temperature and humidity, but it’s usually required more often than in indoor settings.
Monitor your orchids closely and adjust the frequency of watering to ensure the potting medium is moist but not soggy.
Frequently Asked Questions
Growing orchids indoors requires attention to detail, ensuring you replicate their natural environment. Knowing the specifics for pot cultivation, propagation, beginner care, outdoor considerations, and seed growth is essential for success.
What are the optimal conditions for growing orchids indoors?
For indoor orchid growth, your home should have moderate temperatures, high humidity, and plenty of indirect sunlight.
Ideally, maintain a temperature between 60°F and 80°F. Place orchids near a window with shear curtains to provide light without direct exposure to the sun.
To increase humidity, use a tray with water and pebbles, making sure the pot is above the water level.
Can orchids be grown successfully in pots, and if so, how?
Orchids thrive in pots with proper drainage and a special orchid potting mix that allows for air circulation around the roots.
When choosing a pot, consider clear plastic ones as they let in light to the roots and make it easier to monitor soil moisture.
Repot orchids every 1-2 years or when you notice that the potting mix has degraded or the plant has outgrown the pot.
What are the steps for propagating orchids from cuttings?
To propagate orchids, identify a healthy plant and take a stem cutting that includes at least one node.
Cut above the node at an angle, apply rooting hormone to the cut end, and plant it in a moist orchid potting mix.
Cover with a plastic bag to retain humidity and wait for new shoots to form, which can take several weeks.
What beginner tips are crucial for cultivating healthy orchids?
Begin by selecting an orchid that is suitable for beginners, such as the Phalaenopsis.
Avoid over-watering as it's a common mistake that can lead to root rot.
Water only when the top inch of soil is dry to the touch. Feed your orchid with a balanced fertilizer every other week during the growing season.
Is it possible to grow orchids outdoors, and what should be considered?
Growing orchids outdoors is possible. However, this is only in climates with minimal temperature variation and adequate humidity.
Select a shaded area where the plants are protected from direct sunlight and heavy rainfall.
Also, gradually acclimate indoor orchids to outdoor conditions to prevent shock.
What is the process for growing orchids from seeds?
Orchid seeds require a specialized environment as they lack stored nutrients. Sow the dust-like seeds in a sterile growing medium. Then, provide the right combination of light, temperature, and humidity.
Orchid seeds typically need a symbiotic relationship with a specific type of fungus to germinate. This makes them challenging for beginner gardeners to grow. Consider starting with mature plants or divisions for easier cultivation.