How to Grow Kale
Kale is a nutritious vegetable that's as hearty as it is versatile in the kitchen. Rich in vitamins and minerals, it's a green you'll want to add to your home garden.
When you're planning to grow kale, you'll have a variety of types to choose from, each with unique flavors and textures.
These include curly kale, ornamental kale, and dinosaur kale, among others.
To ensure your kale thrives, it's crucial to provide the right growing conditions.
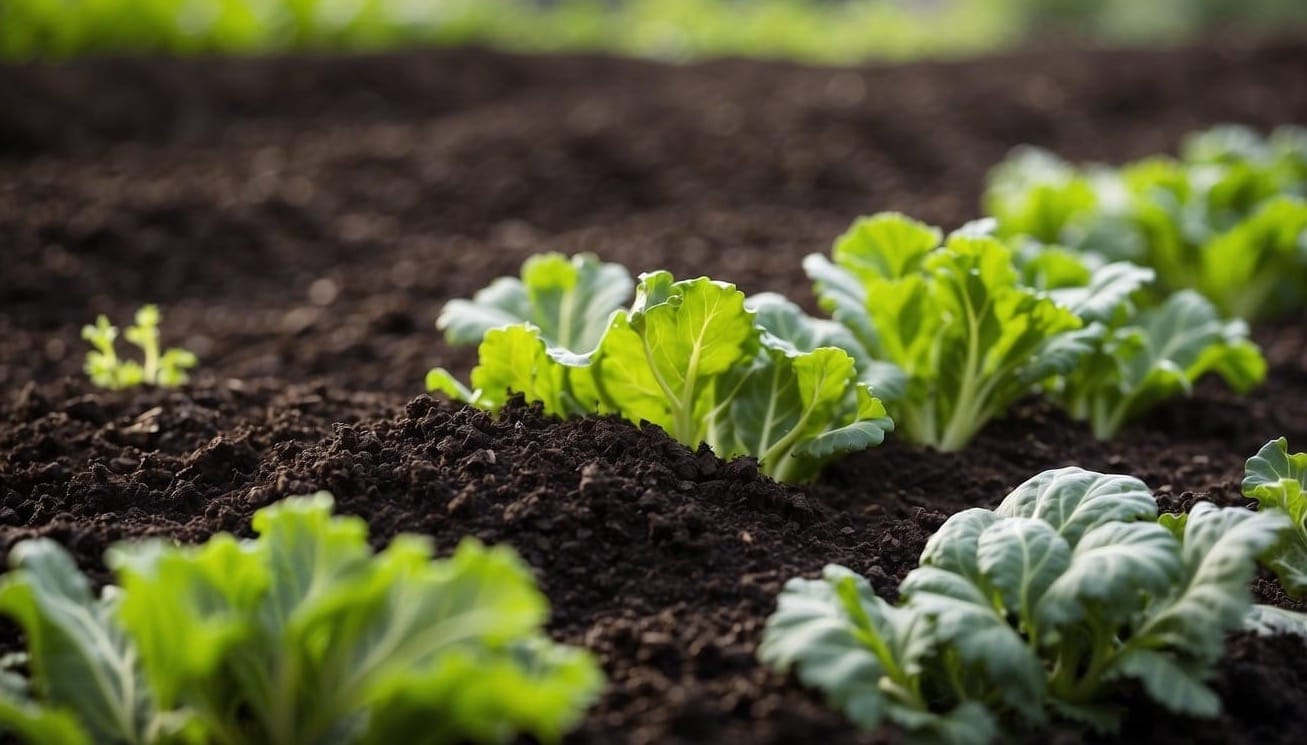
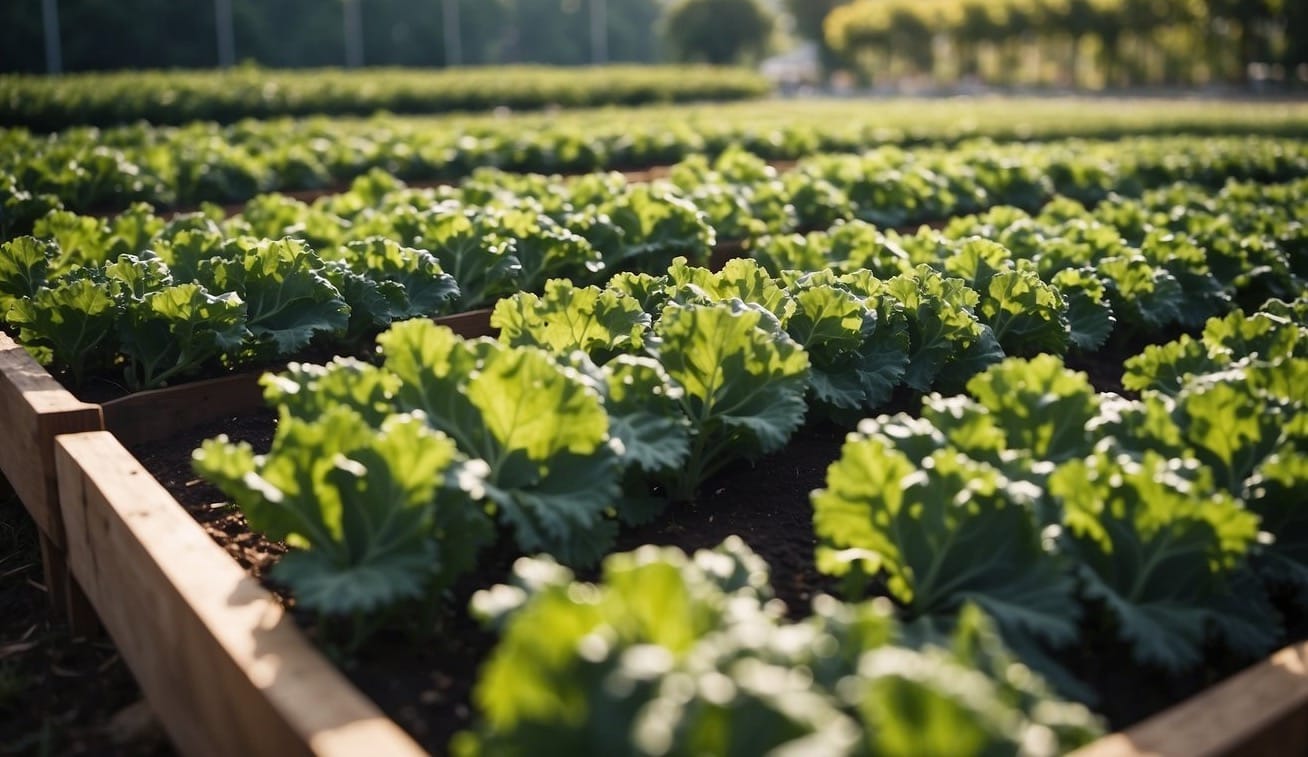
Full sun and well-draining soil enriched with organic matter lay the groundwork for a successful crop.
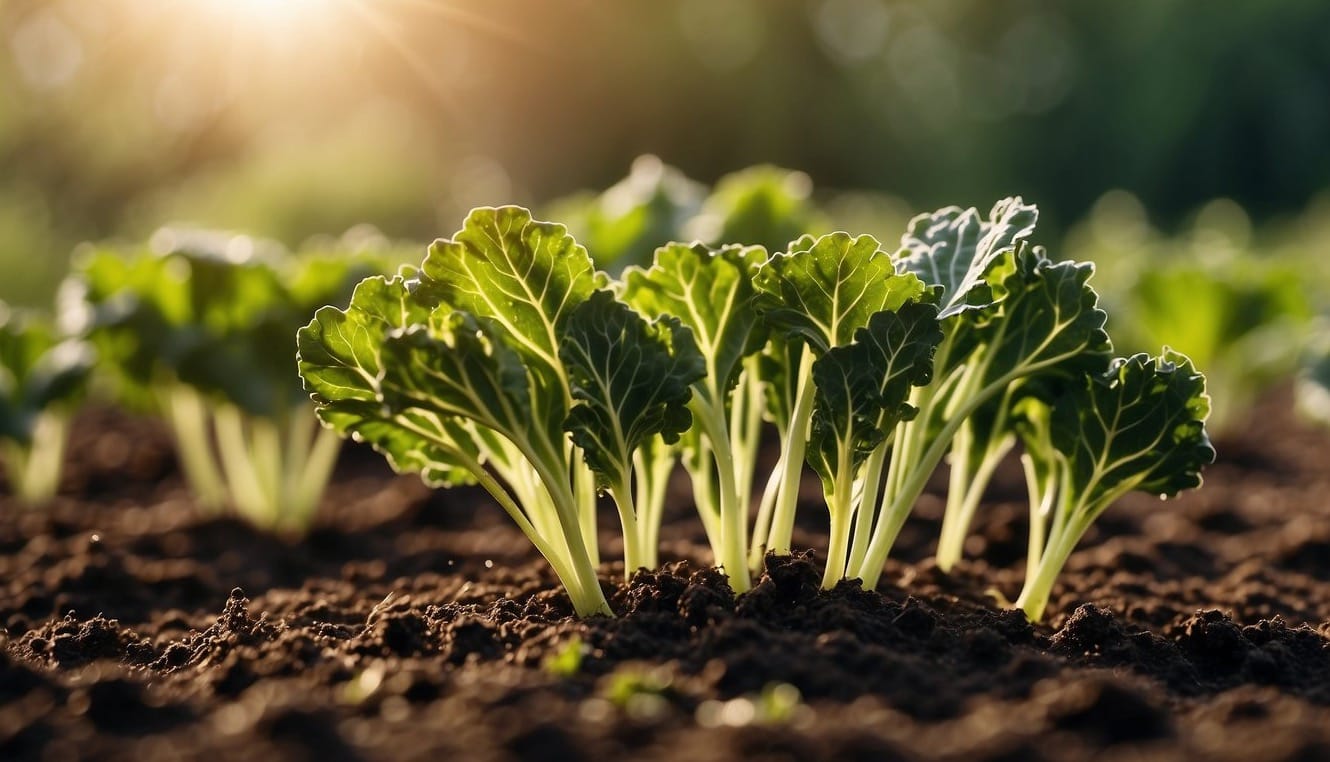
You’ll want to plant your kale at the correct time—either early spring for a summer harvest or late summer for a harvest in the fall and winter.
Once your kale is in the ground, regular care is important. This includes proper watering, nutrition management, and routine check-ups for pests and diseases.
Key Takeaways
- Kale is a versatile and nutritious green that comes in various types.
- Proper growing conditions include full sun and soil rich in organic matter.
- Regular care for kale involves correct watering, feeding, and pest management.
Selecting Kale Varieties
When planting kale, it’s important to choose the right variety for your garden. The right type can affect flavor and growth success.
Understanding Different Types
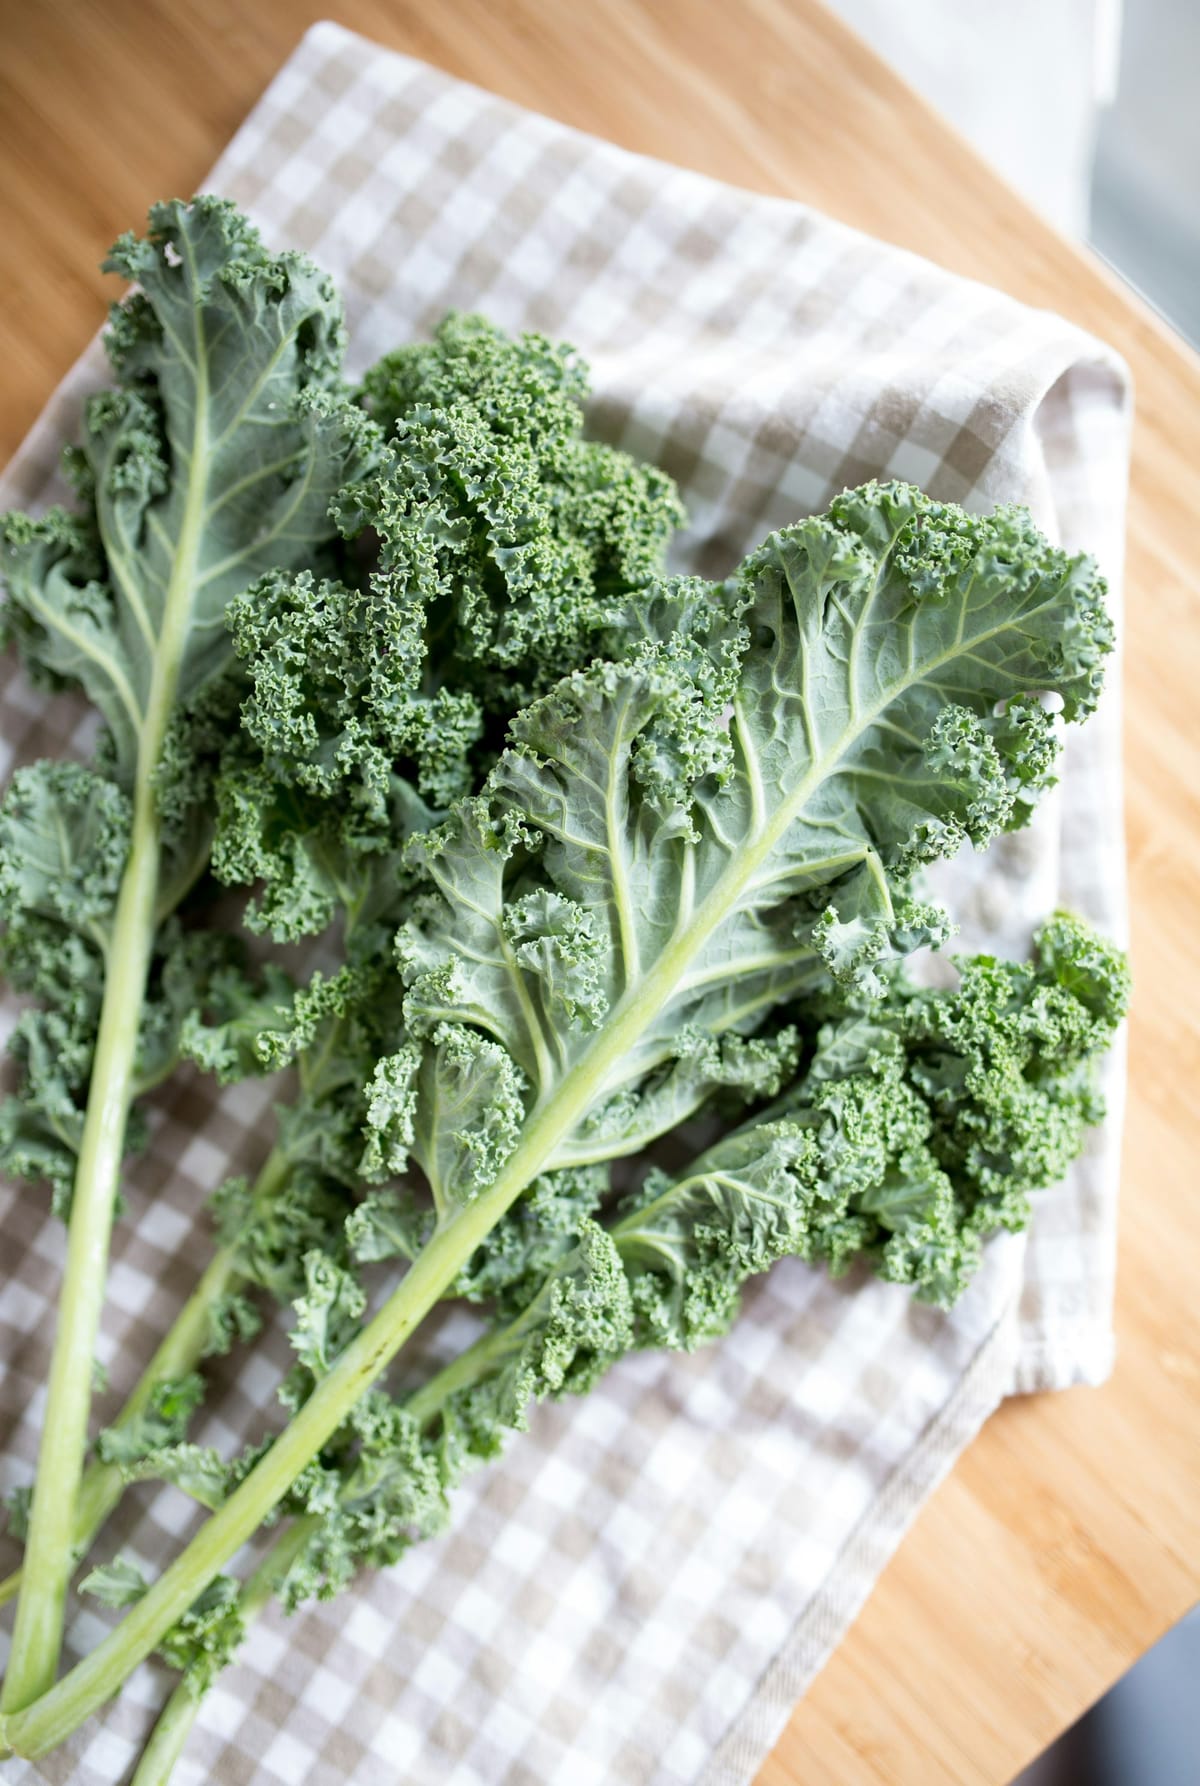
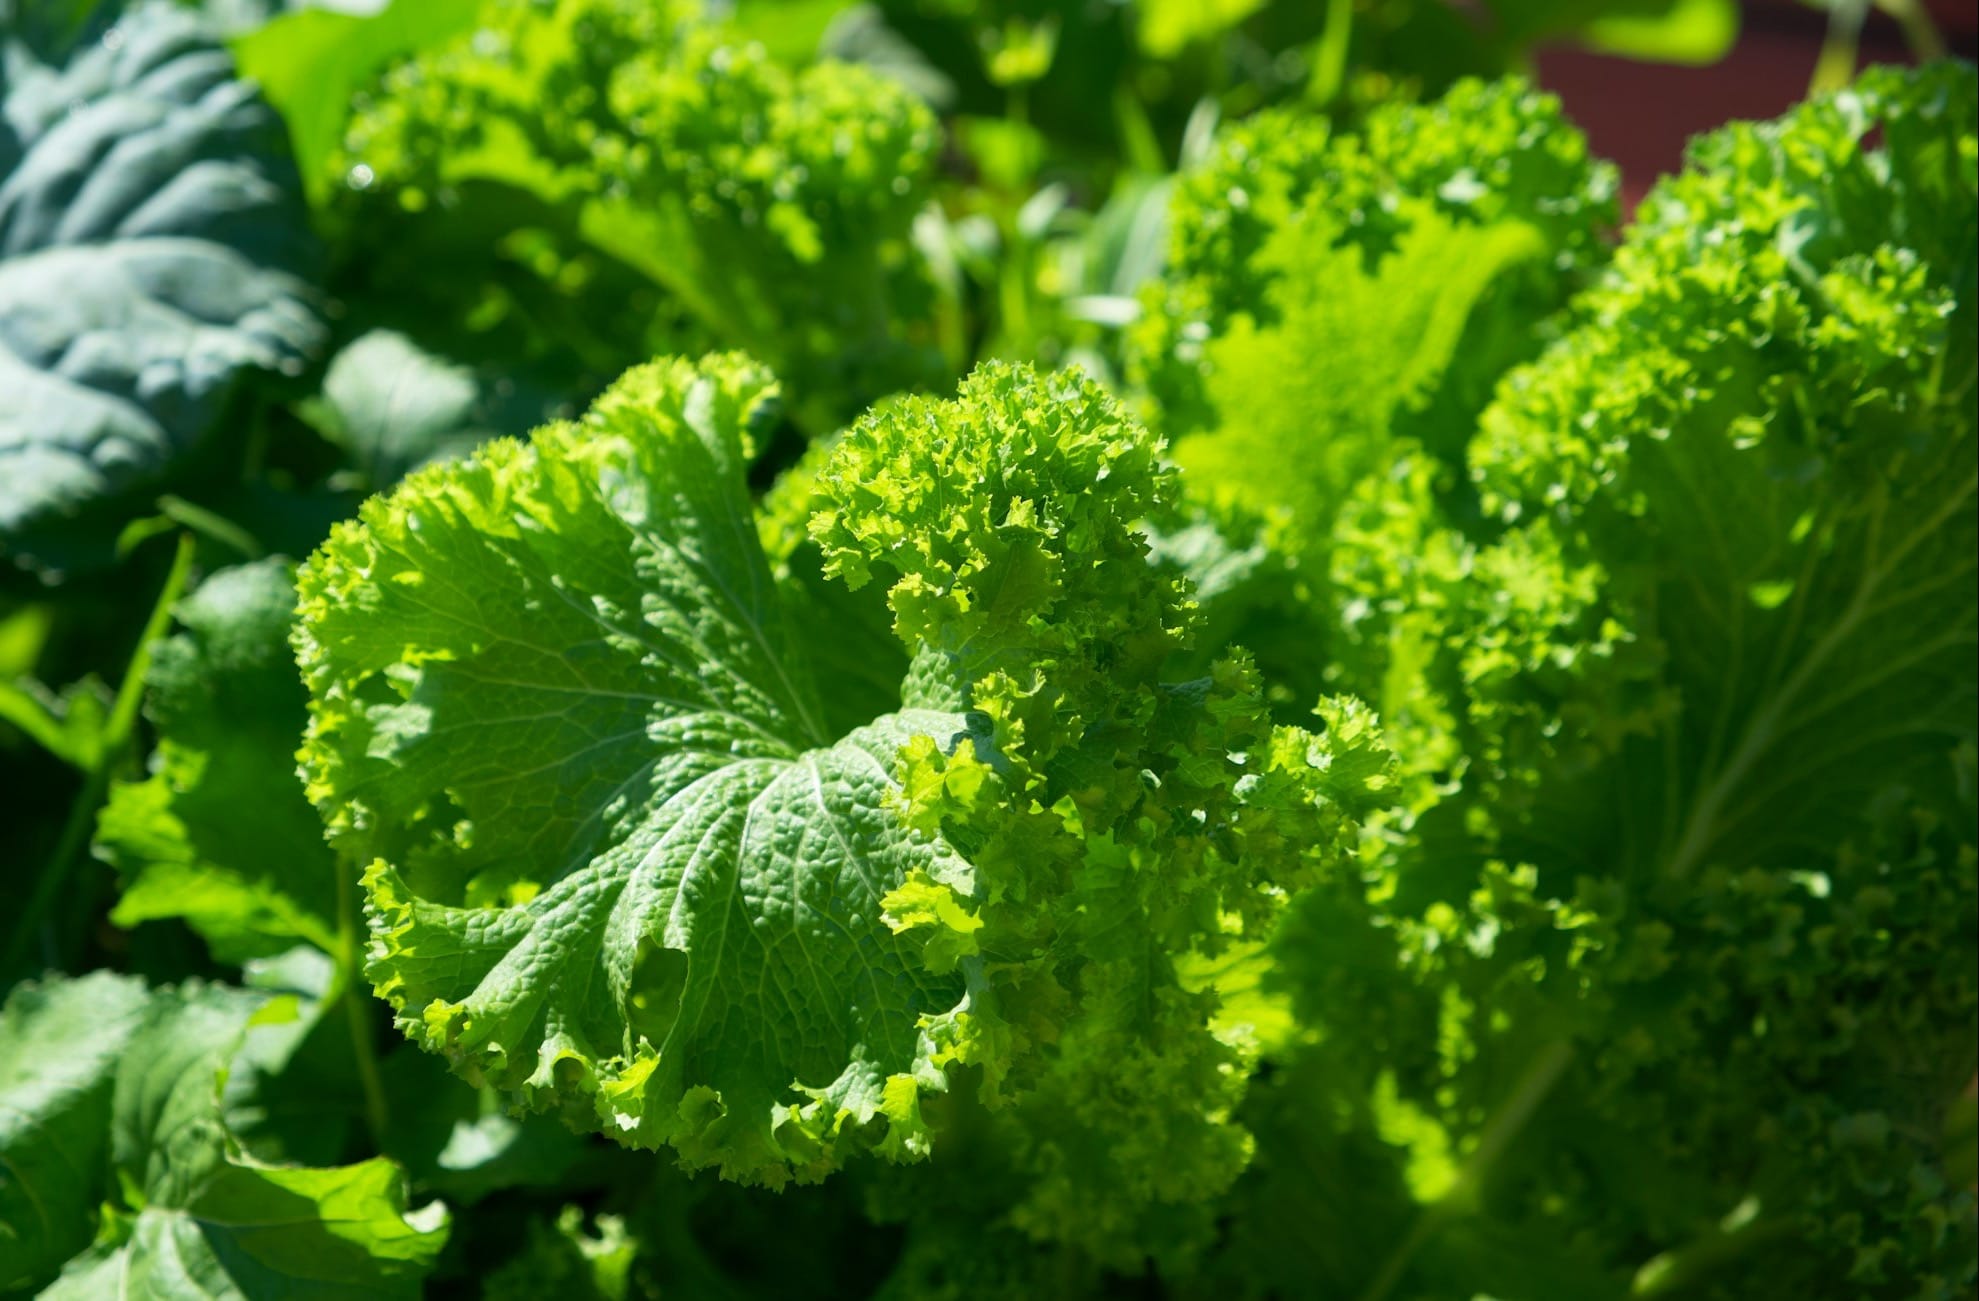
Kale comes in a range of types, each with distinct characteristics. Curly Kale is the most common, with ruffled leaves and a peppery flavor.
Meanwhile, Lacinato Kale, also known as Dinosaur Kale, features long, bumpy leaves with a slightly sweeter taste. Lastly, Red Russian Kale is known for its red-tinted leaves and a mild, sweet flavor.
| Kale Type | Leaf Description | Flavor Notes |
|---|---|---|
| Curly Kale | Ruffled and green | Peppery |
| Lacinato | Long and bumpy | Sweet, earthy |
| Red Russian | Red-tinted leaves | Mild, sweet |
Seasonal Varieties
Each kale variety has its own preferred growing season. Some perform well in cooler climates, while others tolerate heat better.
- Curly Kale: Great for cold weather
- Lacinato: Thrives in cool temperatures
- Red Russian: Best for warmer seasons
Planting Kale
Successful kale growth begins with understanding the specifics of seeding, soil preparation, and the optimal timing of planting to ensure your kale thrives.
Seeding Indoors Vs. Outdoors
Indoors:
- Start your seeds 6 to 8 weeks before the last frost date.
- Use seed starting mix in trays, and plant seeds 1/4 inch deep.
- Keep the soil moist and provide plenty of light.
Outdoors:
- Sow seeds directly into the garden once the danger of hard frost has passed.
- Place seeds 1/2 inch deep, spacing them about 1 inch apart.
- Thin the seedlings to leave 18 to 24 inches between mature plants.
Soil Preparation
Your kale will need nutrient-rich, well-draining soil. Prepare the soil by:
- Adding compost or well-rotted manure to increase nutrient levels.
- Ensuring the soil pH is between 6.5 and 6.8 for optimal growth.
- If your soil is heavy clay, add some sand to improve drainage.
Planting Time and Temperature
Timing:
- Kale can be planted in early spring, as soon as you can work the soil.
- For a fall crop, plant about 6 to 8 weeks before the first expected frost.
Temperature:
- Optimal soil temperature for planting kale is around 60°F to 65°F.
- Kale can tolerate a light frost, which can even improve the flavor. However, you need to avoid severe frosts, especially during the early growth stages.
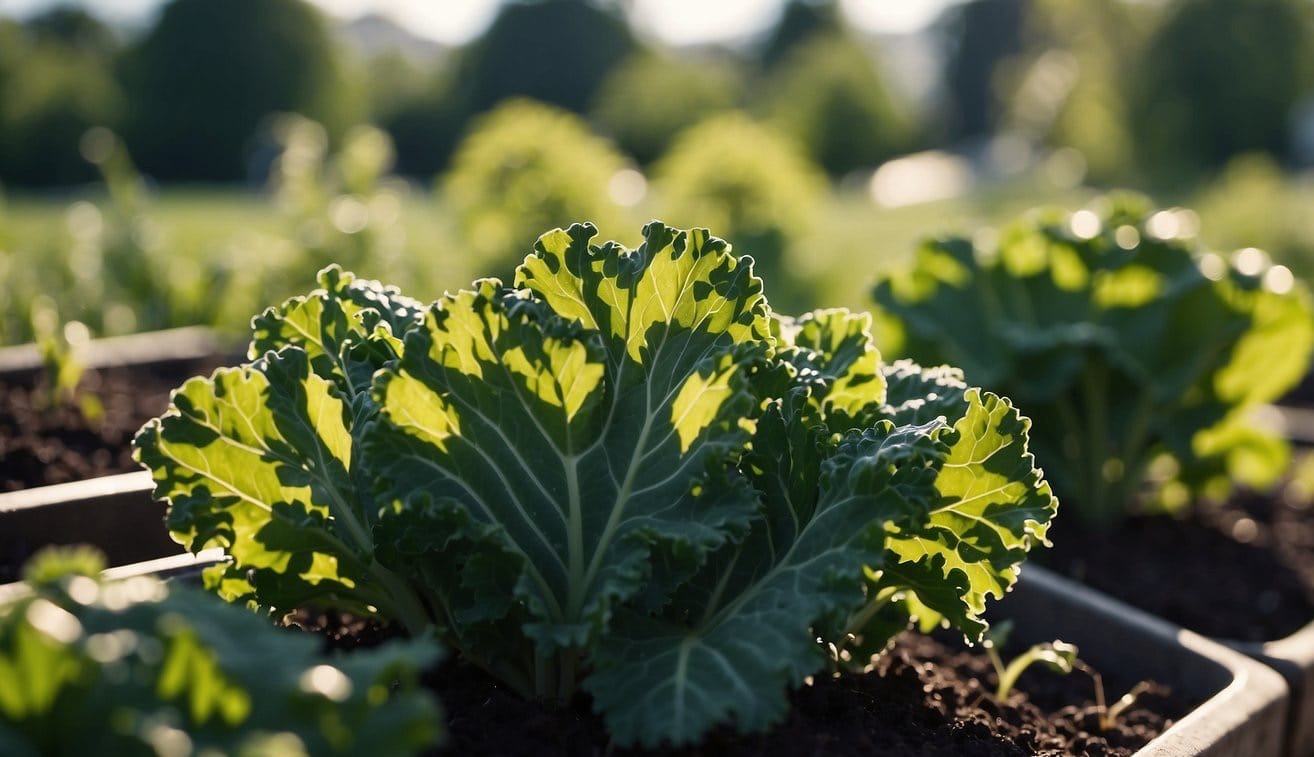
Growing Conditions
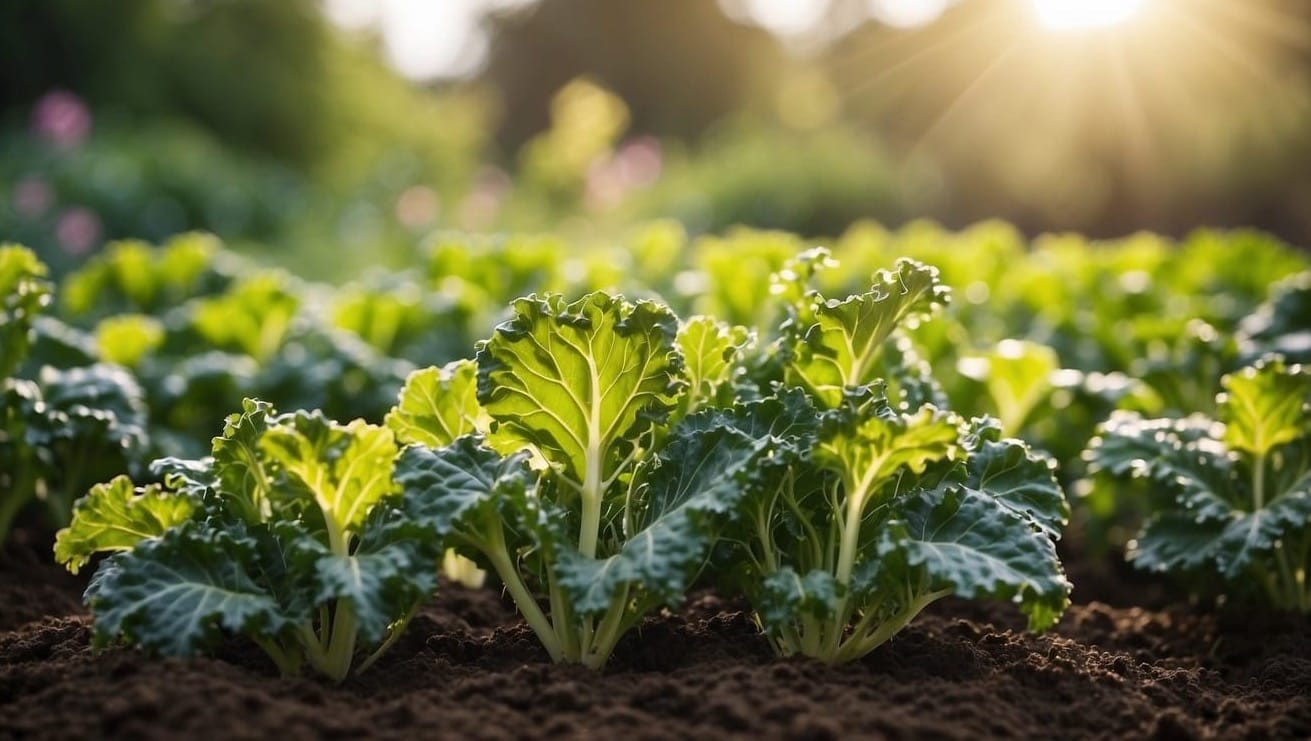
Kale thrives in cool conditions with consistent moisture and ample sunlight. It can tolerate a range of environments, making it a versatile crop for your garden.
Sunlight and Shade Requirements
Kale performs best when it gets full sun, which means at least 6 hours of sunlight each day. However, if you live in a spot with hot summers, a little partial shade can help protect the plants.
Aim to position your kale so it's exposed to morning light and shaded during the most intense afternoon heat.
Water and Moisture Control
Your kale needs regular watering to maintain a moist, but not waterlogged, soil. Provide about 1 to 1.5 inches of water per week, which can come from rain or your watering system.
Consistent moisture helps keep the leaves tender and sweet, rather than tough and bitter.
Dealing with Cold and Heat
Kale is quite cool-tolerant and can even improve in flavor after a frost. You can begin planting in spring a few weeks before the last frost date. For a continuous harvest, plant new crops through the fall.
During heat waves or in generally hot climates, protect your kale with shade cloth or by strategically planting where afternoon shade is available.
Nutrition and Soil Management
To grow kale successfully, your soil should be rich and supportive of plant growth. This involves ensuring the soil has good fertility, integrating organic matter such as compost, and employing mulching techniques to maintain nutrient levels and moisture.
Soil Fertility
Your kale plants need fertile soil to thrive. Test your soil to determine the nutrient levels and to see if you need to add any fertilizers.
Optimal Soil Composition for Kale:
- pH Level: 5.5 - 7.0
- Nutrient-rich with a special emphasis on:
- Nitrogen (N)
- Phosphorus (P)
- Potassium (K)
If you find that your soil lacks nutrients, apply a balanced fertilizer like a 5-10-10 mixture. Be sure to mix the fertilizer into the top few inches of soil.
Organic Matter and Composting
Incorporating organic matter into your soil is crucial.
- Benefits of Adding Compost:
- Improves soil structure
- Increases nutrient content
- Enhances moisture retention
Add no more than one inch of well-composted organic matter per 100 square feet of garden area. Work the compost into the topsoil.
Mulching Techniques
Using mulch in your kale garden helps retain soil moisture and regulates temperature.
Types of Mulch:
- Straw
- Wood chips
- Shredded leaves
Lay a layer of mulch around your kale plants, keeping it a few inches away from the plant stems to avoid rot. This will also limit weed growth and provide a slow release of nutrients as the organic mulch decomposes over time.
Caring for Kale Plants
In maintaining healthy kale plants, it’s crucial to manage the plant's spacing, ensure successful transplanting, and guard against pests and diseases.
Thinning and Spacing
After your kale seeds sprout and grow a few leaves, thin them so they don't crowd each other. This gives each kale plant enough room to grow strong and healthy.
- Seedlings: When they're about 2 inches tall, thin them so they stand 8 to 12 inches apart.
- Rows: Ensure rows are spaced 18 to 30 inches apart to provide ample air circulation.
Transplanting Seedlings
If you started your kale indoors, transplanting them to your garden is your next step. Be gentle to avoid damaging the roots during the process.
- Root Care: Handle the seedlings by their leaves, not the stems or roots, to reduce the risk of damage.
- Prepare a hole in the soil that's as deep as the container they grew in.
- Place the transplant in the hole and fill it with soil, pressing down firmly.
Prevention of Pests and Diseases
Ensuring your kale remains healthy involves proactive pest and disease management, which may include organic solutions.
- Pests: Regularly inspect plants and tackle issues like aphids with organic insecticidal soap.
- Diseases: Promote good air flow between plants and practice crop rotation to prevent disease buildup.
Remember to water regularly, keeping the soil moist but not waterlogged, to promote healthy kale plant growth.
Harvesting and Storing Kale
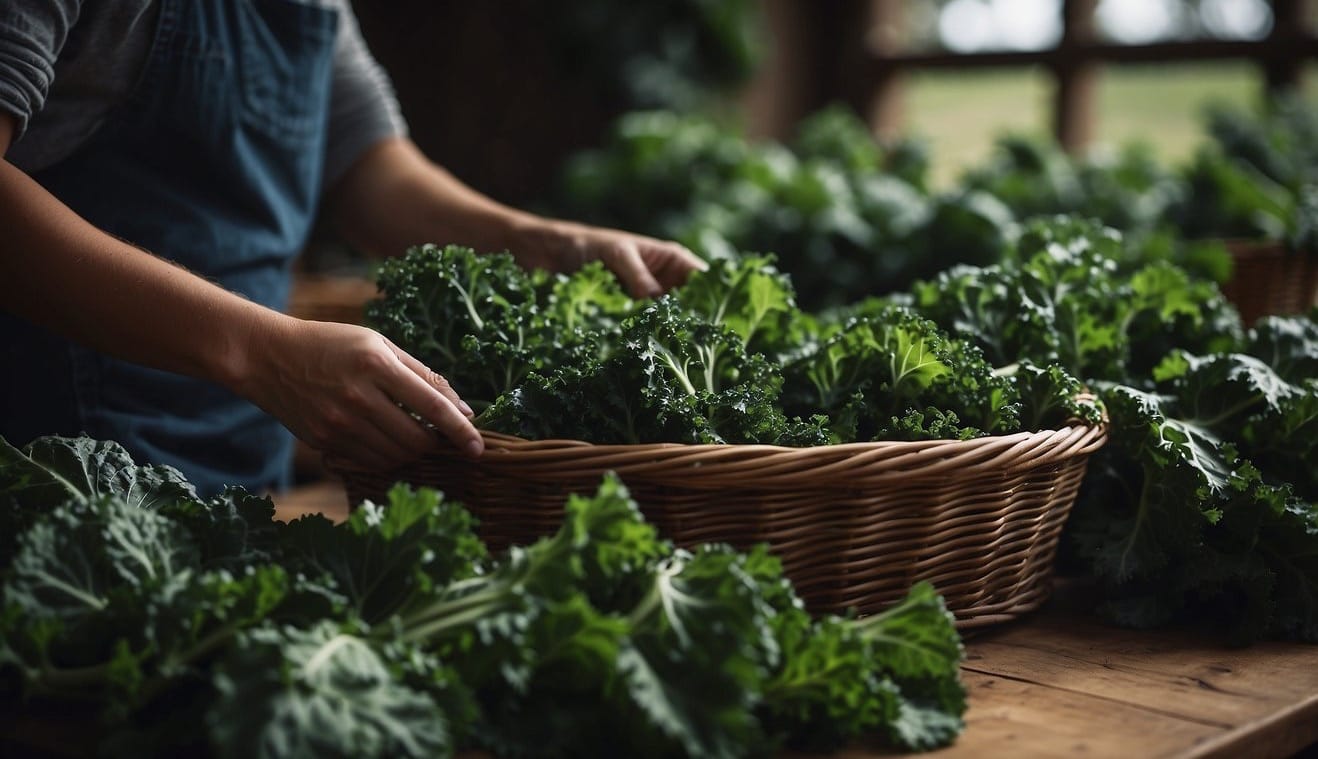
Harvesting kale at the right time and using the best methods ensures that you get the most out of your crop. Proper storage techniques help maintain freshness until you're ready to use your kale.
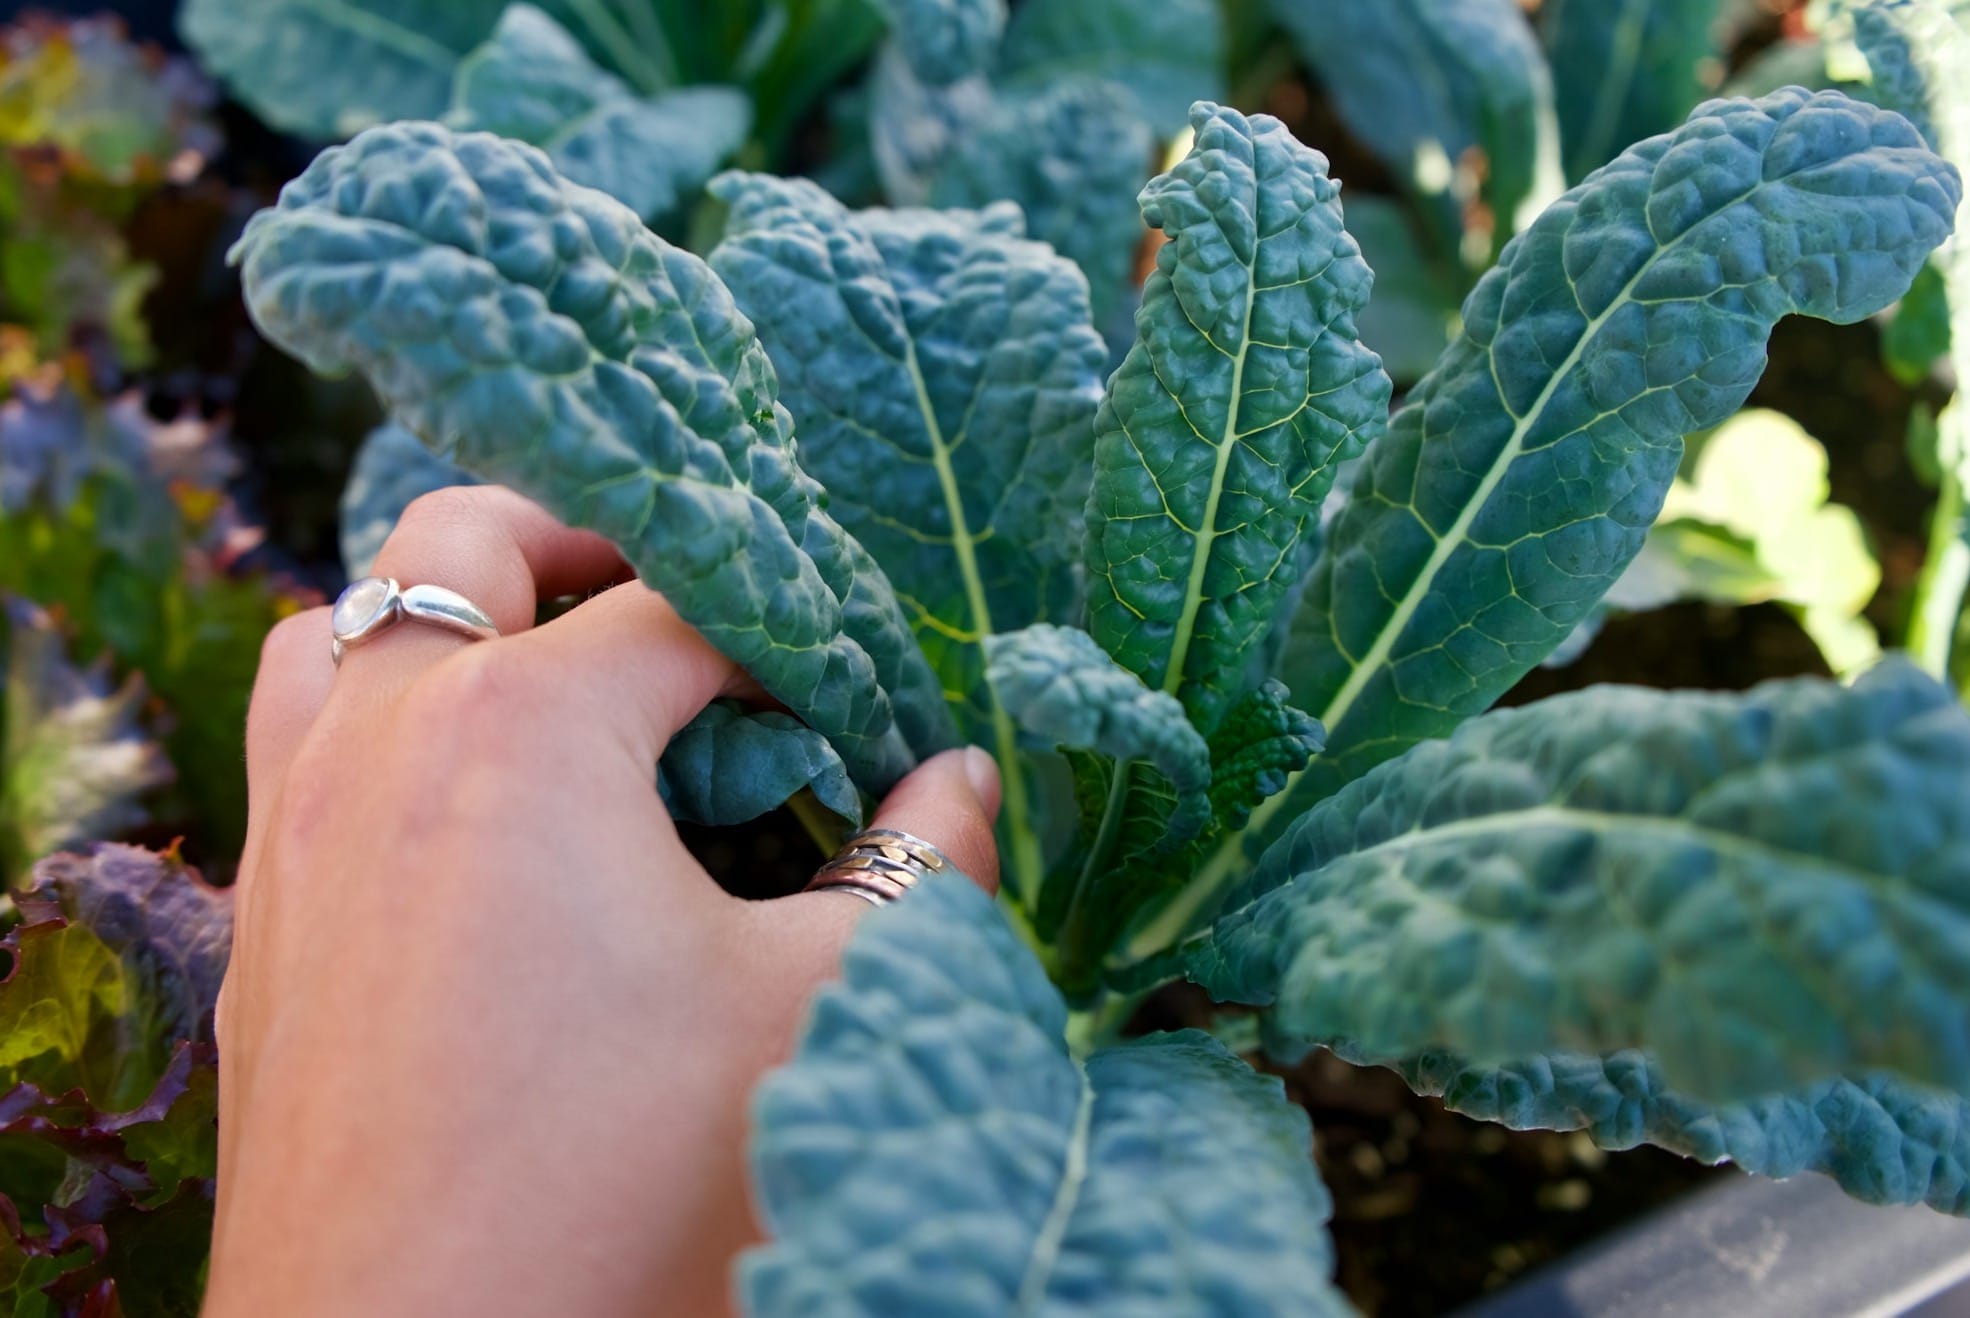
When to Harvest
Start checking your kale plants for readiness about two months after planting, as mature leaves are typically ready for harvest.
Leaves should be about the size of your hand, although baby kale leaves can be harvested sooner because they are tender and ideal for raw dishes.
Avoid picking all the leaves from one plant; instead, harvest only what you need.
Optimal Time for Harvest:
- Mature Leaves: When they are approximately 8-10 inches long.
- Baby Leaves: Can be picked when they are 2-3 inches long.
Always pick the lower leaves first and leave the central ones, as they will allow the kale to keep growing.
Methods for Harvesting
When harvesting kale, use a clean cut to remove the leaves from the stems. This encourages new growth and protects the plant from damage. You should either:
- Snip individual leaves: Use garden shears and cut near the stem base.
- Harvest the whole head: If it's the end of the season or if the plant is fully grown.
Remember not to damage the central bud, which is essential for continual growth.
How to Harvest:
- Use garden scissors or a sharp knife.
- Cut close to the stem.
- Avoid cutting too short to not harm the new buds.
Storing for Freshness
To retain its quality, kale should be stored properly.
Wash the leaves to remove any soil or insects, and dry them thoroughly to prevent spoilage. You can then store kale in your refrigerator to keep it fresh.
Steps for Storing Kale:
- Wash: Rinse leaves under cool water.
- Dry: Pat leaves dry or use a salad spinner.
- Store: Place kale in a plastic bag with a damp paper towel.
- Refrigerate: Put the bag in the crisper drawer.
The kale should stay fresh for about a week. Be sure to check your vegetables periodically and consume them while the leaves are still crisp and green.
Growing Kale in Containers
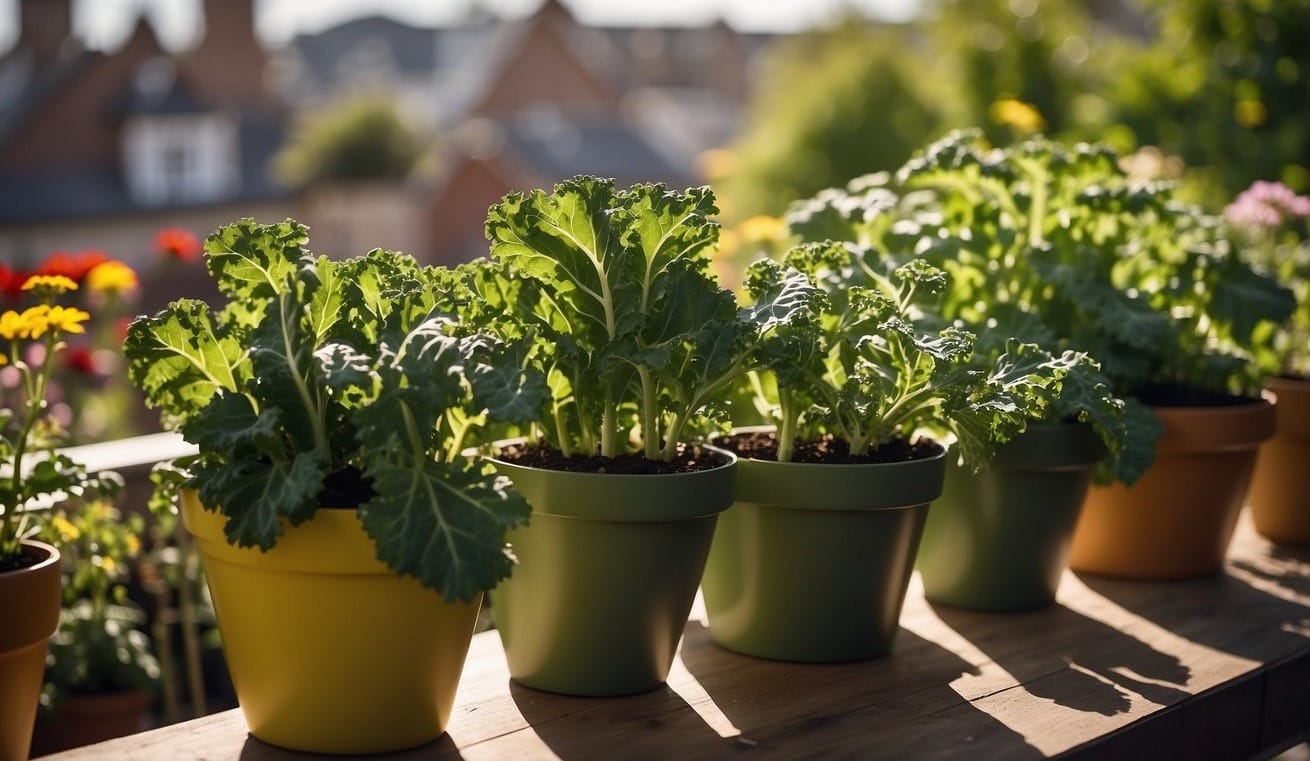
To successfully raise kale outside of a traditional garden, you should focus on selecting the ideal containers and preparing the correct soil and nutrition for your plants.
Choosing the Right Containers
Your kale needs room to grow, so choose containers that are at least one foot in diameter. This size will ensure ample space for the plant's roots to expand and thrive.
Make sure your container also has adequate drainage holes to prevent water from pooling at the bottom, which could lead to root rot.
- Size: At least 12 inches in diameter for each kale plant
- Drainage: Must have holes to allow excess water to escape
Potting Mix and Fertilizer
Kale grows best in nutrient-rich, well-draining soil with a pH around 6.0 to 7.0. Start with a high-quality organic potting mix and enrich it with a layer of compost to provide the necessary nutrients.
Additionally, you can incorporate a balanced, slow-release fertilizer to feed the kale as it grows.
- Soil: Use organic potting mix with a pH of 6.0-7.0
- Compost: Add a layer to enrich the soil
- Fertilizer: Apply a balanced, slow-release type for continual feeding
Frequently Asked Questions
Growing kale is straightforward with the right conditions and care, whether you're working with pots or in-ground beds, inside or outside, and from seeds or cuttings.
What are the best practices for growing kale in pots?
To grow kale in pots, choose a container at least 12 inches deep and wide to accommodate the plant's roots.
Use high-quality potting soil rich in organic matter, and ensure there's good drainage. Place your pots in a sunny spot, as kale loves sunlight, and water consistently to keep the soil moist.
What conditions are needed to grow kale indoors successfully?
For successful indoor growth, kale needs a bright light source for at least 6 hours a day, so a south-facing window or grow lights are ideal.
Maintain a steady, cool temperature and water regularly to keep the soil evenly moist. Selecting a smaller kale variety can be beneficial due to limited indoor space.
At what temperatures does kale grow best?
Kale thrives in cooler temperatures, ideally between 60°F and 75°F (15°C and 24°C). It can germinate in temperatures as low as 45°F, though it will take longer, and can tolerate frost, which can even enhance its flavor.
What are the steps to grow kale from seed?
To grow kale from seed, plant seeds about 1/4 to 1/2 inch deep in well-prepared soil. Space them about 10 inches apart if you're planting directly in the garden.
Water the soil well after planting and expect germination in 5 to 10 days. Thin the seedlings as they grow to ensure proper spacing.
Can you grow kale from cuttings, and if so, how?
Though less common than growing from seed, you can propagate kale from cuttings.
Take a healthy cutting with a few leaves and insert the stem into moist soil, then cover with a plastic bag to retain humidity. Roots should develop within a few weeks, after which you can plant the cutting in a pot or your garden.
What is the expected growing time for a kale plant?
From seed to harvest, kale plants typically take about 55 to 75 days to mature.
Baby leaves can be harvested as early as three weeks after germination.
For full-sized leaves, it's best to wait until the plant is well-established and leaves have reached the desired size.