How to Grow Winter Cress
Winter cress, also known as Barbarea vulgaris, offers a valuable addition to your garden.
Cultivating winter cress is straightforward. It thrives in full sun and prefers fertile, well-draining soil with consistent moisture. Maintain a pH between 6.0 and 6.8 for optimal growth.
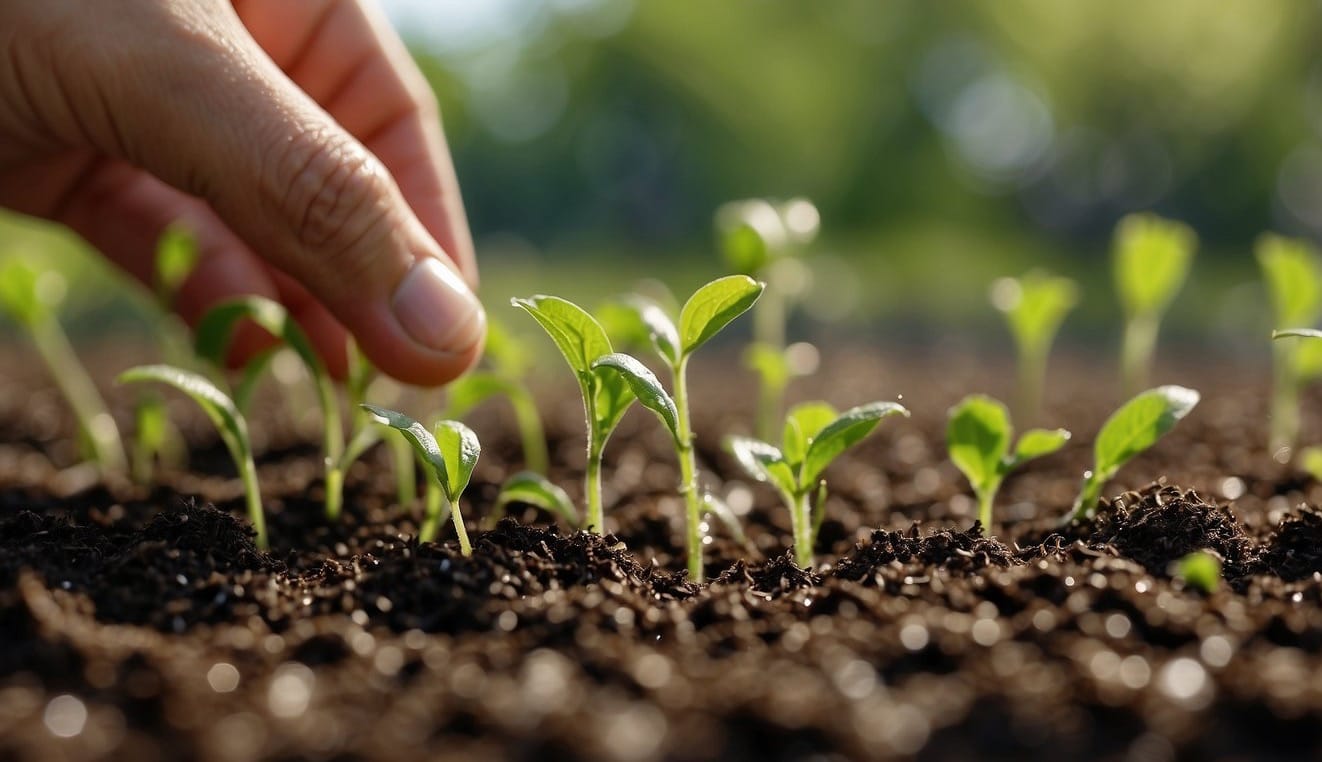
Planting winter cress can be done in early spring or fall. Sow the seeds about a quarter-inch deep into the soil, with rows spaced sufficiently to allow for easy growth and access.
The plant's versatility extends to its varieties, including upland cress, garden cress, and watercress. Each has its own specific growth requirements and culinary uses.
Knowing the differences among these types can enrich your gardening experience and enhance your diet with a range of flavors and textures.
Key Takeaways
- Winter cress is a nutritious and pollinator-friendly plant that's simple to grow in your garden.
- Ensure proper soil conditions with a pH between 6.0 and 6.8 and consistent soil moisture for successful cultivation.
- Various cress types offer a spectrum of flavors and growth conditions, from land cress to watercress.
Understanding Winter Cress
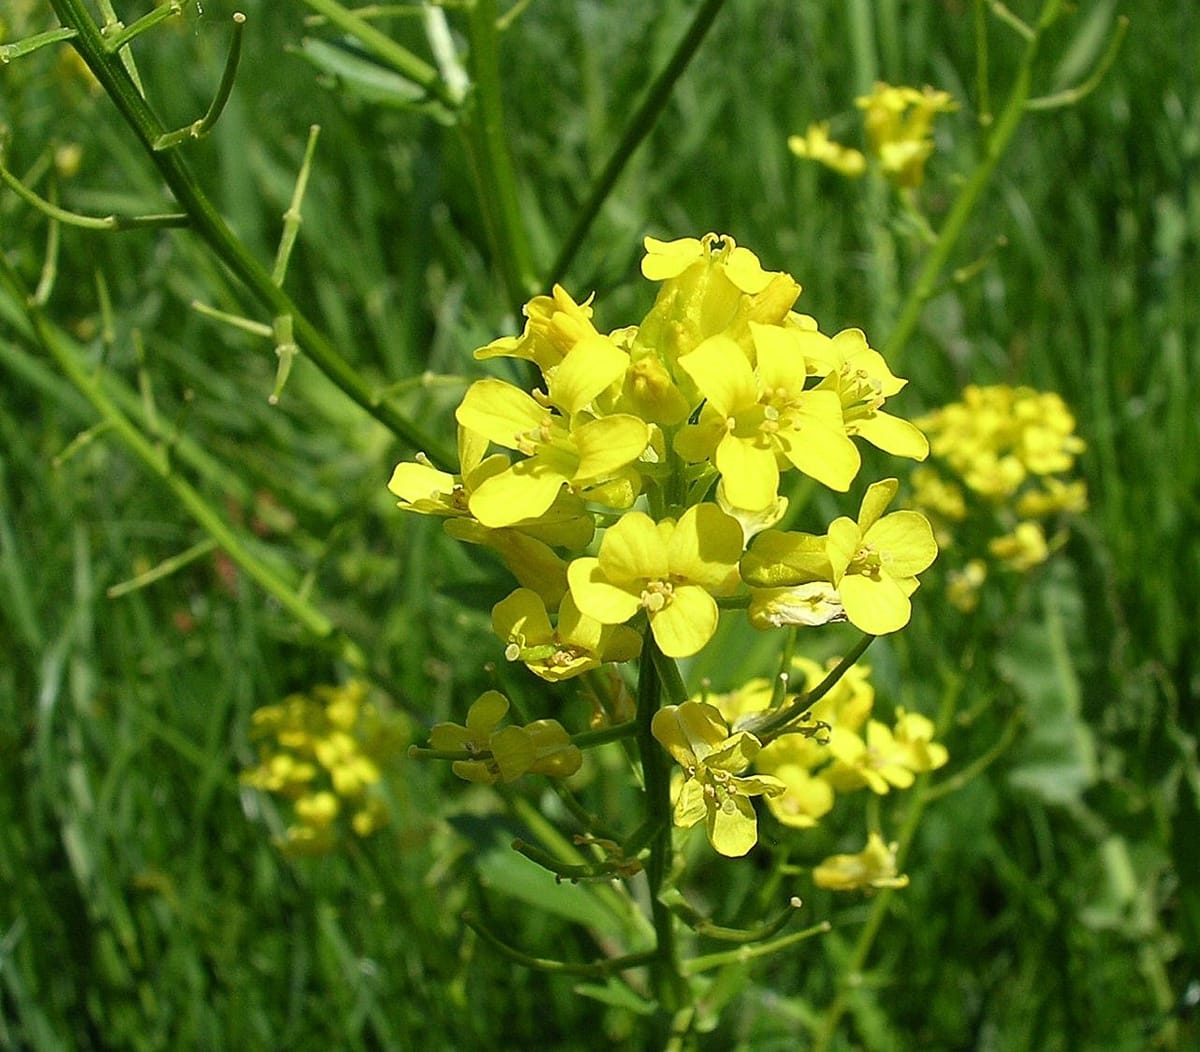
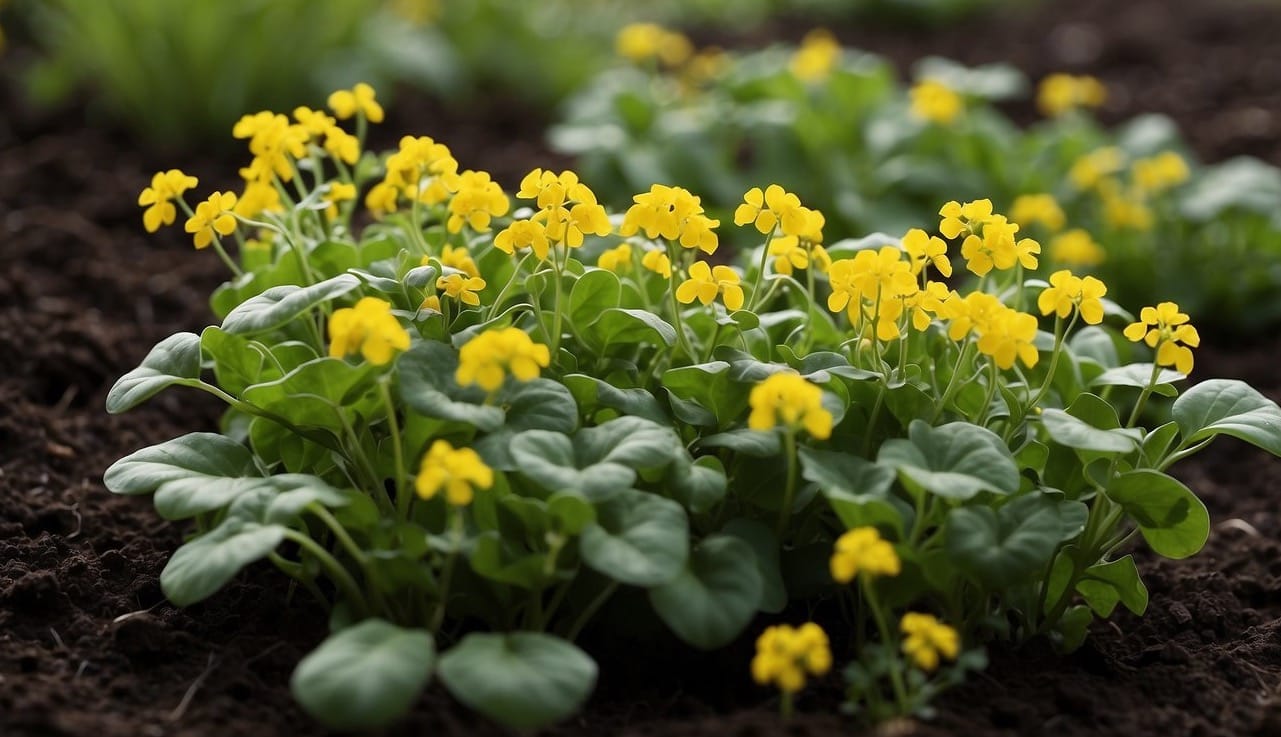
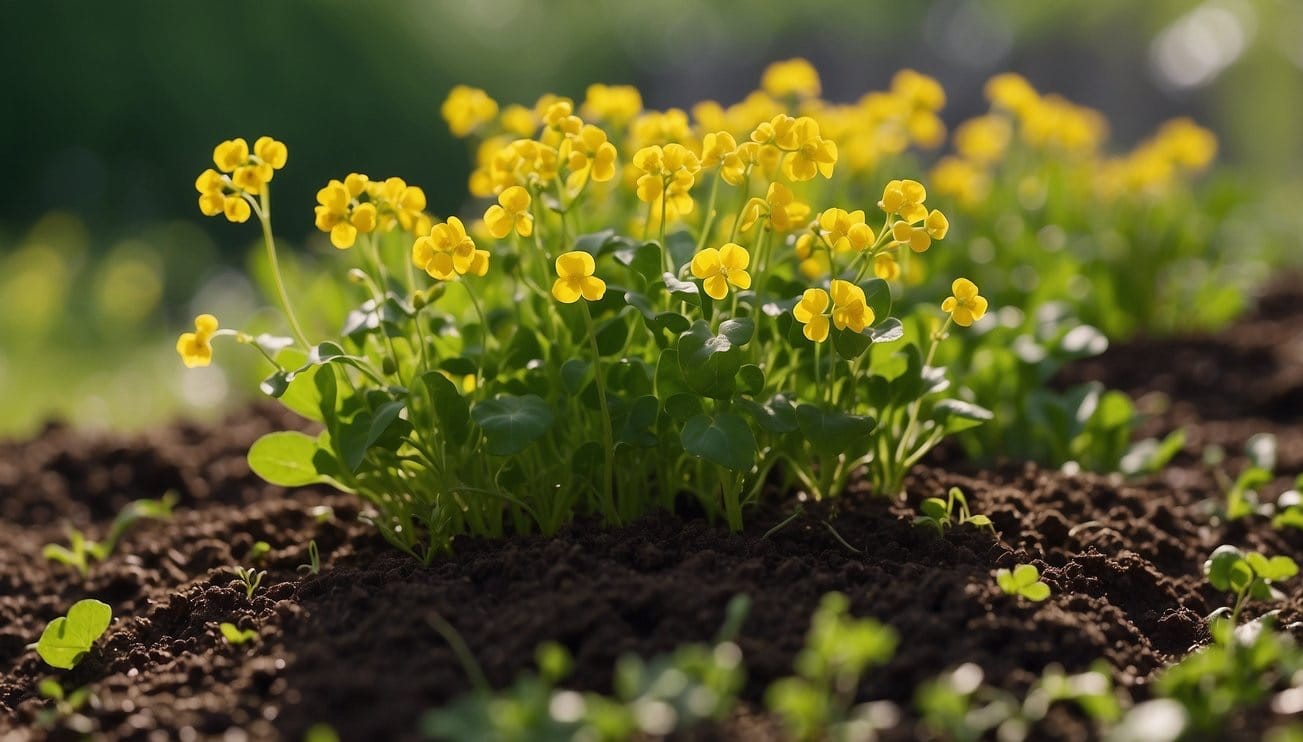
Winter cress, often known as yellow rocket, bittercress, scurvy grass, or creasy greens, is a hearty plant belonging to the mustard family.
These names not only reflect its spicy flavor but also its historical use as a remedy for scurvy due to its high vitamin C content.
Nutritional Profile: Winter cress is nutritionally rich, offering a plethora of vitamins and minerals. Your diet benefits from its inclusion, incorporating:
- Vitamins: Especially vitamin C and vitamin A
- Minerals: Contains essential minerals like potassium and calcium
- Antioxidants: Helps in protecting your cells from oxidative damage
Culinary Uses: As an edible herb, winter cress can be a zesty addition to your meals. The leaves are slightly bitter in taste, making them an interesting component for salad greens.
It's important to harvest the leaves early when they are tender and less bitter, ideally while the weather is cool.
Origins and Varieties: While winter cress is native to Asia and Europe, it has since become widespread. Variants like American cress are cultivated and enjoyed in different parts of the world.
Remember that when growing winter cress, it thrives in full sun to partial shade and prefers fertile, well-drained soil.
Whether you're adding it to your garden for its nutritional benefits or its role as an early-season nectar source for pollinators, understanding the plant's attributes and uses is the first step to successful cultivation.
Choosing the Right Location
To ensure the successful cultivation of Winter Cress, your garden location must have suitable soil conditions and adequate light exposure.
These factors are pivotal in nurturing a healthy plant.
Soil Requirements
Your soil choice is fundamental for Winter Cress. It thrives in fertile soil that is rich in organic matter. Aim for a soil pH between 6.0 and 6.8 to provide a slightly acidic to neutral environment.
Here are the characteristics your soil should have:
- Moisture: The soil should retain moisture well but also be well-draining to prevent waterlogging.
- Texture: Loamy or sandy soil can be ideal as long as it is enriched with compost or other organic matter.
- Nutrient-rich: A fertile soil generally contains enough nutrients, but adding compost will boost its fertility.
To check if your soil is ready, perform a simple squeeze test: grab a handful of moist soil and squeeze it — if it holds together but crumbles when poked, you're good to go.
Light and Temperature
The right amount of sunlight and the appropriate temperature are critical for Winter Cress. Here's what you need to know:
- Sunlight: Choose a location that receives full sun — at least 6 hours of direct sunlight per day. Winter Cress can tolerate partial shade but prefers full sunlight to flourish.
- Growing Zones: Be mindful of your region's growing zones. Winter Cress is adaptable, but its performance is optimal in temperate climates.

Preparing to Plant
Before you plant winter cress, it’s essential to prepare your soil, choose the right seeds, and time your planting accurately to ensure a thriving crop.
Soil Preparation
Your planting success begins with the soil. Select a location with full sun and fertile soil.
Prior to planting, integrate plenty of compost and organic matter to enrich the soil. This also ensures proper drainage while retaining adequate moisture.
- Composition: Loamy and rich in organic matter.
- pH Level: Slightly acidic to neutral (6.0 - 6.8).
Seed Selection
Prepare to purchase your seeds from a reputable supplier, ensuring they are suitable for your region and the current season.

Winter cress seeds can be found in a packet at garden stores or online. Look for seeds labeled as winter cress or Barbarea verna to guarantee you’re getting the correct variety.
- Check: Expiry date on the seed packet.
- Variety: Choose winter cress (Barbarea verna) specifically.
Timing Your Planting
Winter cress seeds should be sown directly in the garden in early spring or in the fall. This timing allows the plants to take advantage of cooler temperatures and regular rainfall.
By planning your planting schedule, you’ll maximize the seeds' potential to germinate and establish.
- Early Spring: As soon as the soil can be worked.
- Fall: Before the first frost for a winter crop.
Planting Techniques
Proper planting techniques are essential for successfully growing winter cress. You'll need to pay attention to seed preparation, spacing, and thinning to ensure healthy growth and high yields.
Sowing the Seeds
When planting winter cress, choose a location that receives full sunlight and has fertile, well-drained soil with a pH between 6.0 and 6.8.
Begin by enriching your soil with compost and organic matter. Then, sow seeds directly into the ground at a depth of about 1/4-inch.
For microgreens, seeds may be sown more densely in shallow trays and will not require thinning.
To ensure a continuous supply, practice succession sowing every few weeks until mid-summer, and again in early autumn. This will provide you with multiple harvests throughout the growing season.
Keep in mind that seeds should germinate within 5 to 15 days under optimal conditions.
Spacing and Thinning
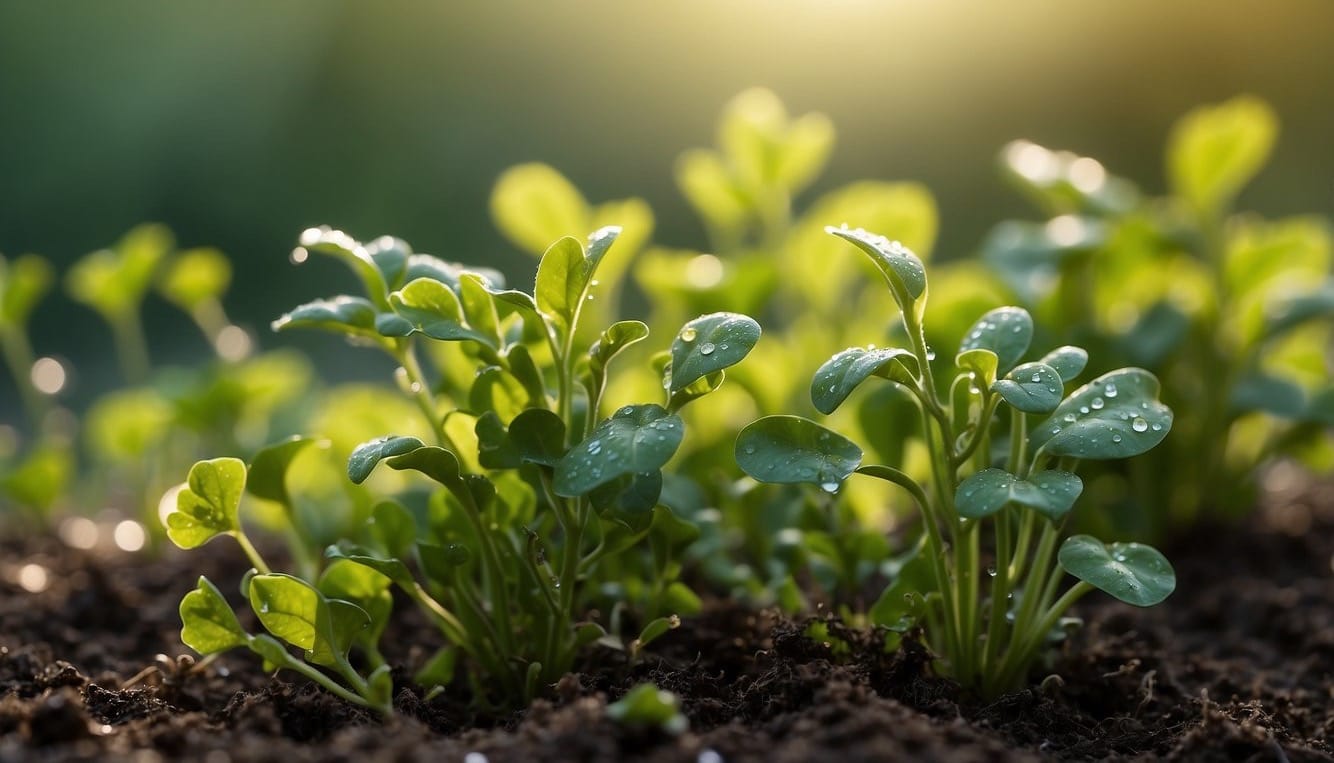
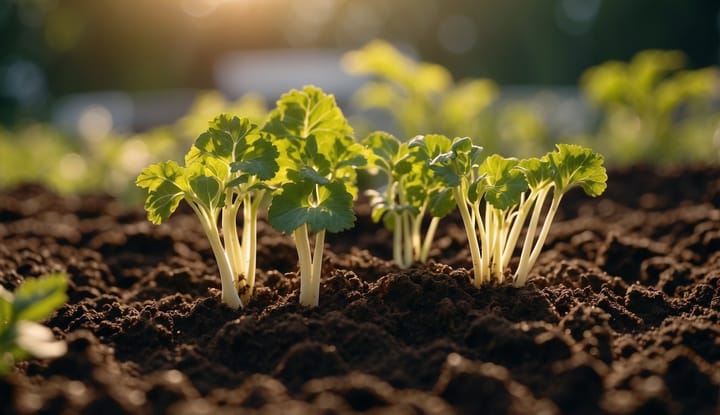
After sowing, allow the seeds to grow until they reach a height of 1-2 inches.
At this stage, it's time to thin the seedlings. Thinning is crucial to prevent overcrowding and ensure adequate airflow around the plants, which reduces the risk of disease.
Thin your seedlings to about 10 inches apart.
| Growth Stage | Spacing Between Seedlings |
|---|---|
| Early Growth | 2-3 inches |
| Post-Thinning | 10 inches |
Caring for Winter Cress
Proper care ensures your winter cress thrives, giving you a healthy crop. Paying close attention to watering and feeding practices is crucial, as well as managing pests and diseases to maintain robust plants.
Watering and Feeding
Your winter cress needs consistent moisture to grow well. Split your watering into small amounts to keep the soil moist but not waterlogged. Overwatering can lead to root rot, so make sure your soil drains well.
- Watering: Aim for about 1 inch of water per week, either through rainfall or manual watering.
- Mulch: Apply a layer of organic mulch around your plants to help keep the soil moist and regulate soil temperature.
When it comes to feeding, winter cress isn't a heavy feeder, but it does need nutrients from fertilizer. An all-purpose vegetable garden fertilizer can be applied according to package directions. Or, you can work compost into the soil at the time of planting for a slow-release organic option.
- Fertilizer: Use a balanced fertilizer such as 10-10-10. Apply only as needed to avoid excessive nitrogen, which can lead to more leaves but poorer quality.
Managing Pests and Diseases
Pests and diseases can impact your winter cress, but proper care can considerably reduce these issues.
- Flea Beetles: Small holes in foliage may signal an infestation. Floating row covers can prevent them from reaching the plants. Meanwhile, neem oil or insecticidal soap can help control active populations.

Bolting is a common issue with winter cress, where the plant flowers prematurely, often caused by a sudden increase in temperature. To combat bolting, you can try:
- Cut-and-Come-Again Method: Harvest leaves regularly to encourage new growth and delay bolting.
Harvesting Winter Cress
Winter cress is a nutrient-dense leafy green that can provide your salads and sandwiches with a peppery kick. To maximize freshness and flavor, understanding the proper techniques for harvesting and subsequent use is essential.
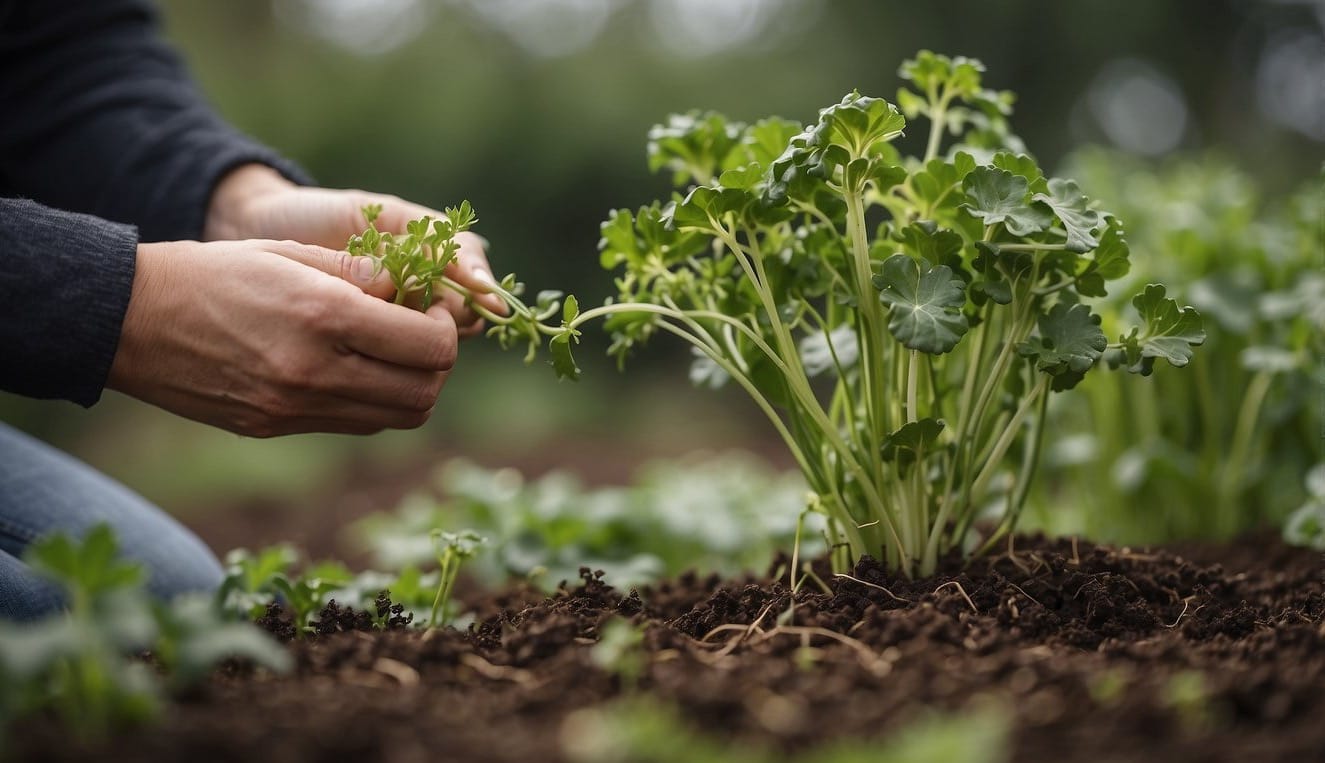
Harvest Time
Winter cress is ready to harvest about 15 to 20 days after sowing when the leaves are young and tender. To enable the plant to regrow, employ a "cut-and-come-again" method:
- Harvest leaves by cutting them about a half-inch above the soil level.
- Choose outer leaves first, allowing inner leaves to mature.
- Harvest in the morning when the leaves are crisp and full of moisture.
Be mindful to not over-harvest; always leave enough leaves on the plant to facilitate continued growth.
Storage and Preparation
After harvesting, your winter cress needs proper storage to maintain its freshness before being used:
Storage Steps:
- Gently wash the harvested leaves and stems with cold water to remove dirt.
- Allow them to air dry or pat dry with a clean towel.
- Wrap the winter cress in a damp paper towel.
- Place it in a plastic bag or container, and store it in the refrigerator.
For preparation, winter cress can be chopped for salads or used whole in sandwiches.
If you wish to consume the roots, ensure they're thoroughly cleaned. Remember, the sharp, tangy flavor of winter cress can be a delightful addition to various dishes.
Winter Cress Varieties and Relatives
Winter cress, with its nutritional qualities and early harvest potential, offers variety and benefits in both gardening and cuisine.
This section explores its diverse types and how they can be complemented by specific companion plants.
Different Types of Cress
- Watercress (Nasturtium officinale): This aquatic or semi-aquatic plant is known for its peppery leaves and is grown in consistently wet soil or hydroponically.
- Garden Cress (Lepidium sativum): Also referred to as peppergrass, garden cress is a fast-growing herb suitable for indoor and outdoor cultivation.
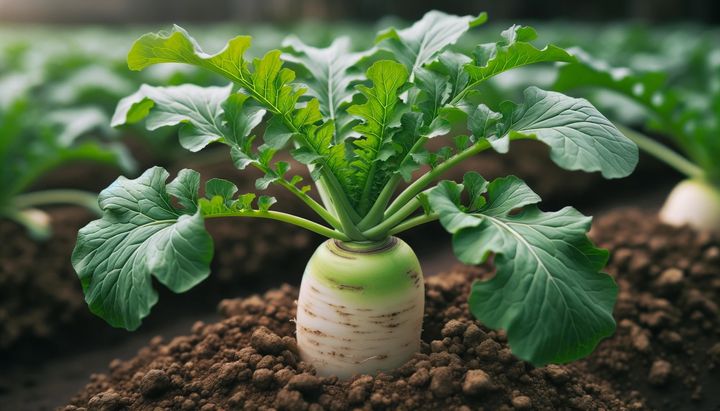
- Upland Cress: A land-based cress, it is also known as American land cress and is similar in flavor and use to watercress.
- Winter Cress: Typically referring to Barbarea, this group of plants is resilient and can provide edible leaves, even in colder climates.
Cress varieties differ in growing habitats and flavors but generally prefer a pH of 6.0-6.8.
Companion Plants
In your garden, consider these companions for cress:
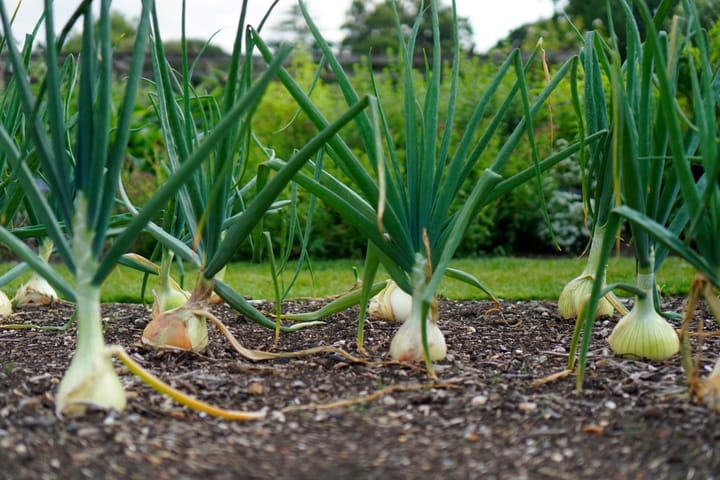
- Herbs: Such as rosemary and thyme, which do not intrude on the cress's space as they tend to grow upright.
- Lettuces: Provide a beneficial environment, as they share similar water and light preferences without being invasive.
- Spinach: This is another compatible neighbor; it enjoys the same type of soil and can create a leafy green patch in your garden.
Remember, cress thrives better alongside plants with similar growing conditions but with different growing patterns, helping to maximize your garden space efficiently.
Advanced Tips for Experienced Gardeners
When growing winter cress, your expertise can unlock more intricate techniques that maximize growth and yield, such as container growing and sophisticated overwintering strategies.
Container Growing
If you're limited on space, container growing offers a versatile option, allowing you to cultivate winter cress even on a windowsill or in a kitchen garden.
Select containers at least 6-8 inches deep with ample drainage holes to prevent waterlogging. Use a high-quality potting mix enriched with compost to ensure nutrient-rich and well-draining conditions.

For those interested in microgreens, trays can be utilized, with winter cress ready to harvest in as little as two weeks.
- Container Choice: Minimum 6-8 inches depth; ample drainage
- Potting Mix: Quality mix; incorporate compost for nutrients
- Microgreens: Use shallow trays; harvest in approx. two weeks
Overwintering Strategies
Overwintering winter cress requires you to protect the plants from extreme cold and frost. One method is to apply a thick layer of mulch around the plants, which insulates the soil.
Alternatively, you can use row covers or build a cold frame to shield the cress from harsh winter temperatures.

If growing in containers, consider moving them to a sheltered location, like a garage or against a south-facing wall, where they get adequate light and are shielded from frost.
- Mulching: Apply a thick layer around plants for insulation.
- Row Covers/Cold Frames: Protect plants from freezing temperatures.
- Sheltered Locations: Move containers to protected areas during extreme cold.
Frequently Asked Questions
When cultivating winter cress, several common queries arise. Understanding the essentials of growing conditions, plant identification, and harvest timing will enhance your gardening experience.
What are the optimal conditions for growing winter cress?
To effectively grow winter cress, select a spot in your garden that receives full sun. The soil should be fertile, with a pH between 6.0 and 6.8. It's important to incorporate compost into the soil to improve fertility and ensure it's well-draining while maintaining consistent moisture.
How can you differentiate between winter cress and wild mustard?
Winter cress leaves are typically rounded with a slightly scalloped edge, and the plants produce small, yellow flowers. In contrast, wild mustard may have more irregularly shaped leaves with a rougher texture, and its flowers can also be yellow, making floral observations a practical differentiator.
What is the best time of year to plant winter cress seeds?
The best time to plant winter cress is either in early spring, as soon as the risk of frost has passed, or in the fall before the ground freezes. In temperate regions, this usually means several weeks before the last expected frost in spring or in late summer to early fall for a winter crop.
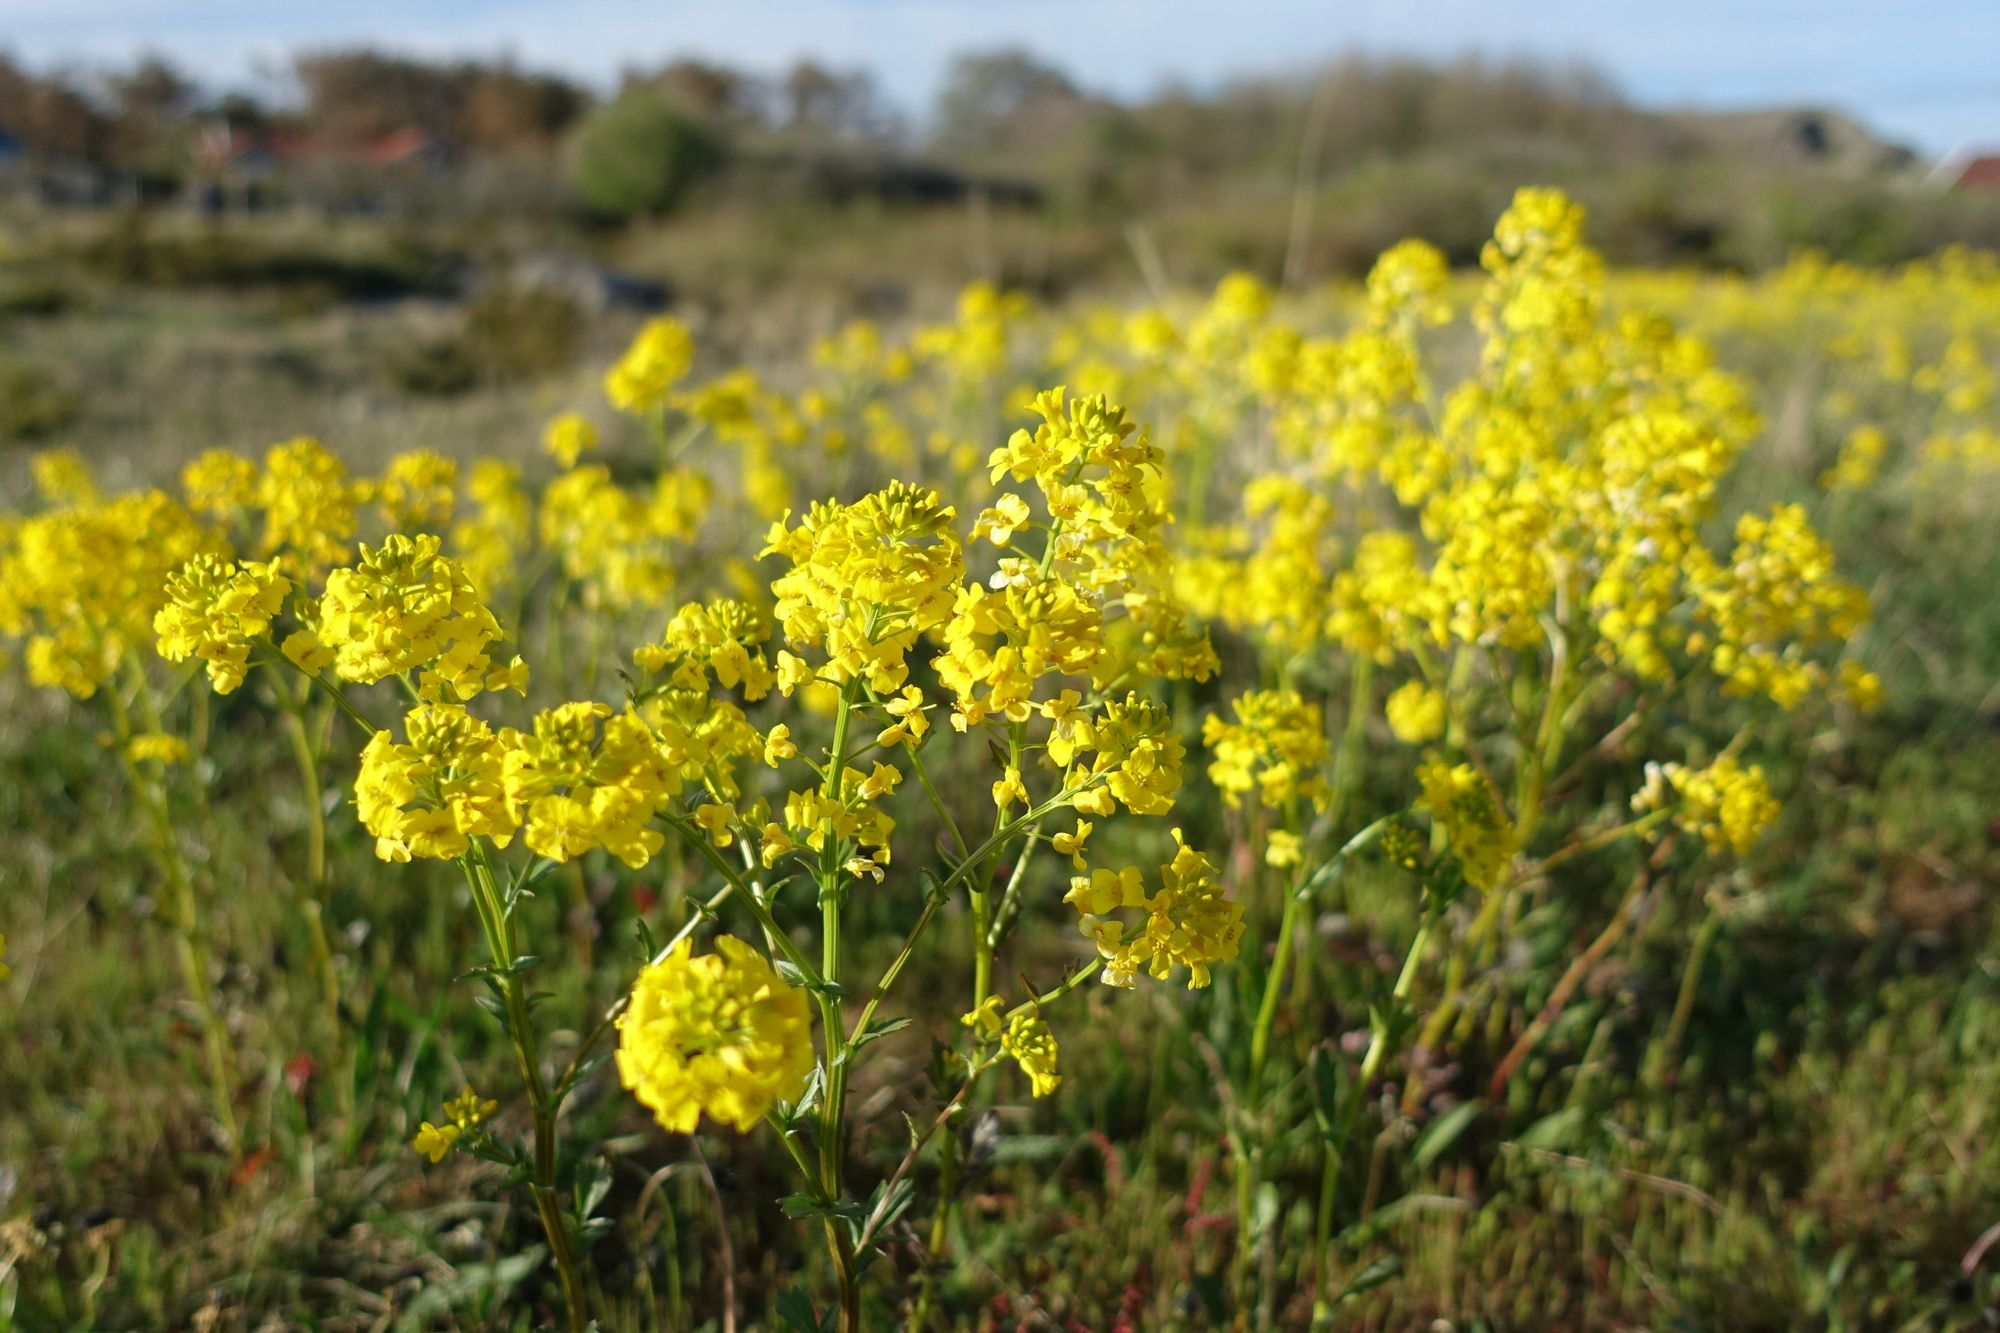
How can one effectively identify creasy greens in the wild?
Creasy greens, another name for winter cress, can be identified by their small clusters of yellow flowers and toothed, dark green leaves. In the wild, they often flourish in damp, fertile soils along streams and in open meadows.
When is the ideal time to harvest winter cress from the garden?
You should harvest winter cress when the leaves are young and tender, typically 15 to 20 days after sowing. Avoid older leaves which can be tough and bitter.
It's best to cut leaves as needed before the plant flowers for optimal flavor.
_-_Flickr_-_Jay_Sturner_(1).jpg)
_Vinterkarse_(Norwegian)_Winter-cress_Hedge_mustard_(English)_Oslofjorden_Hvasser_F%C3%A6rder_Norway_2020-05-08_7275.jpg?ref=bygroots.com)